|
rossocorsa
Guest
|
 |
« Reply #40 on: April 01, 2011, 10:07:04 PM » |
|
you can buy a pretty good compressor and airtools from aldi or netto at rock bottom prices Aldi have just ran this offer you might be lucky and find one left somewhere really worth the investment good enough for occasional use. As regards rusty nuts and bolts i can assure you that Beta ones at 25 years plus old are a lot better than MG TF ones at 7 years old another case of quality Italian and crap British engineering
|
|
|
|
|
 Logged
|
|
|
|
|
HFStuart
|
 |
« Reply #41 on: April 02, 2011, 09:34:45 AM » |
|
I'm assuming there is some way of replacing the bolts that hold the fuel tank on? The heads seem to be hidden under the floor?
The two rearmost studs can be replaces with bolts as you can get to their heads through apertures in the boot floor. I've got a feeling the front ones are a bit less accessible. Re the rear suspension I've got to agree with Matt it can be a sod. If you get to the point where you can get the back of the car up in the air it can be easier to drop disconnect the crossmember, anti roll bar and strut tops and drop the whole lot out in one go. The extra space makes a difference and if your car is typical you'll be needing to replace one or more of the rear links anyway. |
|
|
|
|
 Logged
|
|
|
|
|
Duncan23
|
 |
« Reply #42 on: April 06, 2011, 10:10:35 PM » |
|
Those bolts are a nightmare. I cut one side off the nut with a hacksaw hoping that the nut would crack into 2 pieces. That didn't work, so I tried to cut a slot into the nut and bolt (with m Dremel 'cos I couldn't get the hacksaw in there) and then snap it off hitting it with a hammer. That didn't work either, so either I'm going to have to chop all the way through the nut and bolt or remove the other side of the nut. Neither is going to be fun. This bolt/nut has more strength than anything else on the car! I hope I can cut the washers away from the the other remaining nut, otherwise I'll be repeating this hassle again.  |
|
|
|
|
 Logged
|
|
|
|
|
Duncan23
|
 |
« Reply #43 on: April 07, 2011, 09:34:35 PM » |
|
I basically just dremelled my wy through the nut and the bolt! Lots of sparksl, and it was right next to the fuel tank outlet! But it's done now and I didn't set the house on fire.  One bolt left - fingers crossed this one is easier... If the tank needs re-sealing, anyone know where I can get this done? I'm not going to get a chance to spend a whole day playing with acid in the garden, so I might as well get someone competent to do it!! I'm in Oxford, if location makes any difference. Cheers Duncan |
|
|
|
|
 Logged
|
|
|
|
|
Duncan23
|
 |
« Reply #44 on: April 08, 2011, 06:45:36 PM » |
|
I can't get at the washer, so I'm gonna have to cut throught this bolt as well (with the dremel again). On refurbing the tank: I have contacted Surface Processing but not heard back yet, and I got a quote of 220 to 280 UKP plus VAT plus delivery from hartlepool radiators using the RENU process. That's a bit pricey for me (though I appreciate it involes cutting the tank in half and re-welding it!). If I can't get it done any cheaper, has anyone got any experience of a radiator shop boiling a tank as decribed here? http://www.ratwell.com/technical/FuelTankRestoration.htmlCheers Duncan |
|
|
|
|
 Logged
|
|
|
|
|
Duncan23
|
 |
« Reply #45 on: April 19, 2011, 06:34:27 PM » |
|
How many damn fuel lines are there attached to the tank? You may have gathered from this I've got the tank off! I had to chop the last remaining bolt and hammer the rear jacking point out of the way! Where do these lines go? I mangled one of them a little so it will need replacing when I put it all back together! 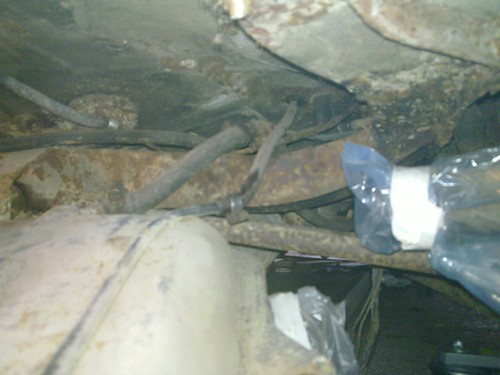 The good news is the tank looks fairly good (though a bit scabby around the edges). Cheers Duncan |
|
|
|
|
 Logged
|
|
|
|
|
HFStuart
|
 |
« Reply #46 on: April 19, 2011, 09:01:01 PM » |
|
4 lines to the tank IIRC
Those two head up to the filler neck behind the boot trim and are part of the vent arrangement.
|
|
|
|
|
 Logged
|
|
|
|
|
Duncan23
|
 |
« Reply #47 on: April 19, 2011, 09:43:54 PM » |
|
They aren't mentioned in the Haynes. Glad they are normal.  Success!!!  I have finally pulled the tank.  Here's some pictures of it (the outside could do with a clean). What do you think of the inside? Does it need sealing, and what does that little pipe in there do? Would it block up with the sealer? I don't think 300 quid plus VAT for the 'renu' process is worth the cash cos it doesn't seem too bad to me... Top 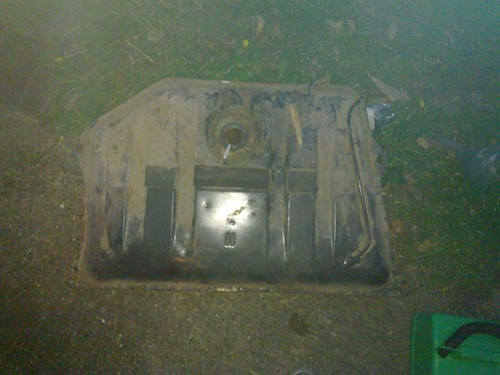 Bottom 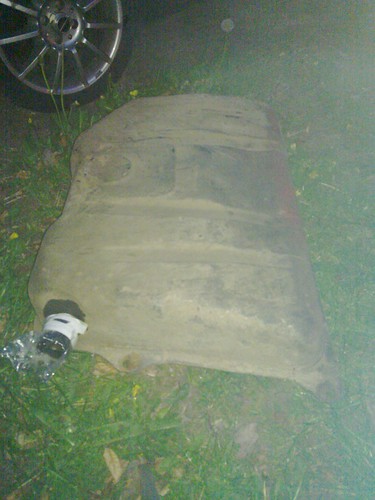 Inside 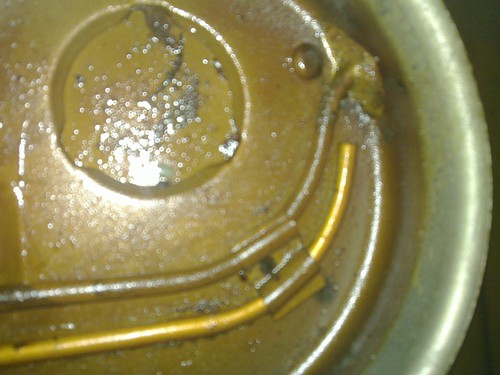 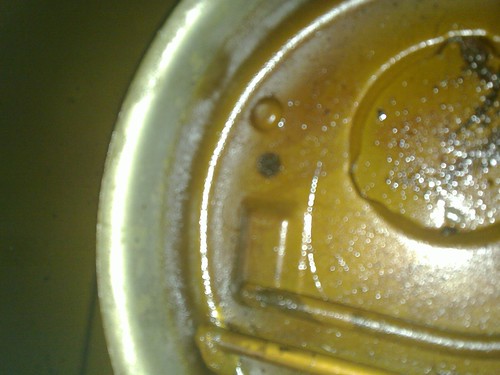 |
|
|
|
|
 Logged
|
|
|
|
|
Duncan23
|
 |
« Reply #48 on: April 26, 2011, 07:39:54 PM » |
|
Surface Processing will chemically clean it for 75 + VAT but then I would have to coat it myself. I'll probably do that, but for now I'll get on with the rest of the car! I've just ordered a load of welding gear, so I need to get my bench cleared up and strip the interior out.  If I get fed up, I'll probably chop the backbox off as well!  |
|
|
|
|
 Logged
|
|
|
|
|
Duncan23
|
 |
« Reply #49 on: April 29, 2011, 10:40:00 AM » |
|
Progress (and unpleasant discoveries). I got my auto darkening welding helmet - now all I need is some scrap steel to practise my welding on.  I pulled the hood off. Aside from not really understanding how it attaches at the back, and the minor rustiness, this is ok (and will go in the loft out of the way). I pulled the seats out. The drivers side one folds ok, but the bolster is knackered. The passenger side is complete, but the folding mechanism doesn't work. One of the pivots is siezed, and I guess it must have been like it for some time as the bar that links the 2 sides is missing, and the seized side was also missing a bolt. This allowed it to fold in quite an unpleasant lopsided way. I replaced the bolt with a random one, and undid the bolt where it has siezed for the below photo. 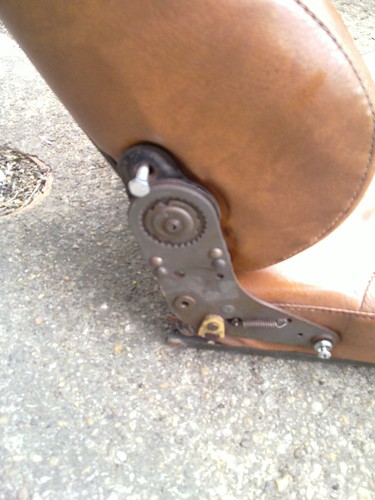 I removed the seatbelt and the back side panel from the drivers side. Easy to do, but a large amount of rust behind it, and if you look through the holes at the box section, that has rusted through. It explains why jacking that corner wasn't a good idea! 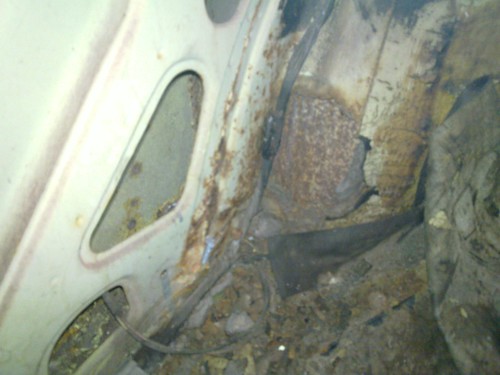 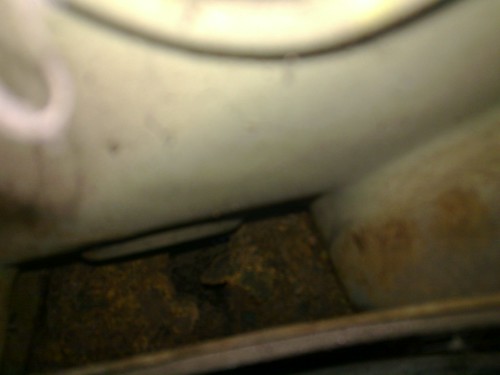 Also, 2 of the fuel lines run around the rear turret - what are they doing in the passenger compartment? 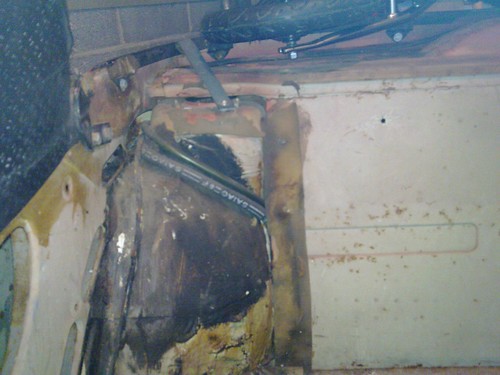 Having done that I could pull part of the carpet up. Lots of rust - the floor has been badly welded in the past, and the whole lot could do with replacing, both in front of and behind the main crossmember. The bulkhead looked ok though... 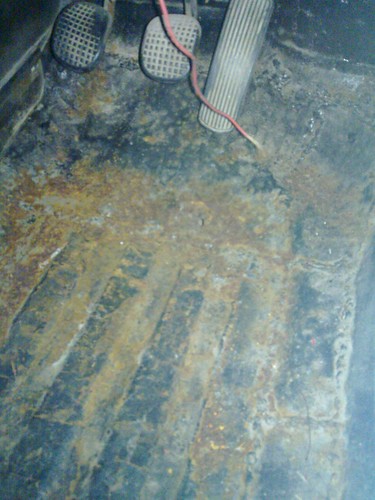 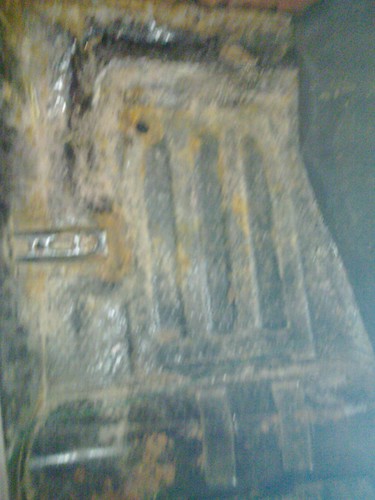 I think I'm gonna get a lot of welding practise! Is it worth trying to put the ridges into the replacement floor panels I make, or can I get away with just a flat 1.6mm panel? |
|
|
|
« Last Edit: April 29, 2011, 12:26:10 PM by Duncan23 »
|
 Logged
|
|
|
|
|
HFStuart
|
 |
« Reply #50 on: April 29, 2011, 07:21:19 PM » |
|
A flat 1.6 panel might well work but it could drum a fair bit. Putting the ridges back in is a better bet. A hardwood block chiseled out to make a former would help you a lot.
Did surface processing quote you to coat the tank? If so how much ?
Stuart
|
|
|
|
|
 Logged
|
|
|
|
|
Duncan23
|
 |
« Reply #51 on: April 29, 2011, 09:12:45 PM » |
|
Surface processing said they wouldn't coat it, hence the quote is just chemical stripping.
I need to get some metal bashing gear before I can do the floor, so I'll give the hardwood former a go. I doubt I'll put all of the grooves in - maybe half would be OK! Welding practise and stripping the floor (got some clean/strip disks now) before I get that far though.
|
|
|
|
|
 Logged
|
|
|
|
|
Duncan23
|
 |
« Reply #52 on: April 30, 2011, 10:54:00 AM » |
|
I stripped the passenger side and all the carpets this morning. So it's all bare in there now. The passenger side box section is better than the drivers side, but the rest is basically the same. The clean and strip disk will give the definitive answer, but I thin in needs new floorpans on both sides...
Disappointing,but as I expected really...
Any suggestions for what sort of hardwood to use as a former?
Cheers
Duncan
|
|
|
|
|
 Logged
|
|
|
|
|
MattNoVAT
|
 |
« Reply #53 on: April 30, 2011, 11:58:21 AM » |
|
Drop TonyLanciaBeta a line as he had cut out a floorpan from a car he dismantled.
|
|
|
|
|
 Logged
|
1981 2000 Coupe S2/FL
1976 1600 Coupe S1
2007 Ypsilon 1.3 Bi-Colori
|
|
|
|
Duncan23
|
 |
« Reply #54 on: April 30, 2011, 02:14:36 PM » |
|
Thanks Matt - PM sent... I thought you were on holiday?  My bossing mallet arrived today, and I ordered some panel beating hammers and a welding blanket on eBay, so the tooling up process has started.   In some ways I'm quite looking forward to it - there's something very satisfying about turning a flat sheet of steel into a useful panel.  Cheers Duncan |
|
|
|
« Last Edit: April 30, 2011, 04:49:23 PM by Duncan23 »
|
 Logged
|
|
|
|
|
MattNoVAT
|
 |
« Reply #55 on: April 30, 2011, 04:54:28 PM » |
|
I am on holiday.... Sat by the pool, beer in hand in 33 degree Florida sunshine  Tapatalk smartphone app and free wifi helps! Going to watch shuttle launch on Tuesday... |
|
|
|
|
 Logged
|
1981 2000 Coupe S2/FL
1976 1600 Coupe S1
2007 Ypsilon 1.3 Bi-Colori
|
|
|
|
rossocorsa
Guest
|
 |
« Reply #56 on: April 30, 2011, 11:38:46 PM » |
|
I am on holiday.... Sat by the pool, beer in hand in 33 degree Florida sunshine  Tapatalk smartphone app and free wifi helps! Going to watch shuttle launch on Tuesday... Damn I can't even afford Cleethorpes |
|
|
|
|
 Logged
|
|
|
|
|
Duncan23
|
 |
« Reply #57 on: May 01, 2011, 06:32:44 PM » |
|
Sitting by the pool sounds nice. Weather has been decent enough here recently though.  If I could afford to take the family to Florida, I could pay for my Spider to be restored by someone who knows what they are doing!  No progress with the car today, but the carpets and interior bits are now in the loft, and the garage is a bit tidier. Can't get steel until Wednesday, and won't have much chance to work it for a little while, so progress updates will slow down again now... I don't want to clean/strip the floor until I'm happy with my welding (or bored of practising!). Otherwise it will just get rusty again (and it might be hard to make patterns if I end up making too many/big holes)... Cheers Duncan |
|
|
|
|
 Logged
|
|
|
|
|
Duncan23
|
 |
« Reply #58 on: August 12, 2011, 08:42:33 PM » |
|
Still no progress.  Slightly disillusioned, just not had any time or money to spend on it.  The only time I've managed to get into the garage this summer I dissolved an alloy seatpost out of a steel bicycle frame.  Don't get any caustic soda near your alloy parts is all I can say! The bike is almost finished though, so that will be 1 project down (and about 5 more to go!  ) Cheers Duncan |
|
|
|
|
 Logged
|
|
|
|
|
rodney3010
|
 |
« Reply #59 on: August 12, 2011, 10:10:39 PM » |
|
Whatever you do don't give up - through long experience there's always something that stands in the way, be it work, a young family or a wife with a list of DIY jobs as long as a your arm (and sometimes not having the first idea about what I'm doing). But what keeps me going is the thought that 'one day....' It may take longer than originally thought but it will happen and when it does - I'm in for a lot of grins!
|
|
|
|
|
 Logged
|
|
|
|
|


