Hi everyone,
Iíve been a long time visitor of this forum but only recently signed up. This forum has been an invaluable resource throughout my restoration, so thank you to everyone who contributes. I thought I should finally say hello to you all and post some details of my car. Some of you may have already read this as Peter kindly linked to my recent post over on PistonHeads.
As a bit of background, the car is a 1981 model and has been in my family since it was a year old and owned by my Mum who used it daily up until 1991 (a year before I was born!). No one can remember quite why it came off the road but it proceeded to be stored in my grandparents garage up until 2013 when my family were discussing scrapping the car. Myself with no prior knowledge at the time, felt it would be criminal to scrap such a rare and beautiful car so decided to try and save it and take on restoring it to its former glory. I had no idea the scale of what I was taking on, but eagerly began.
Iíve taken over 2,000 photos since starting the restoration so itís been hard to concentrate these down, but Iíve done my best to hopefully show the main ones. The project started in 2013, but due to time and financial constraints it has taken until August this year to get the car restored and on the road.
Unfortunately I donít have any photos of the complete car prior to starting the restoration. The earliest I have is removing the engine.


Wings, interior and engine removed. Car pushed outside and saw daylight for the first time in 22 years!

I started with what I could do and painstakingly remove all the waxoyl and paint from the engine bay and inner wings, then prepped these with paint.


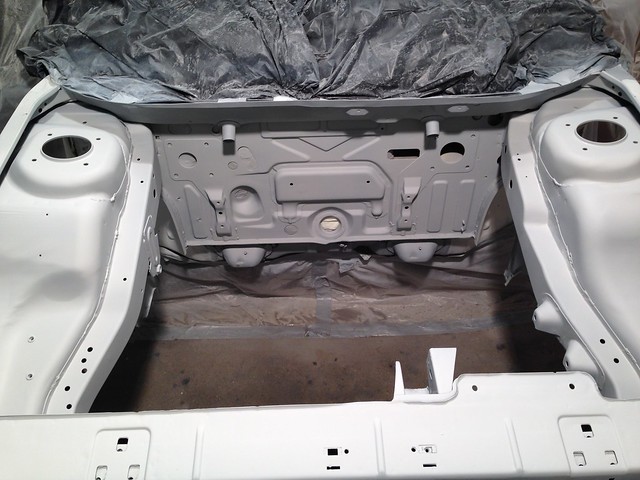
The rest of the bodywork however was a bit out of my depth, so arrangements were made with a local body shop to complete the rest of the shell.


Car arrives at the bodyshop and work begins

Lots and lots of welding takes places around the whole car. I havenít included any more pictures of this as its quite repetitive! But every time we thought all the rust had been found, some more appeared!

Welding complete and onto filler/shaping

Epoxy primer applied

Ready for top coat

Top coat is applied!

I then had the wheels refurbished in a bright silver. I opted for the brightest available since I wasnít a huge fan of the original colour and felt it would help make them stand out better, especially since they are quite small wheels by todays standards! Also pictured are new (slightly uprated) polyurethane bushes and springs (which were promptly painted black).

I got as many parts as possible blasted and either powder coated or gold zinc plated, as per their original finishes. Here is the subframe and suspension.

Then started organising all the nuts and bolts to try and match them up after plating!

Finally some parts start going on the car! Suspension, brake lines, fuel tank, and moreÖ


Body mouldings and trims started to go back on

Throughout all this my Dad had been working on the engine in his machine shop. The engine has been lightly breathed upon with; higher compression, balanced pistons/conrods, gas flowed cylinder head, intake & exhaust manifold work, re-profiled cams and adjustable cam pulleys.
Red oxide primer went on

Block was painted as close to the original colour as possible, along with the restored components going on


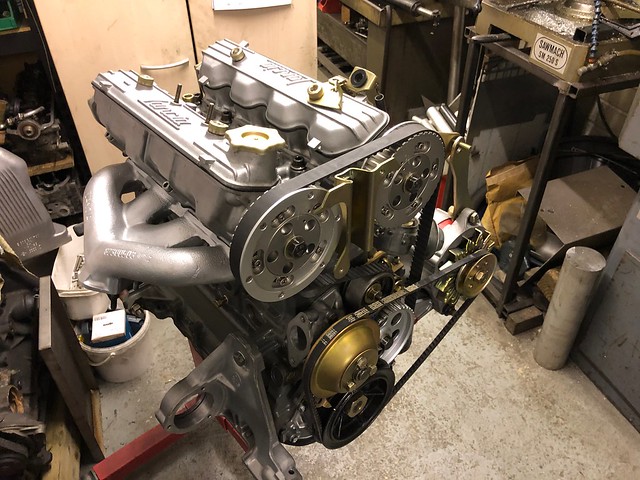
Engine was now timed up and mostly assembled

Almost ready to fit!

Back to the car againÖ lots of waxoyling took place and sorting out the wiring

Interior started going together with new custom headlining

The lights were rebuilt with all their restored components


The rear lights werenít in great shape and took many years of ebaying to find a spare lens to replace the cracked indicator (they only ever came on the Spyder so difficult to find)! For some reason this one was covered in overspray before I even started work on the car.

Cleaning up and repainting the insides

Restored and ready for fitting

The following pictures are now all from this year (2021). The big day arrives - engine ready to be installed!

Engine goes in the car.
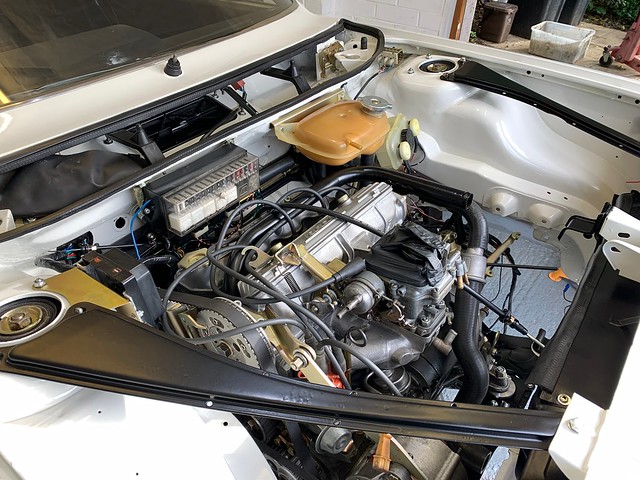
Fuel lines, coolant hoses, etc. are connected up

All the other components starting to come together

Car drives outside under its own power for the first time in 30 years! (August 2021)
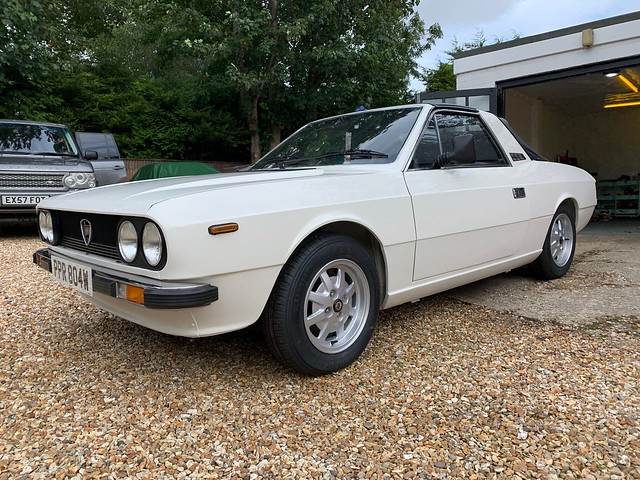
Then off for its MOT

Shortly followed by an alignement

I then took it to a local car show


And a few pictures out and about over the past few weeks!

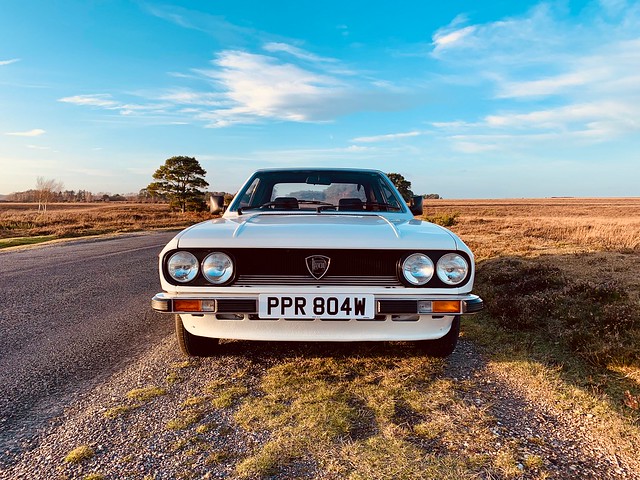


I would like to just finish this post by giving a big thank you to family/friends who have helped make this possible! Iíd also like to give a big thank you to Mark for the many parts heís supplied over the years.
Thanks for reading. I welcome your comments/feedback!
Dan


