|
fred2660
|
 |
« Reply #40 on: August 26, 2017, 03:18:32 PM » |
|
I am working on the front suspension. I dismantled the front wishbones and ordered new bushes. In the haynes manual there is a difficult explanation how to remove and replace them, needing special tools. Off course I dont have those tools, and i dont think my replacement bushes are originals. They seem to be Poly. My plan was to use the spacers from the old bushes and reuse that and just press the new bushes in. Has somebody any experience with this . comments are highly appreciated. Thanks I also bought new rear ARB bushes (photos later) 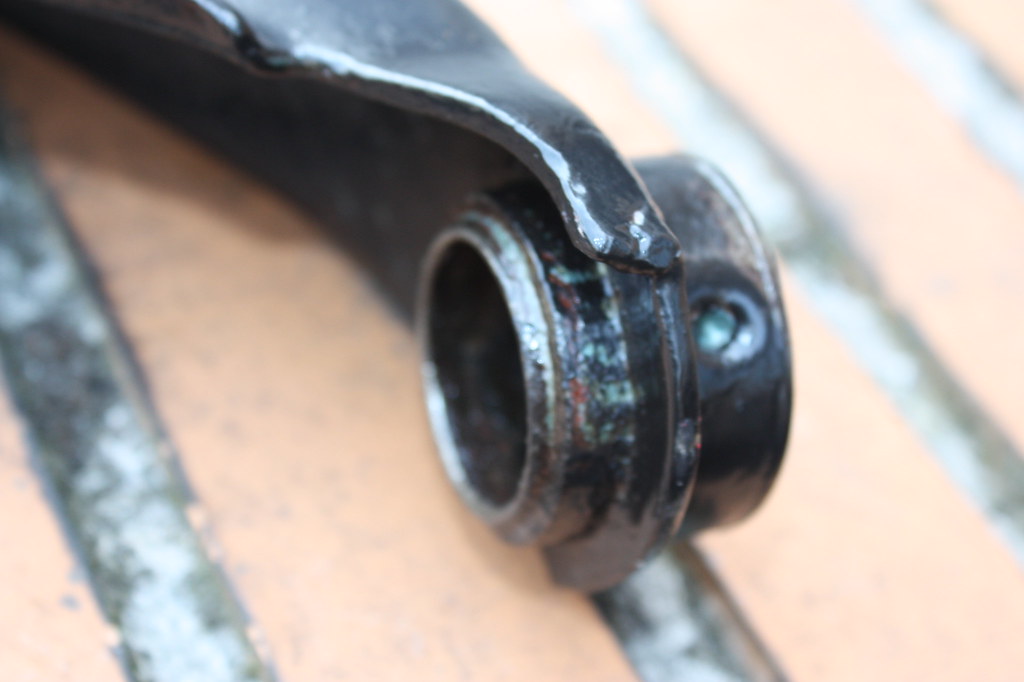 IMG_3034 IMG_3034 by frederikleyers, on Flickr 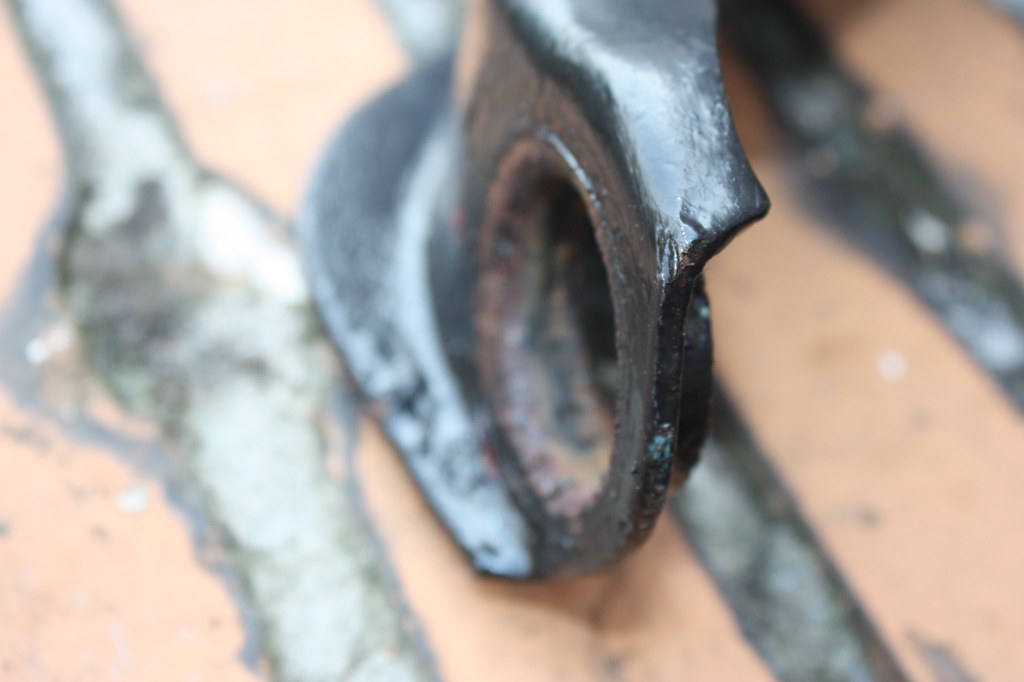 IMG_3035 IMG_3035 by frederikleyers, on Flickr 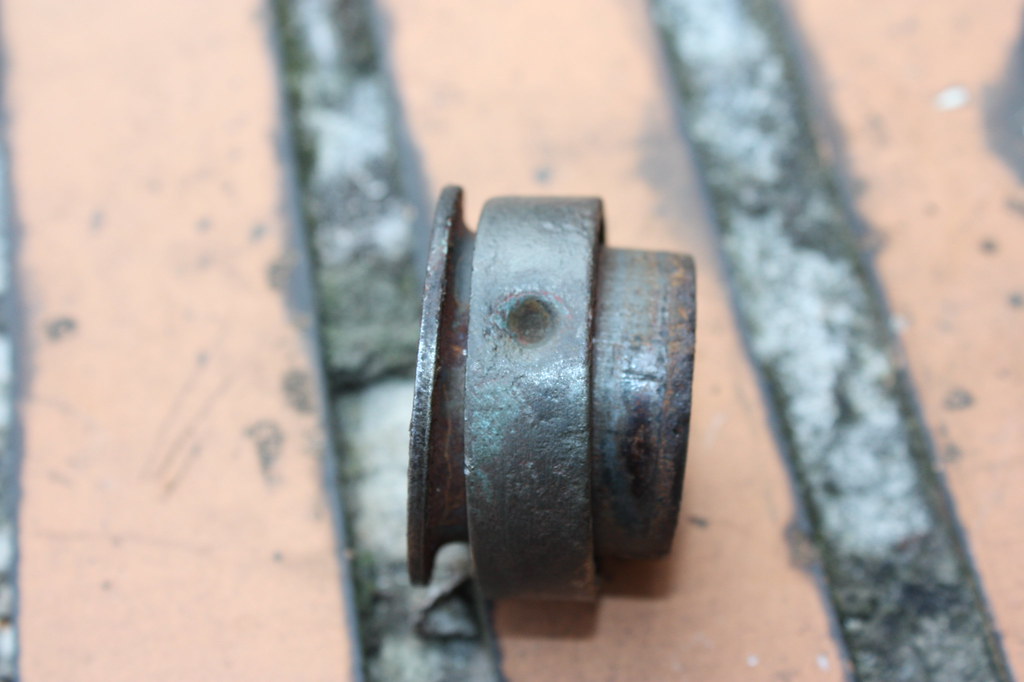 IMG_3036 IMG_3036 by frederikleyers, on Flickr 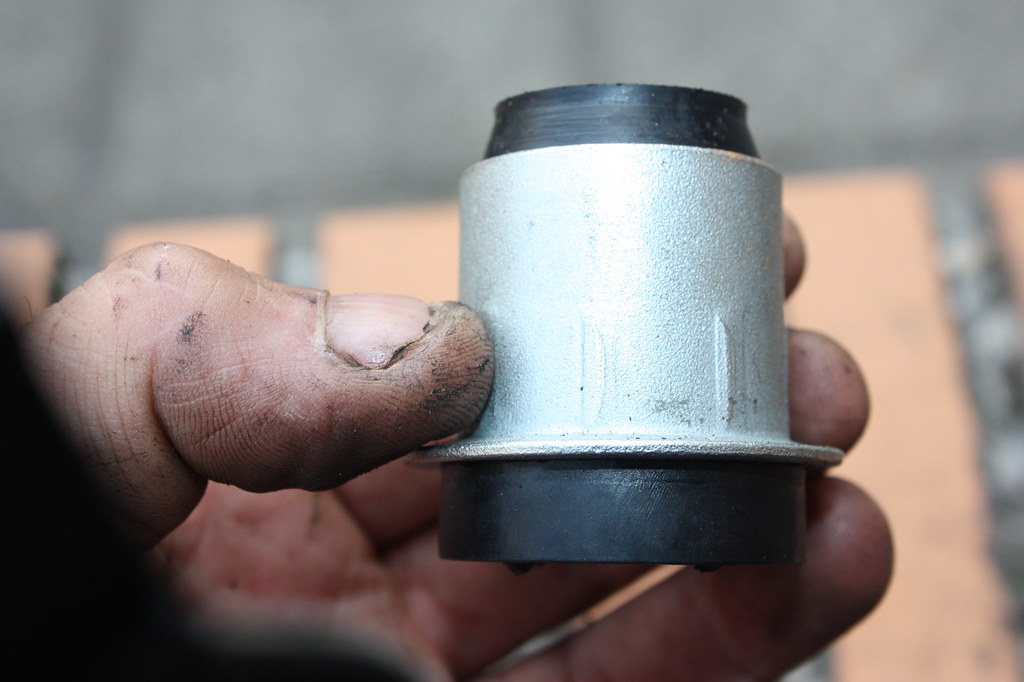 IMG_3037 IMG_3037 by frederikleyers, on Flickr 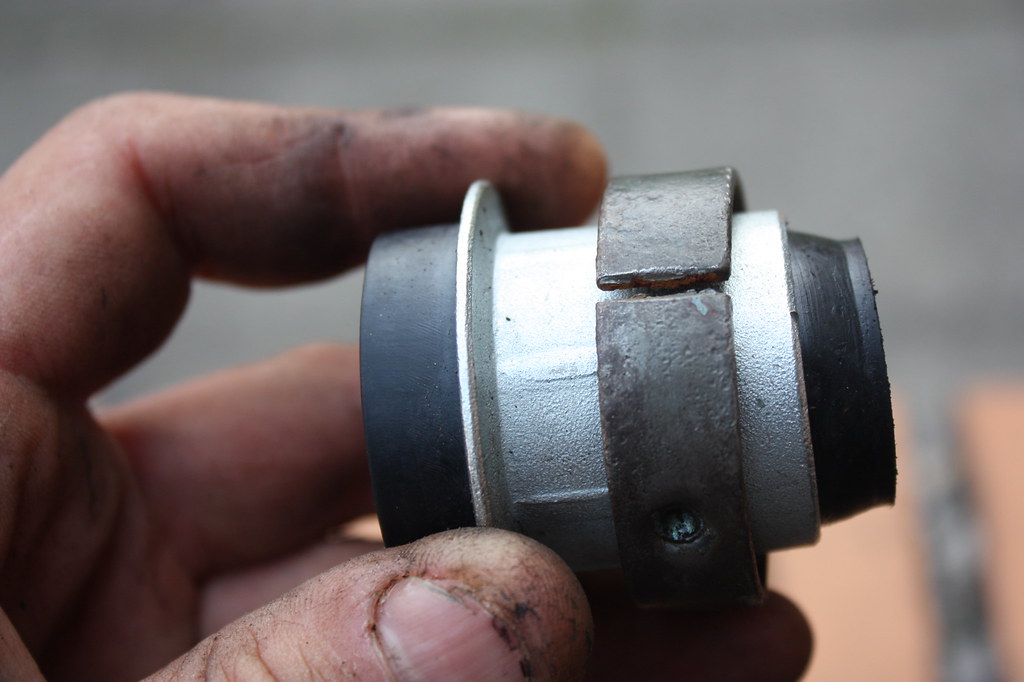 IMG_3038 IMG_3038 by frederikleyers, on Flickr  IMG_3039 IMG_3039 by frederikleyers, on Flickr  IMG_3040 IMG_3040 by frederikleyers, on Flickr |
|
|
|
« Last Edit: August 26, 2017, 09:44:05 PM by fred2660 »
|
 Logged
|
|
|
|
|
peteracs
|
 |
« Reply #41 on: August 27, 2017, 10:51:44 PM » |
|
Hi
For the front bushes, a press or long bolt etc will do to get the new bushes in. I used Poly ones and I put the bushes in first by hand and then pressed the central spindles in after, cannot remember if I needed to use a bolt to do it or not, guess it depends how difficult the bushes prove to be.
Peter
|
|
|
|
|
 Logged
|
Beta Spyder S2 pre F/L 1600
Beta HPE S2 pre F/L 1600
|
|
|
|
fred2660
|
 |
« Reply #42 on: September 27, 2017, 07:01:44 PM » |
|
a little update after a lot off work. reinstalled back suspension making new brake pipes painted tha interior took the engine out ... 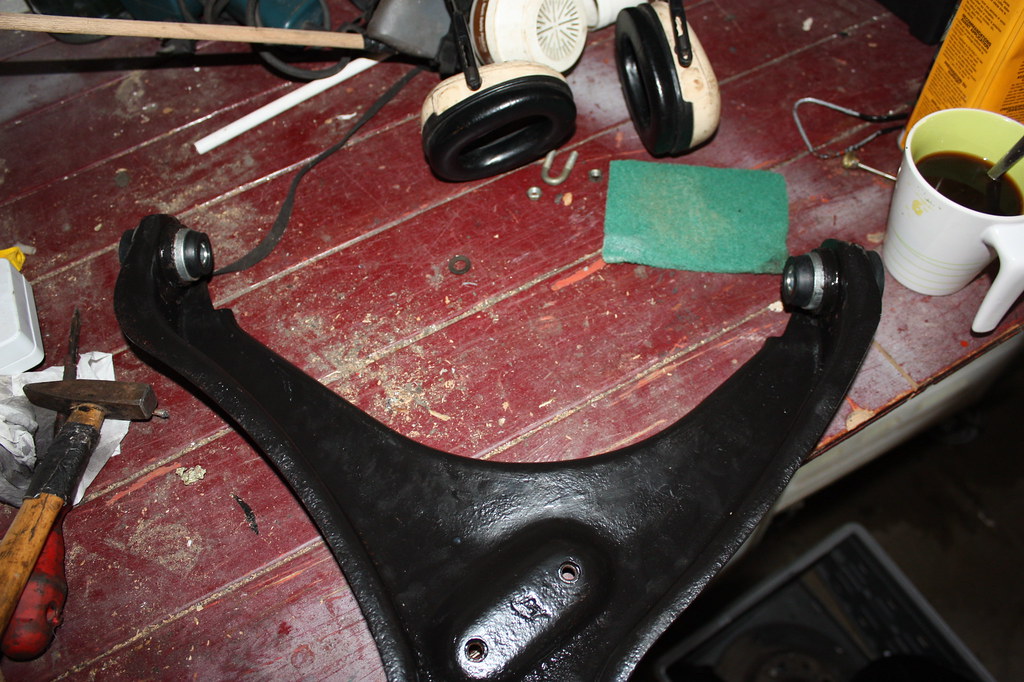 IMG_3042 IMG_3042 by frederikleyers, on Flickr 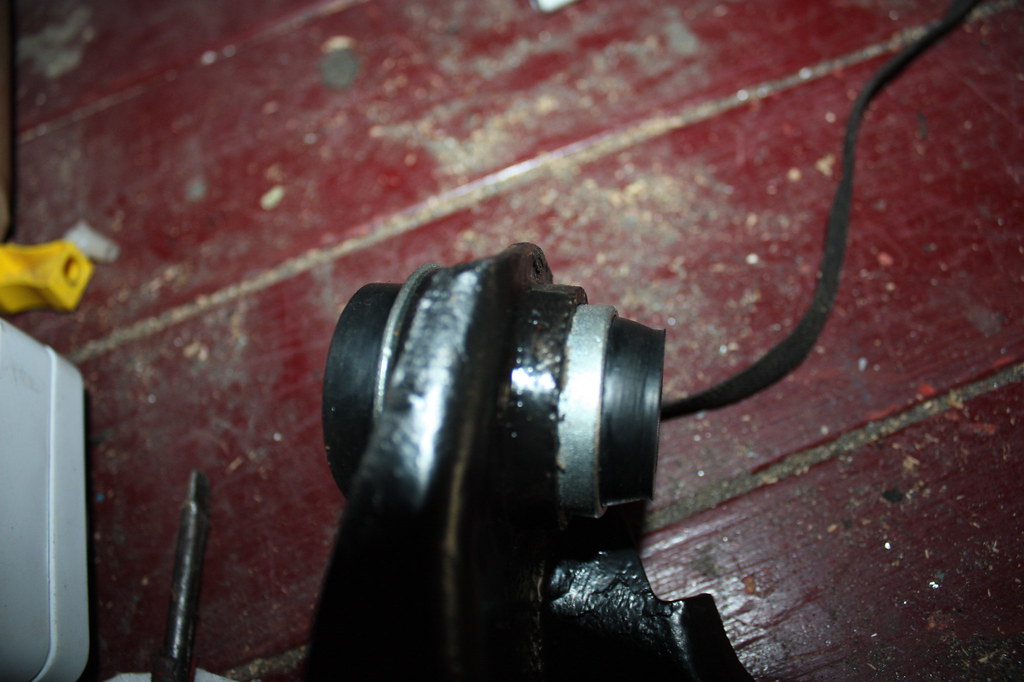 IMG_3043 IMG_3043 by frederikleyers, on Flickr 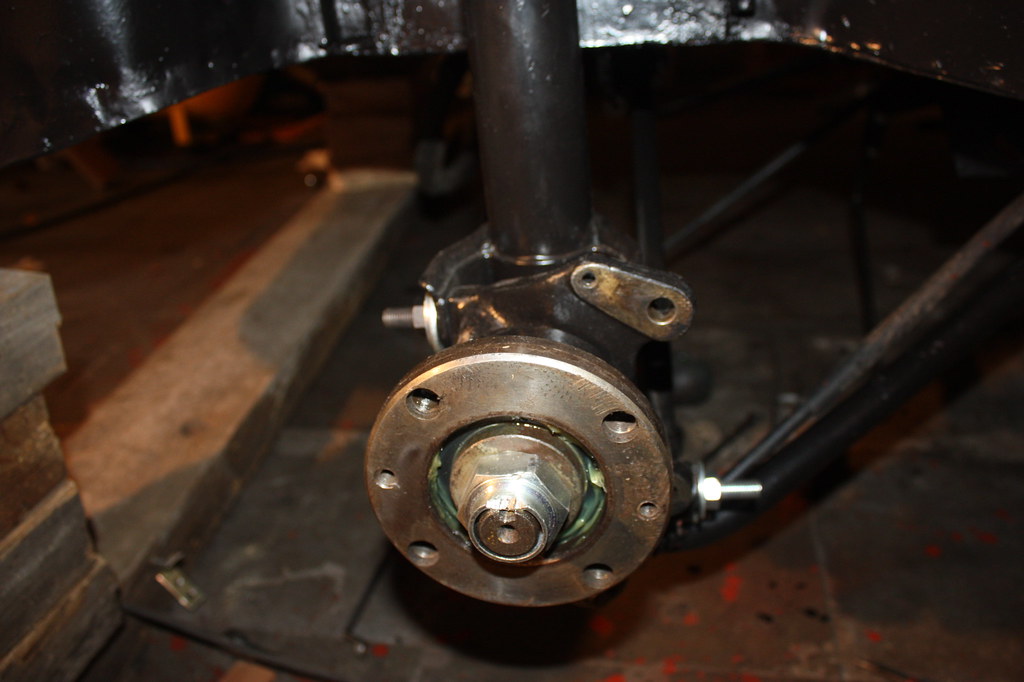 IMG_3066 IMG_3066 by frederikleyers, on Flickr 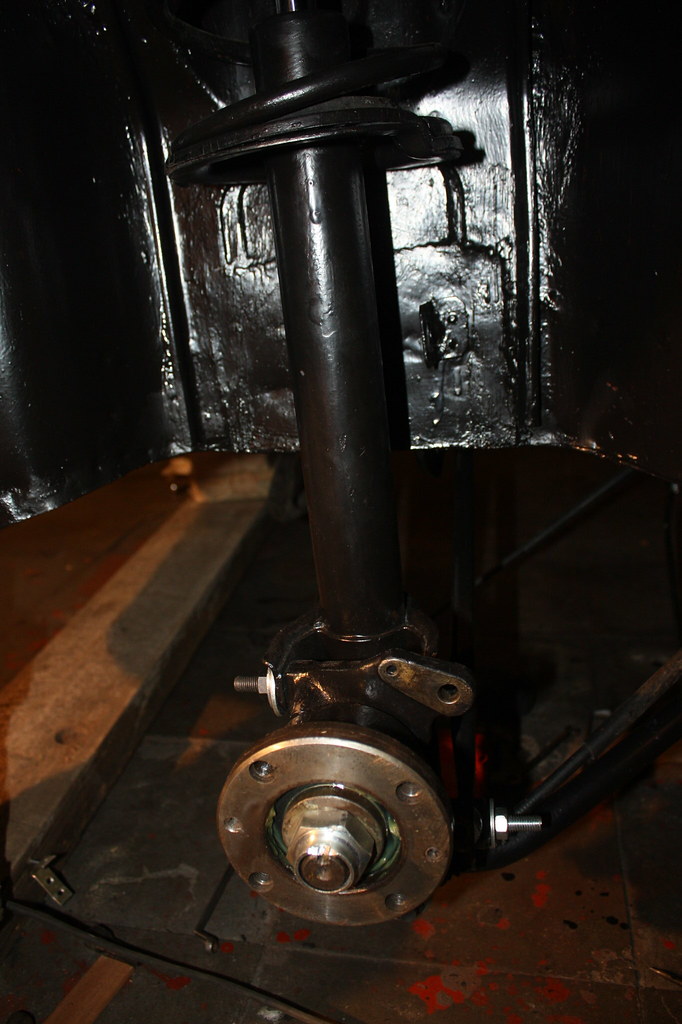 IMG_3067 IMG_3067 by frederikleyers, on Flickr 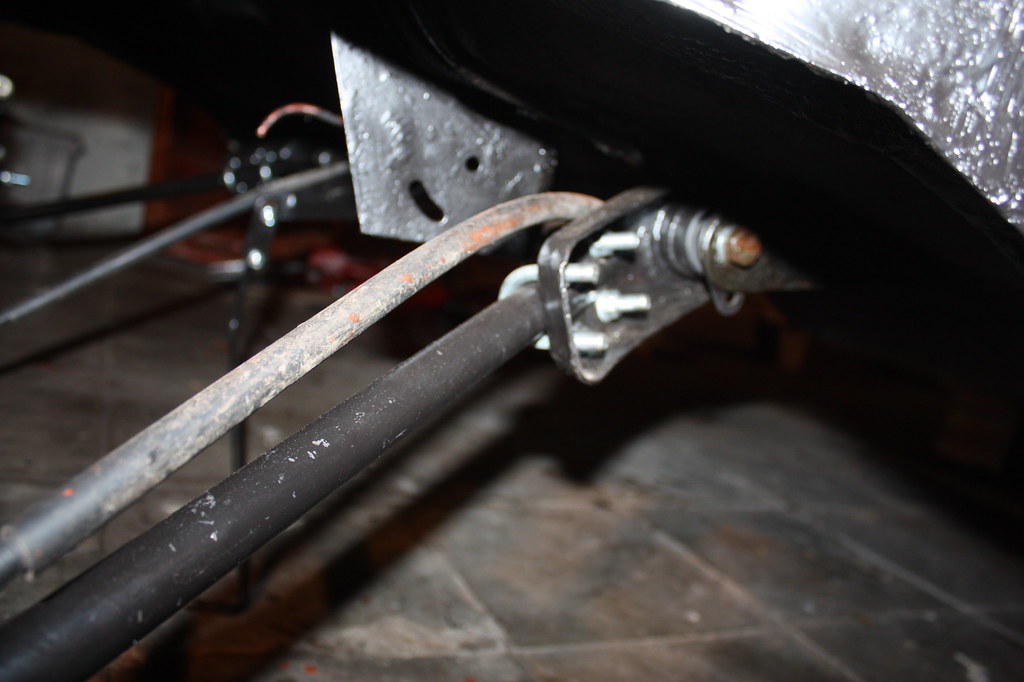 IMG_3068 IMG_3068 by frederikleyers, on Flickr 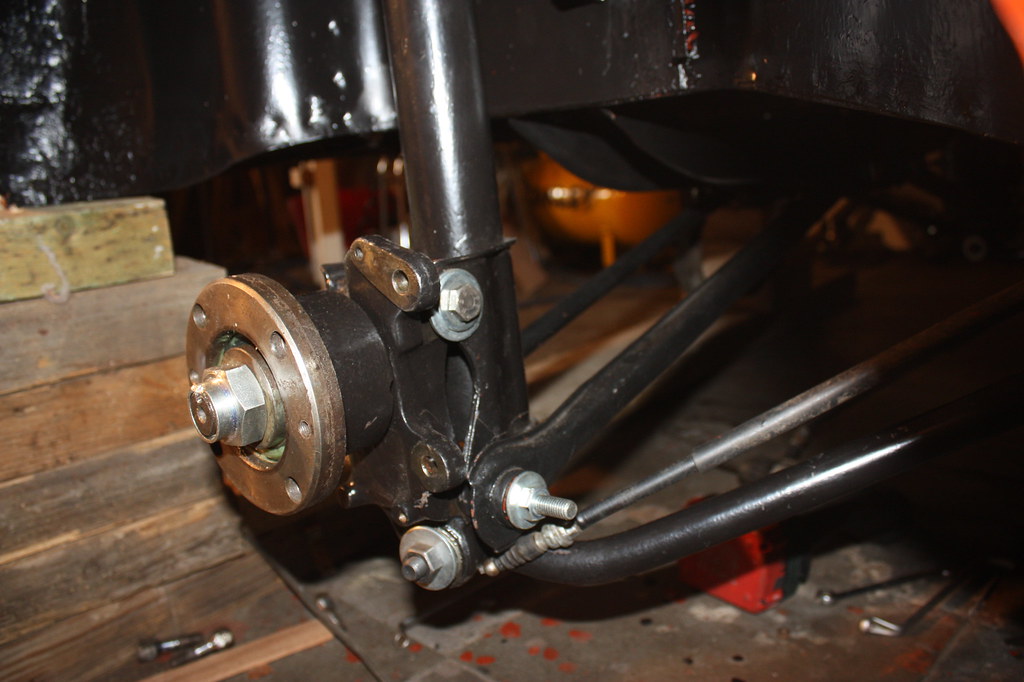 IMG_3069 IMG_3069 by frederikleyers, on Flickr 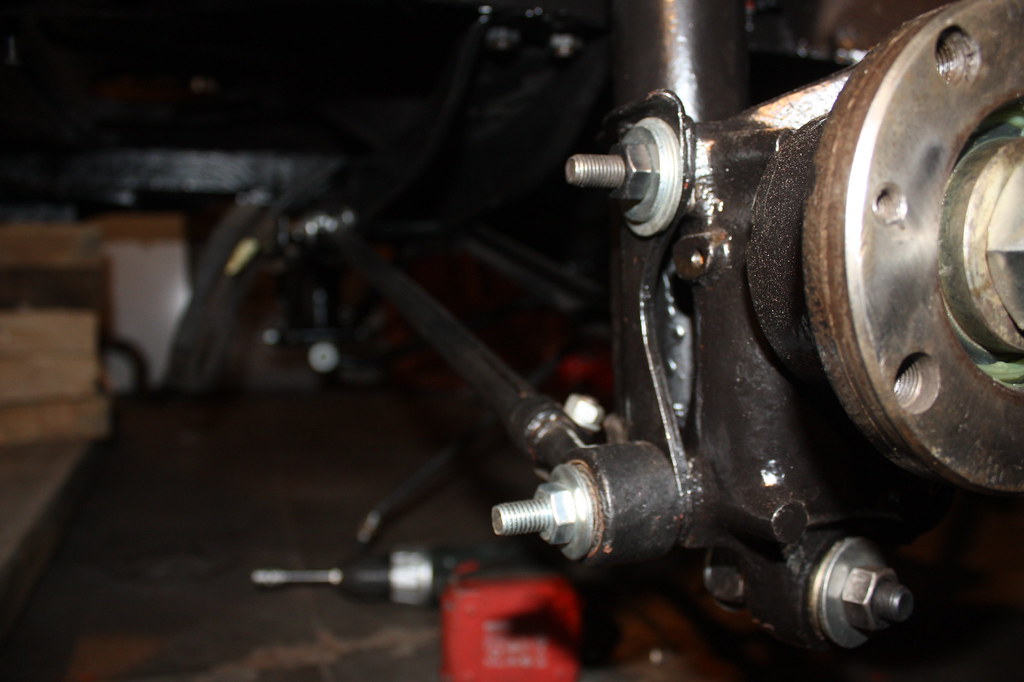 IMG_3070 IMG_3070 by frederikleyers, on Flickr 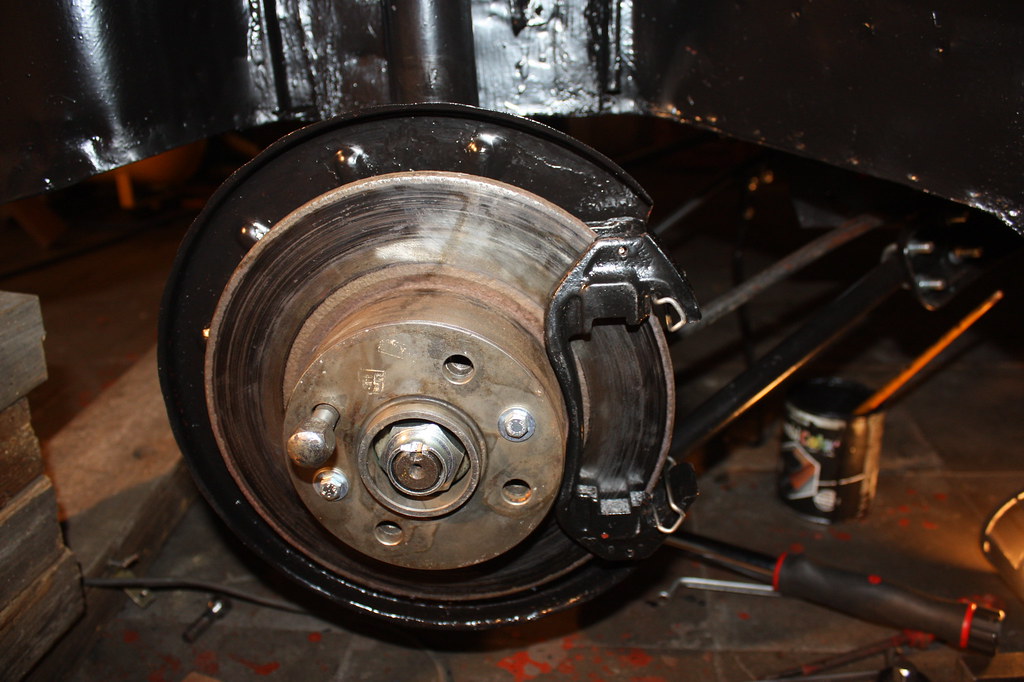 IMG_3071 IMG_3071 by frederikleyers, on Flickr  IMG_3127 IMG_3127 by frederikleyers, on Flickr 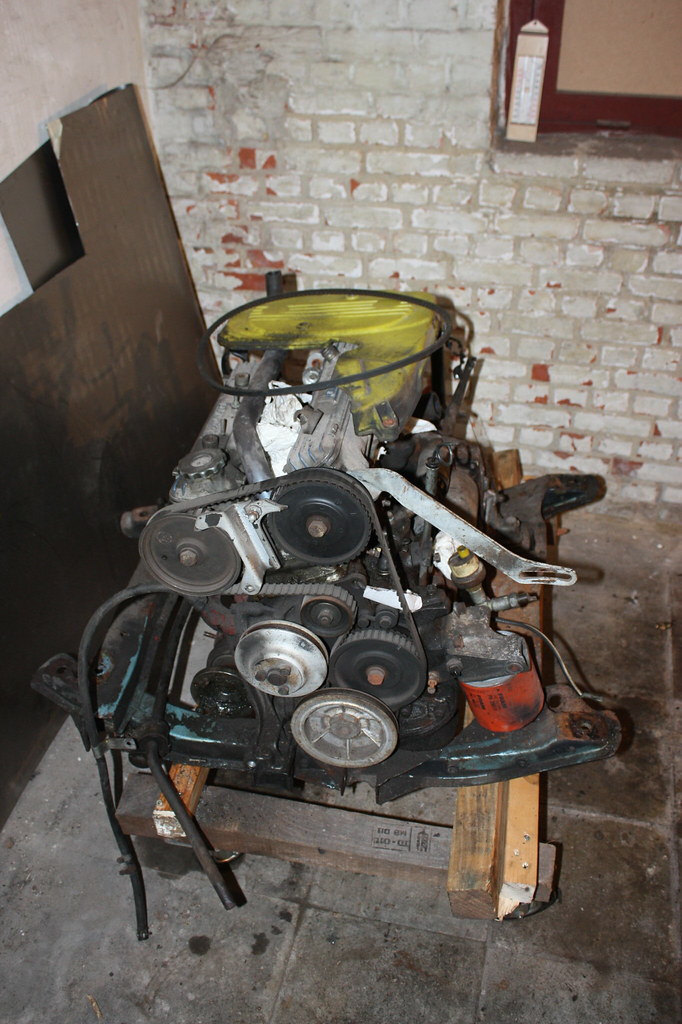 IMG_3129 IMG_3129 by frederikleyers, on Flickr 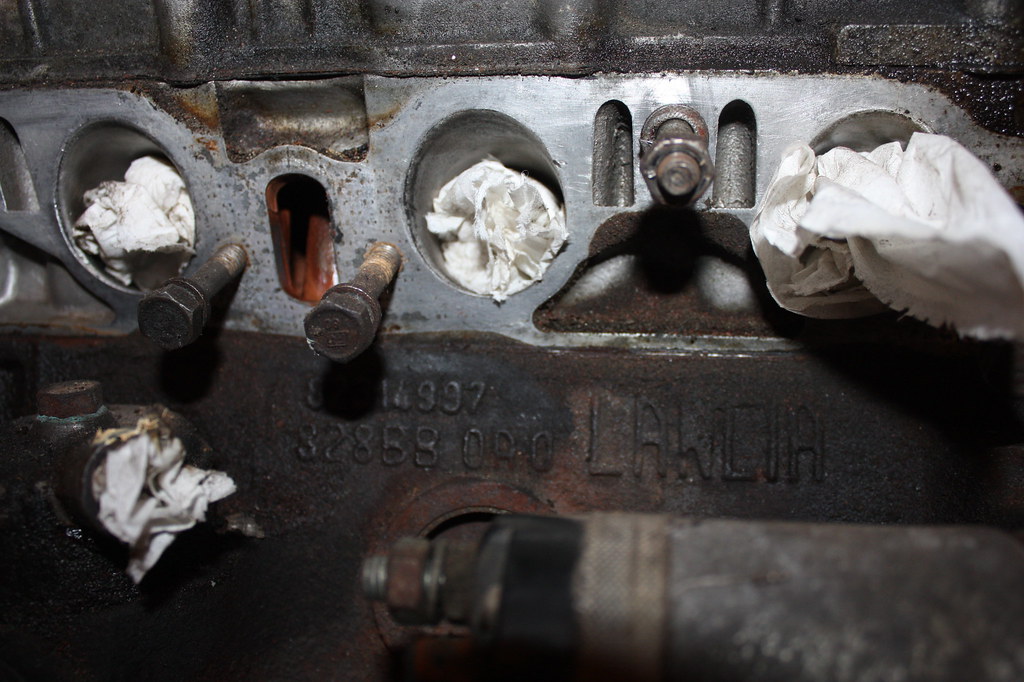 IMG_3130 IMG_3130 by frederikleyers, on Flickr 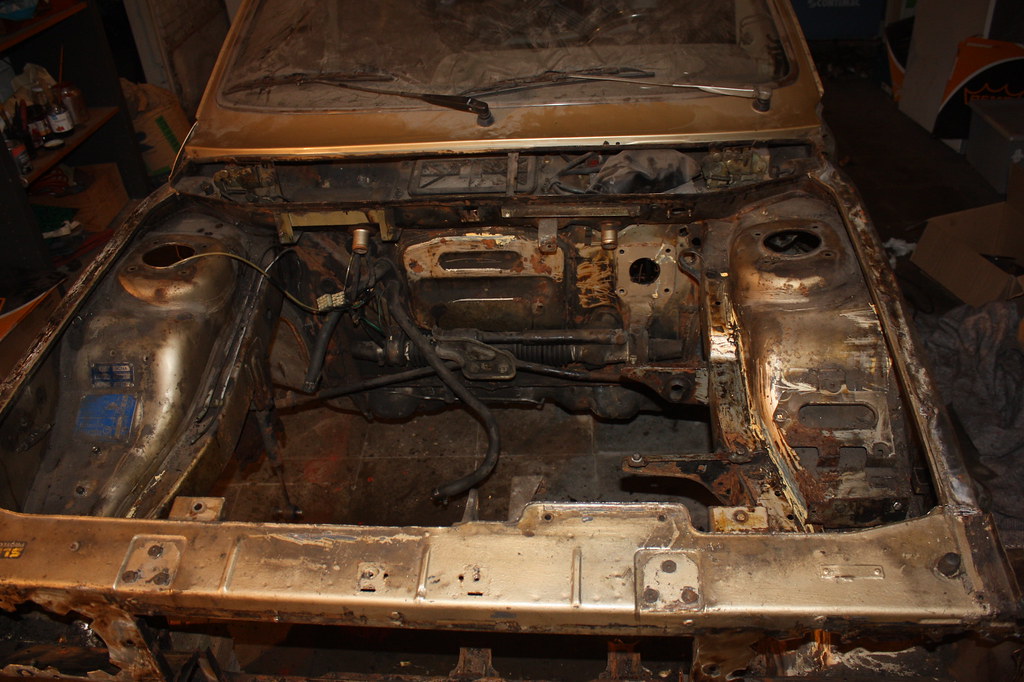 IMG_3132 IMG_3132 by frederikleyers, on Flickr  IMG_3133 IMG_3133 by frederikleyers, on Flickr  IMG_3134 IMG_3134 by frederikleyers, on Flickr 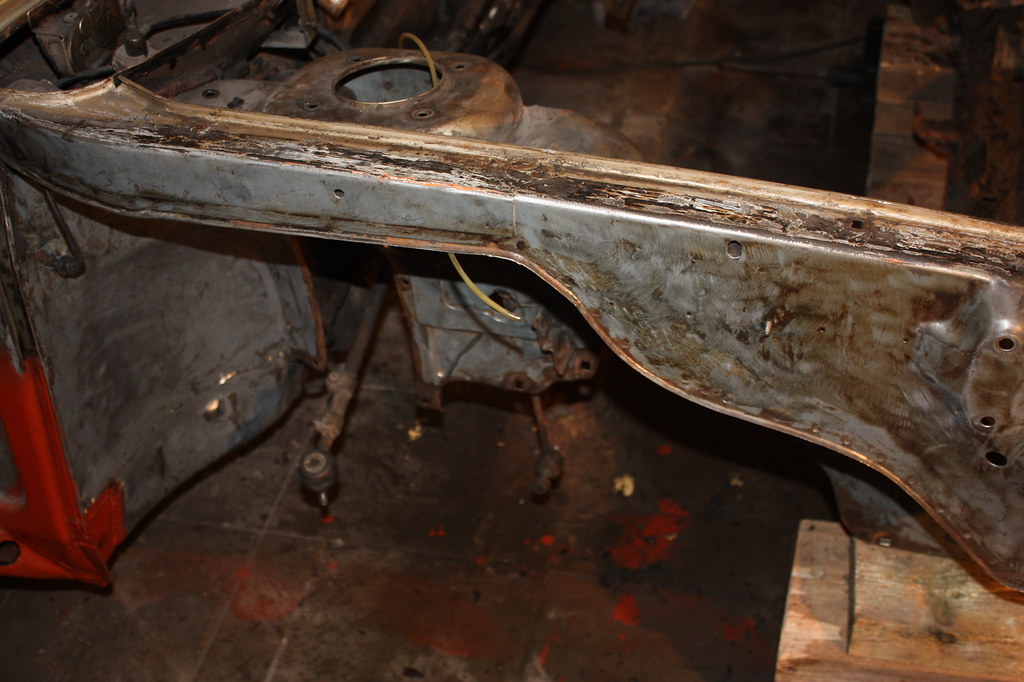 IMG_3137 IMG_3137 by frederikleyers, on Flickr  IMG_3138 IMG_3138 by frederikleyers, on Flickr 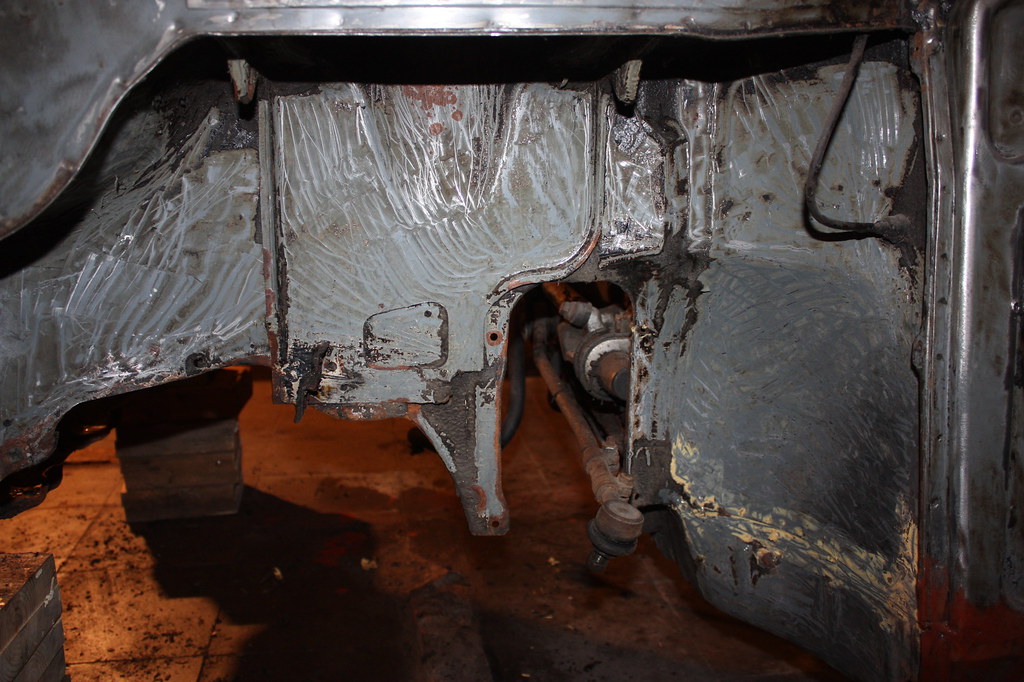 IMG_3139 IMG_3139 by frederikleyers, on Flickr 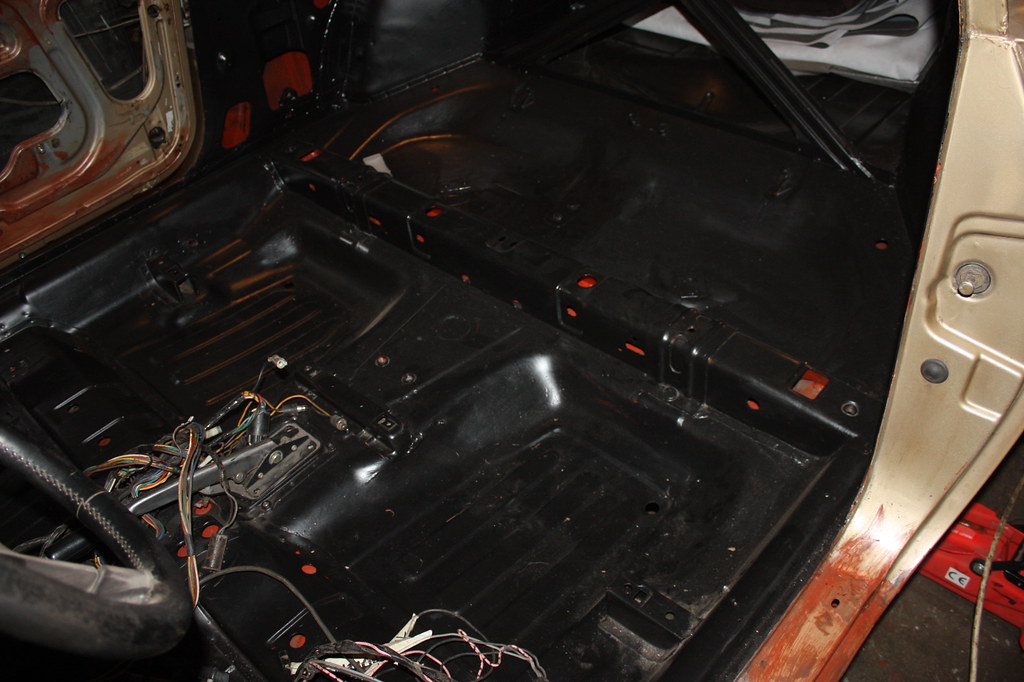 IMG_3140 IMG_3140 by frederikleyers, on Flickr 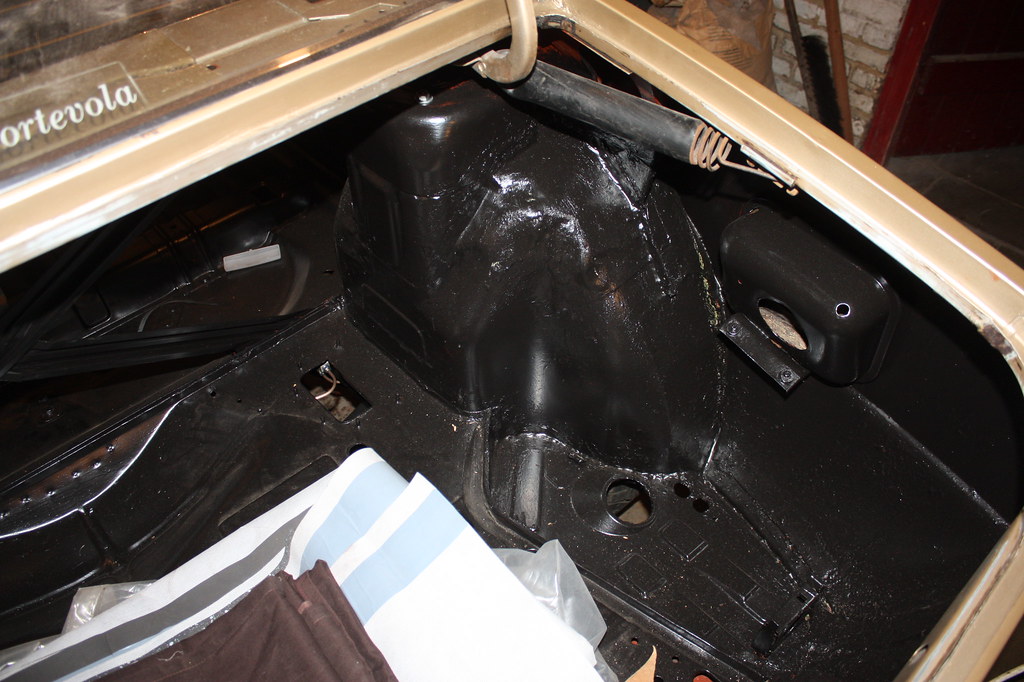 IMG_3141 IMG_3141 by frederikleyers, on Flickr 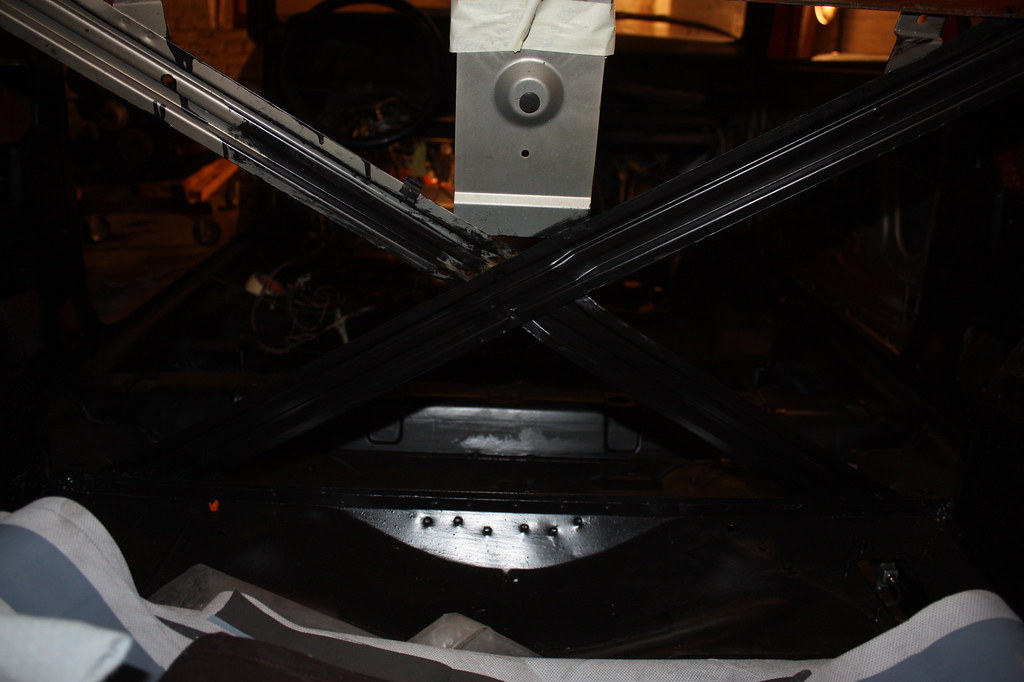 IMG_3143 IMG_3143 by frederikleyers, on Flickr 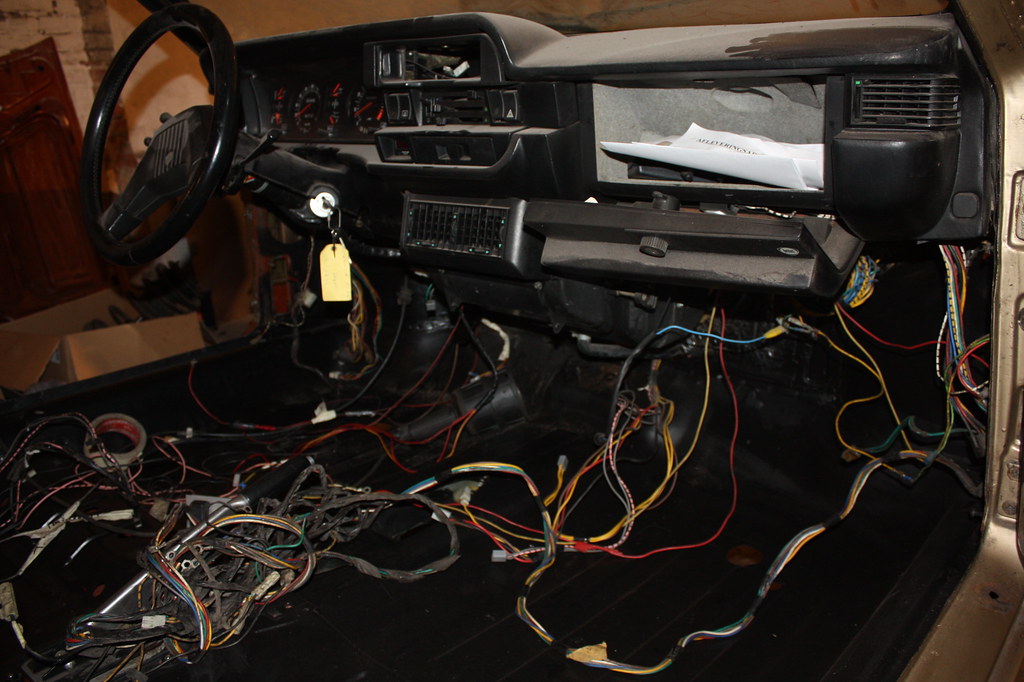 IMG_3144 IMG_3144 by frederikleyers, on Flickr 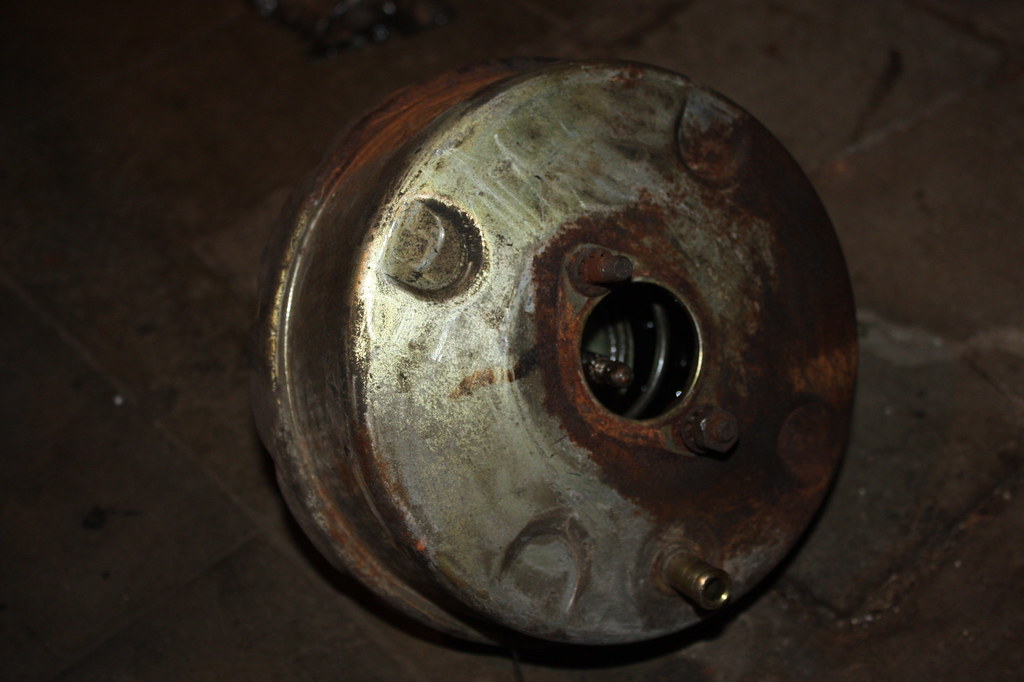 IMG_3145 IMG_3145 by frederikleyers, on Flickr 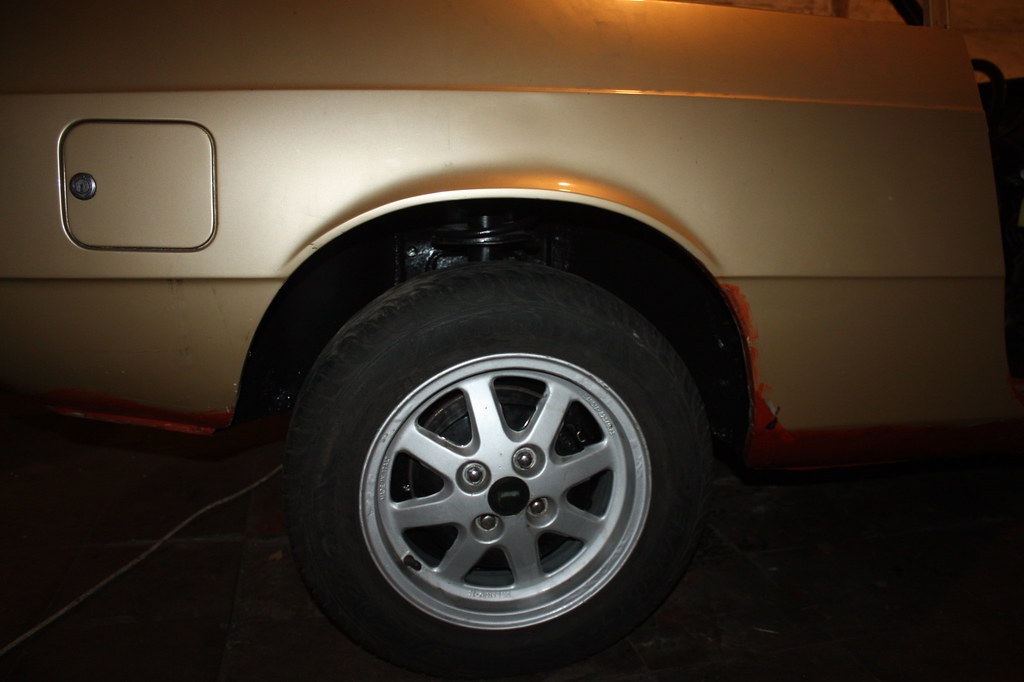 IMG_3146 IMG_3146 by frederikleyers, on Flickr  IMG_3147 IMG_3147 by frederikleyers, on Flickr disassembling the brake booster was hell. I couldn't reach the top bolts so I had to disassemble the pedals also (which wasnt the plan). In the haynes manual its easy explained how to take the pedals out, but reality was something else. I fear the day I have to reinstall them the engine bay is quite dirty but the metal is good. like i said earlier I installed new rear suspension struts. after installing the whole thing and putting the tires back on, it seems to me that the car is sitting high (?) like you can see on the photos. next job is cleaning and painting the engine bay, cleaning the subframe and installing the front suspension again. than I wil start with filler. greets |
|
|
|
|
 Logged
|
|
|
|
|
fred2660
|
 |
« Reply #43 on: September 29, 2017, 08:11:21 PM » |
|
remember I said the metal was good.... aaaahh wishfull thinking the lower front off the engine bay is a bit rusted. Because the subframe is bolted here to the frame , and I don't want to weld upside down no more, I've cut the whole profile out, so I can repair it in a comfortable , propper way. 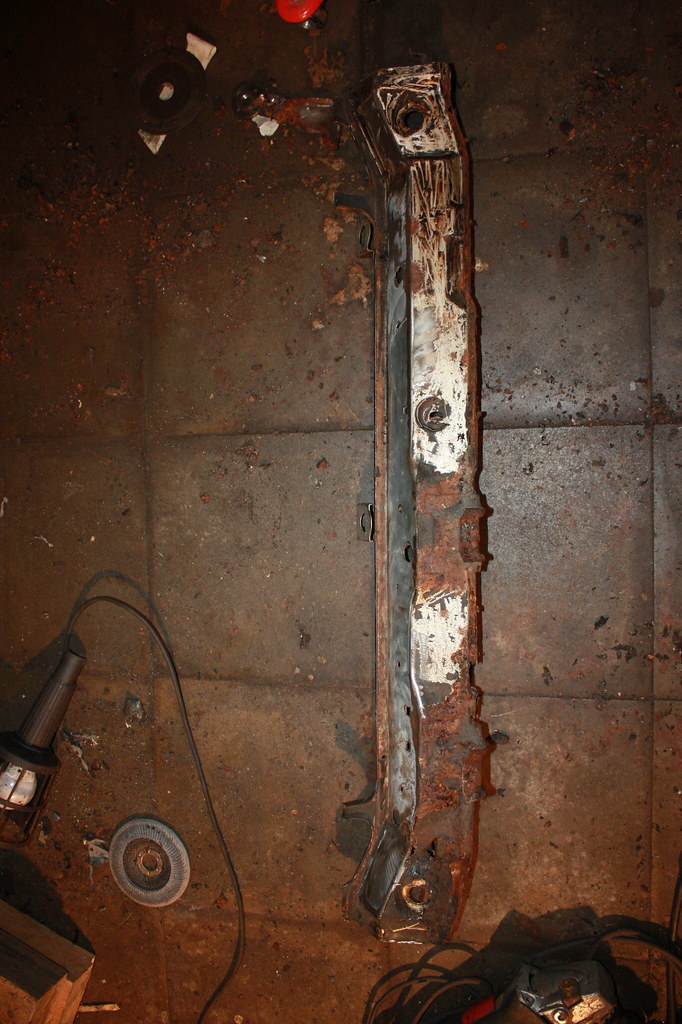 IMG_3151 IMG_3151 by frederikleyers, on Flickr 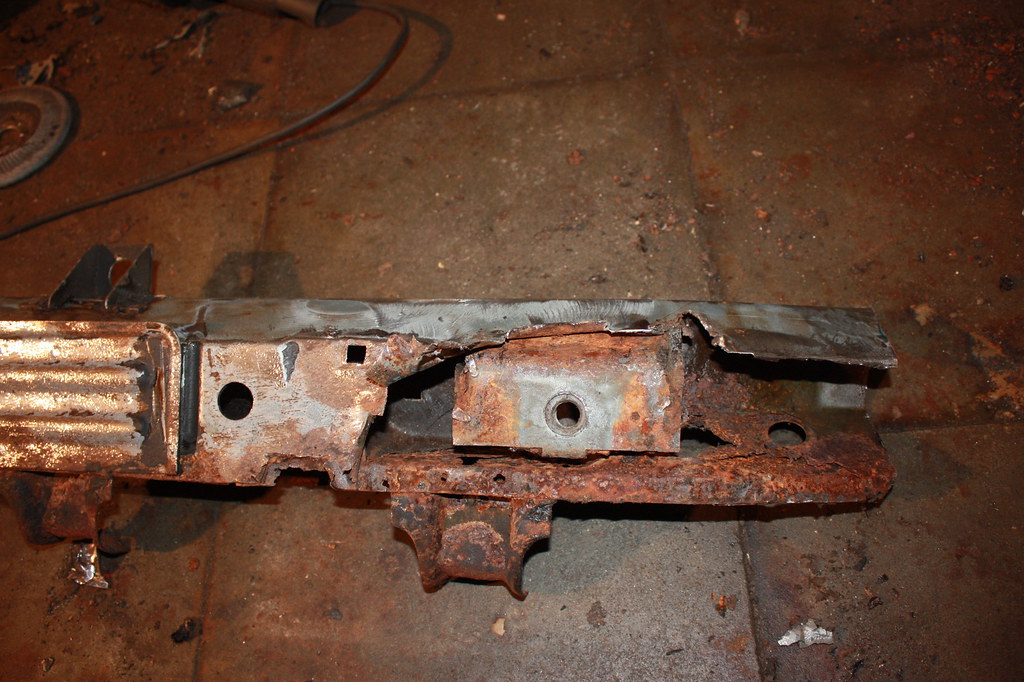 IMG_3152 IMG_3152 by frederikleyers, on Flickr 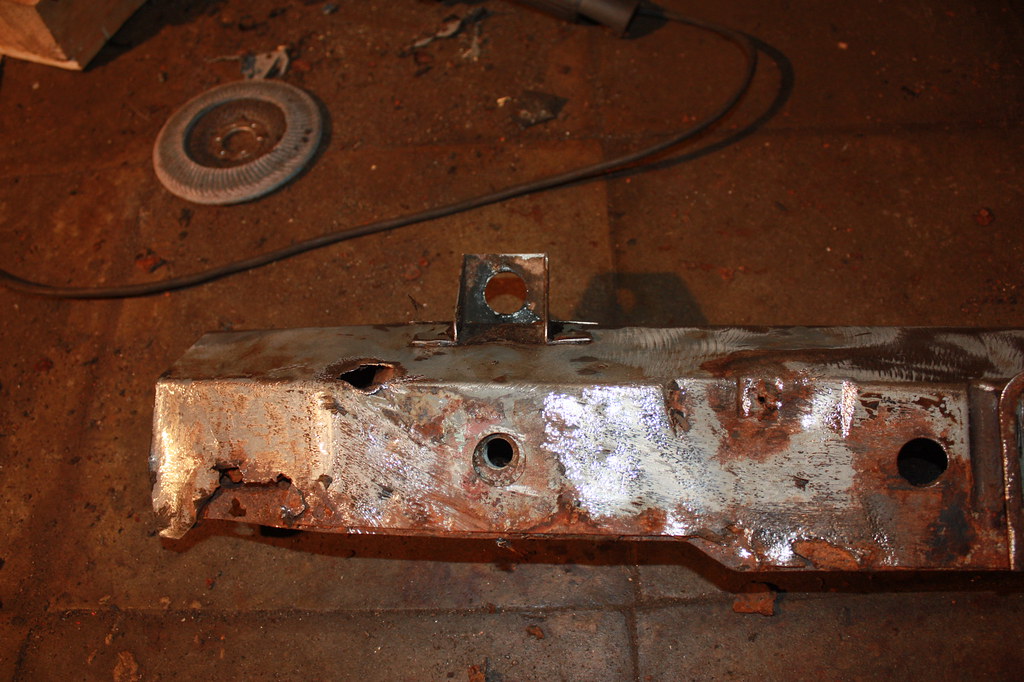 IMG_3153 IMG_3153 by frederikleyers, on Flickr  IMG_3154 IMG_3154 by frederikleyers, on Flickr 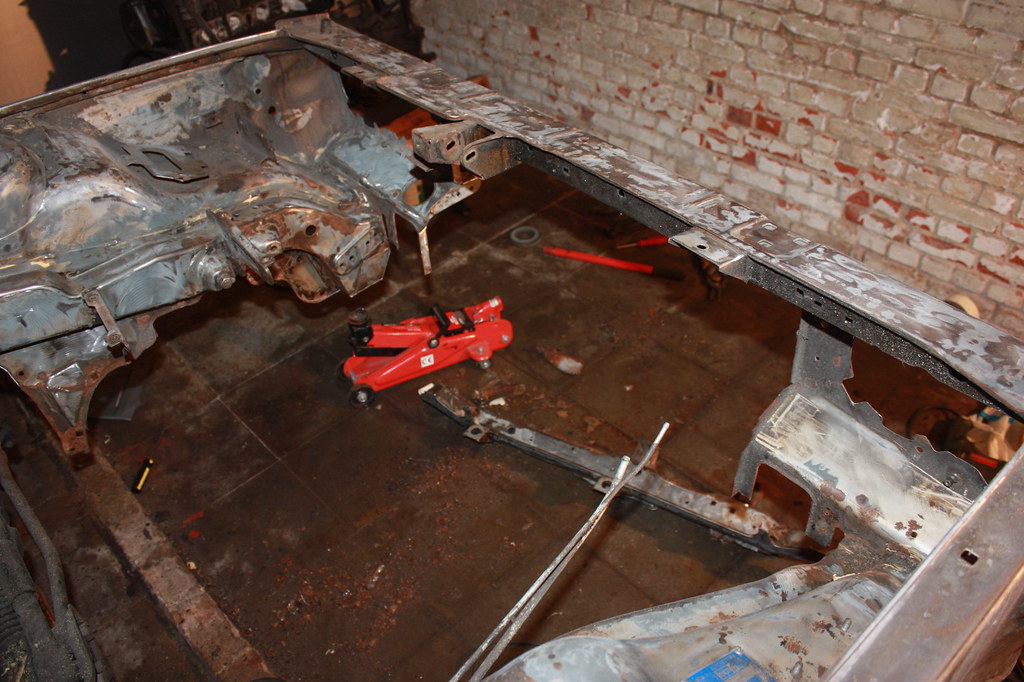 IMG_3155 IMG_3155 by frederikleyers, on Flickr 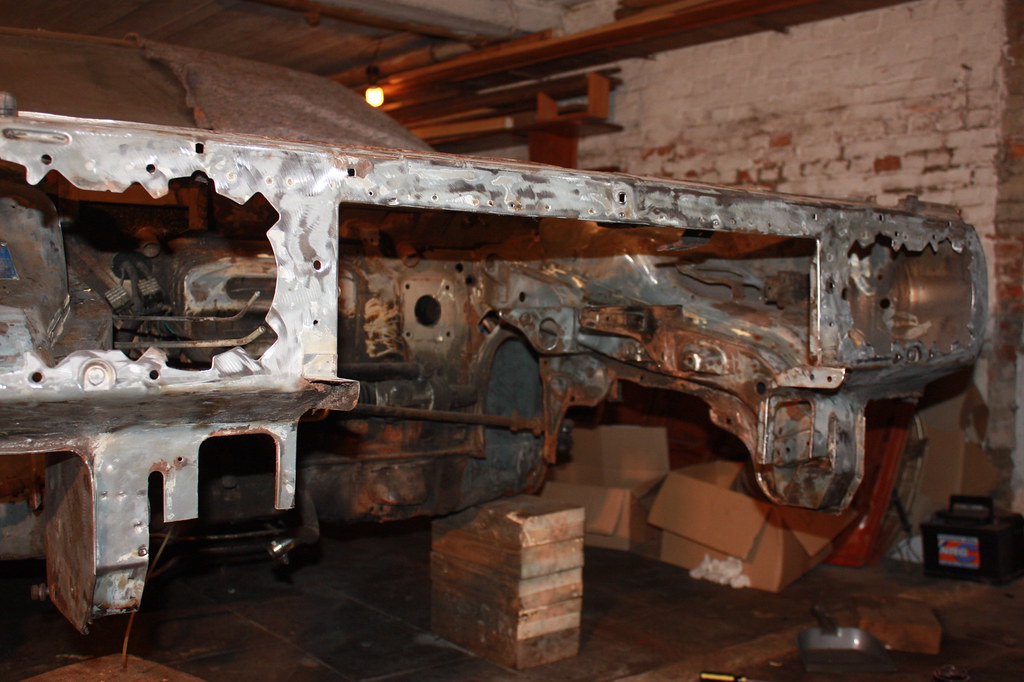 IMG_3149 IMG_3149 by frederikleyers, on Flickr |
|
|
|
|
 Logged
|
|
|
|
|
RichB
|
 |
« Reply #44 on: September 30, 2017, 01:32:27 PM » |
|
This guy deserves a medal! Keep it up Fred!
|
|
|
|
|
 Logged
|
|
|
|
|
cheeky monkey
|
 |
« Reply #45 on: September 30, 2017, 05:38:21 PM » |
|
Such well documented hard work. Please keep sharing the progress
|
|
|
|
|
 Logged
|
Graham
1979 beta coupe 1300
|
|
|
|
betaveloce
|
 |
« Reply #46 on: October 02, 2017, 12:29:29 PM » |
|
It looks like this is going to be one the best sorted Betas in Belgium when it's finished  Keep up the good work!  |
|
|
|
|
 Logged
|
Beta Coupé 1.8 '74
Beta Spider 1.6 '80
Beta HPE 2.0 i.e. '82
Delta Integrale 8V '88
Ypsilon 1.4 16V '09
|
|
|
|
smithymc
|
 |
« Reply #47 on: October 03, 2017, 07:40:56 AM » |
|
Inspirational work all round.
Keep it up.
Mark
|
|
|
|
|
 Logged
|
|
|
|
|
betaveloce
|
 |
« Reply #48 on: October 03, 2017, 08:38:24 AM » |
|
|
|
|
|
|
 Logged
|
Beta Coupé 1.8 '74
Beta Spider 1.6 '80
Beta HPE 2.0 i.e. '82
Delta Integrale 8V '88
Ypsilon 1.4 16V '09
|
|
|
|
fred2660
|
 |
« Reply #49 on: October 07, 2017, 07:42:22 PM » |
|
thanks boys for the coments @betaveloce: If i had the space... I repared the front profile. there was quite a lot of rust and i had to replace a lot of metal. I decided not to cut(?) the welds away. the welding is going better and better 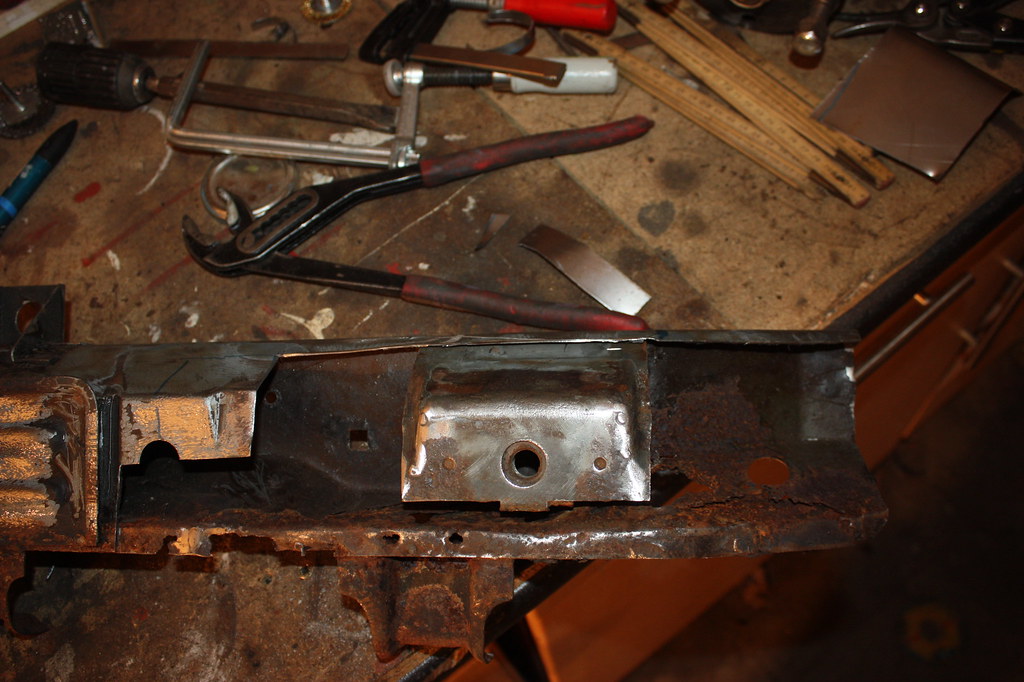 IMG_3156 IMG_3156 by frederikleyers, on Flickr 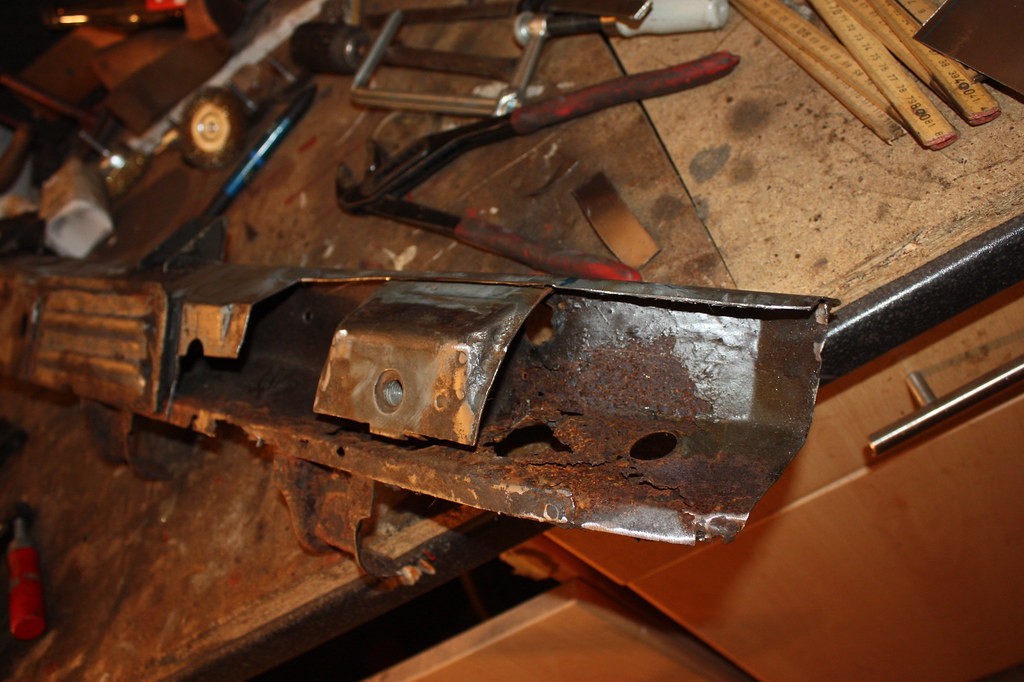 IMG_3157 IMG_3157 by frederikleyers, on Flickr  IMG_3158 IMG_3158 by frederikleyers, on Flickr  IMG_3159 IMG_3159 by frederikleyers, on Flickr 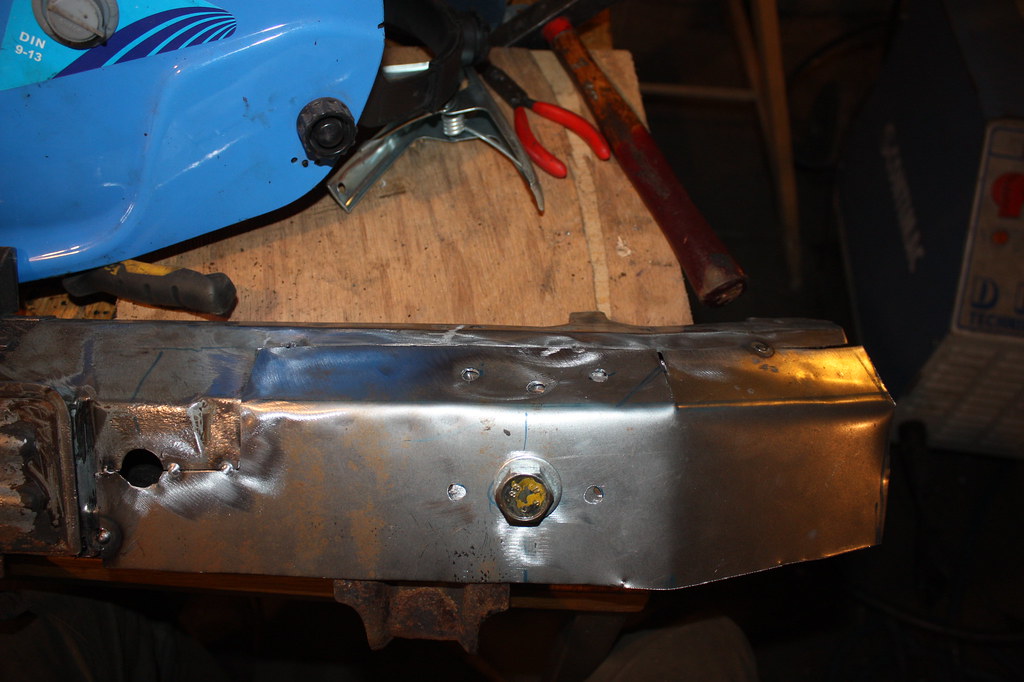 IMG_3160 IMG_3160 by frederikleyers, on Flickr 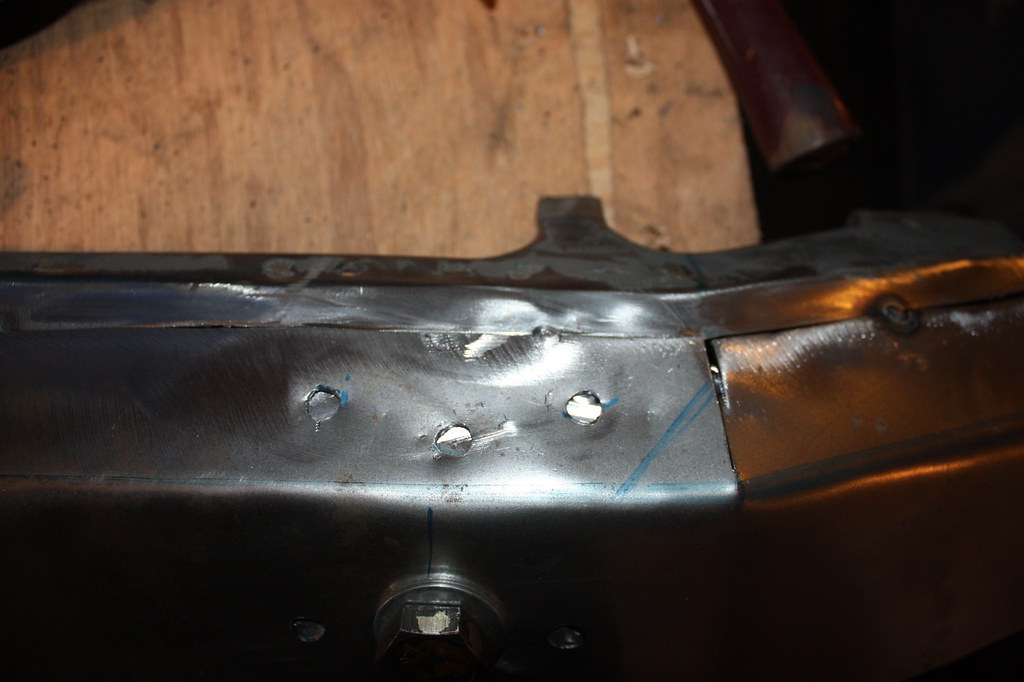 IMG_3161 IMG_3161 by frederikleyers, on Flickr 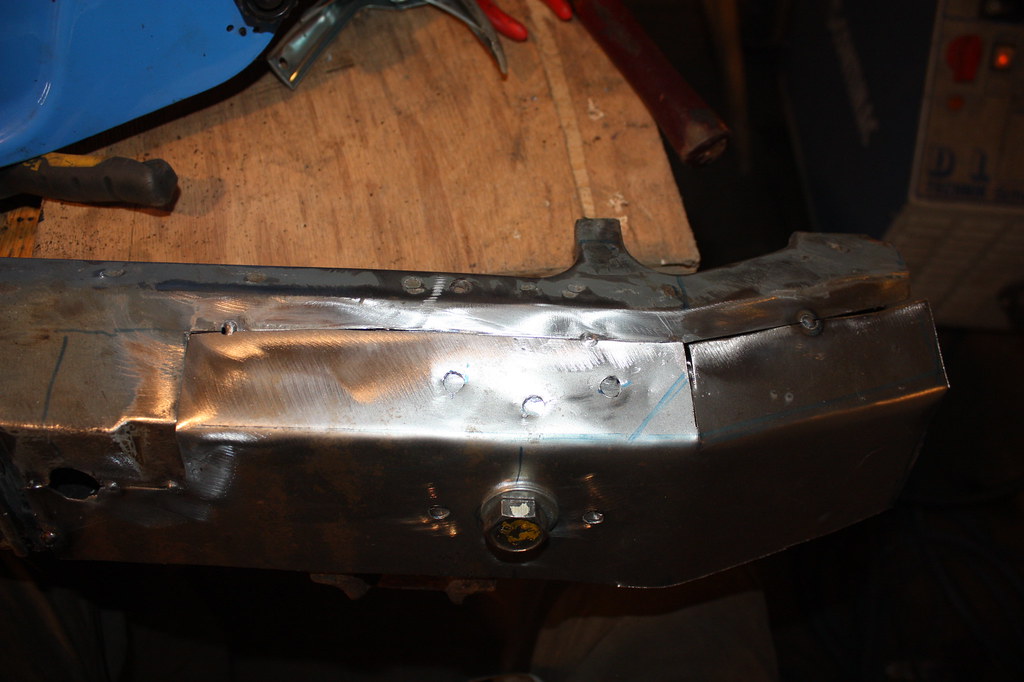 IMG_3162 IMG_3162 by frederikleyers, on Flickr 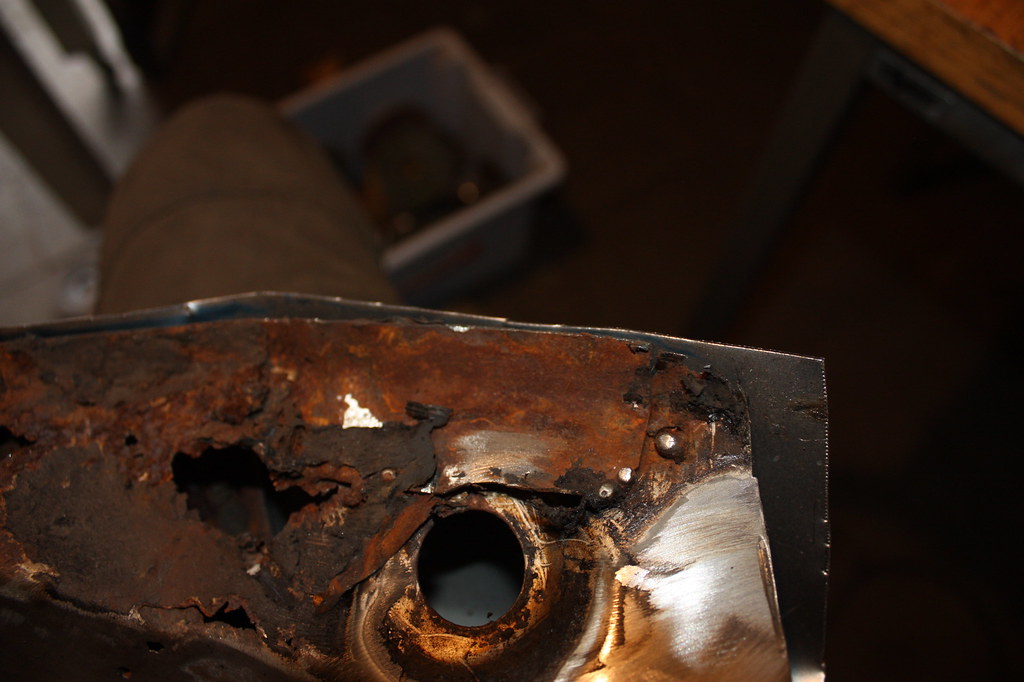 IMG_3163 IMG_3163 by frederikleyers, on Flickr  IMG_3165 IMG_3165 by frederikleyers, on Flickr  IMG_3166 IMG_3166 by frederikleyers, on Flickr  IMG_3167 IMG_3167 by frederikleyers, on Flickr 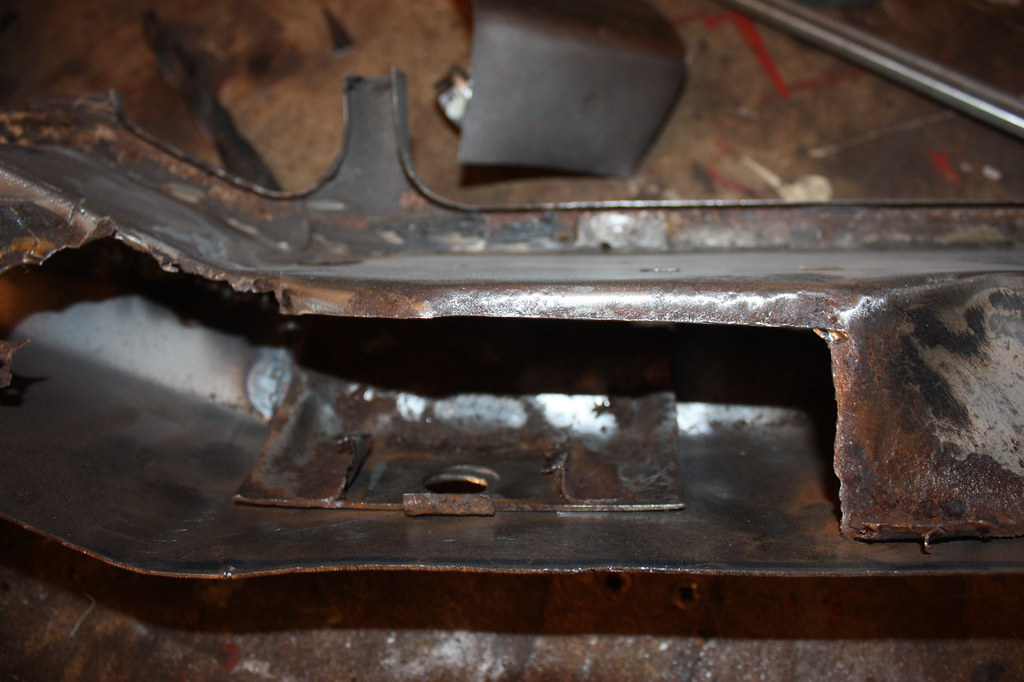 IMG_3168 IMG_3168 by frederikleyers, on Flickr 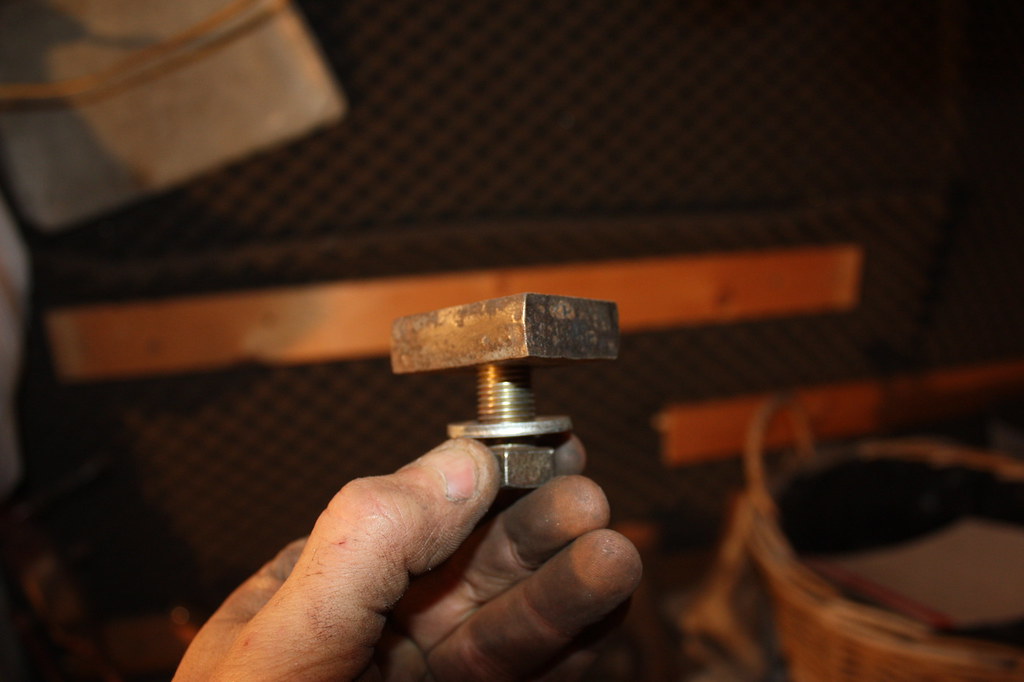 IMG_3169 IMG_3169 by frederikleyers, on Flickr 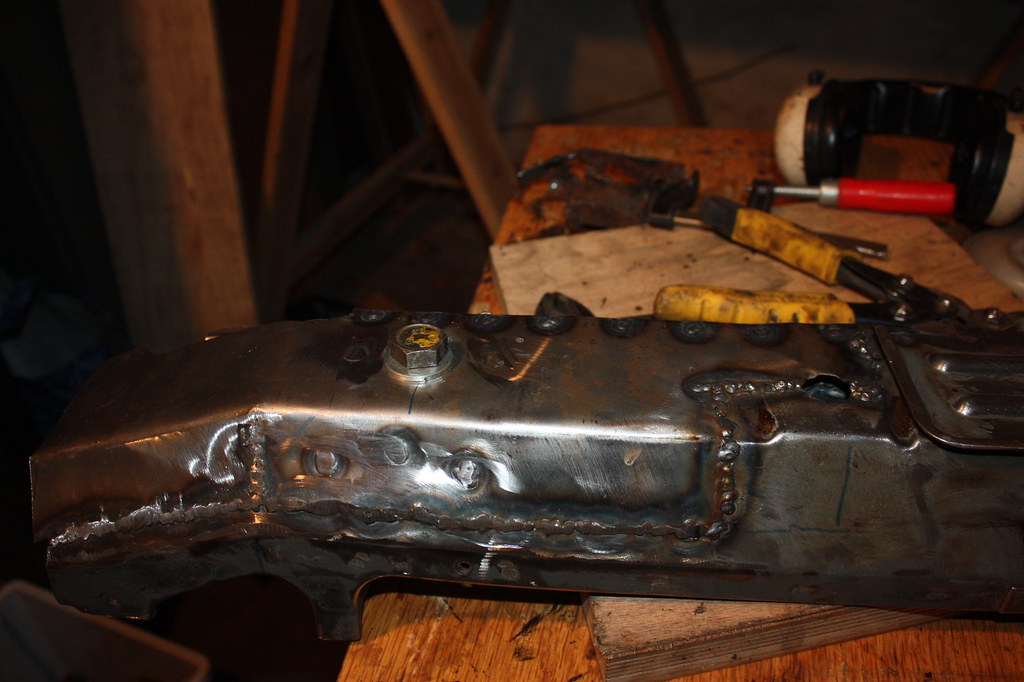 IMG_3170 IMG_3170 by frederikleyers, on Flickr 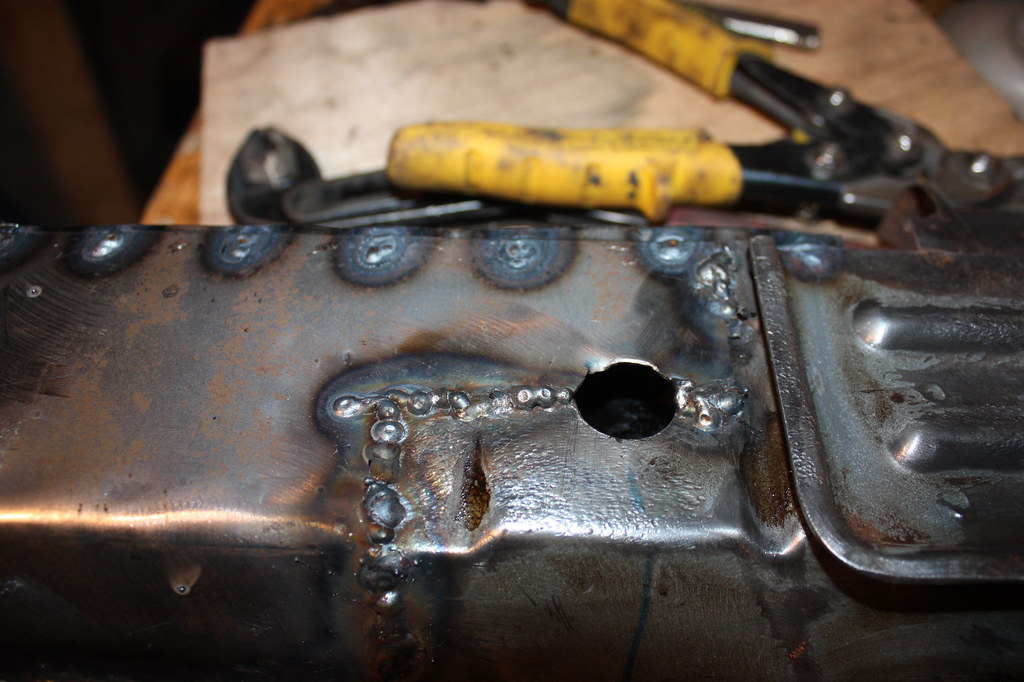 IMG_3171 IMG_3171 by frederikleyers, on Flickr 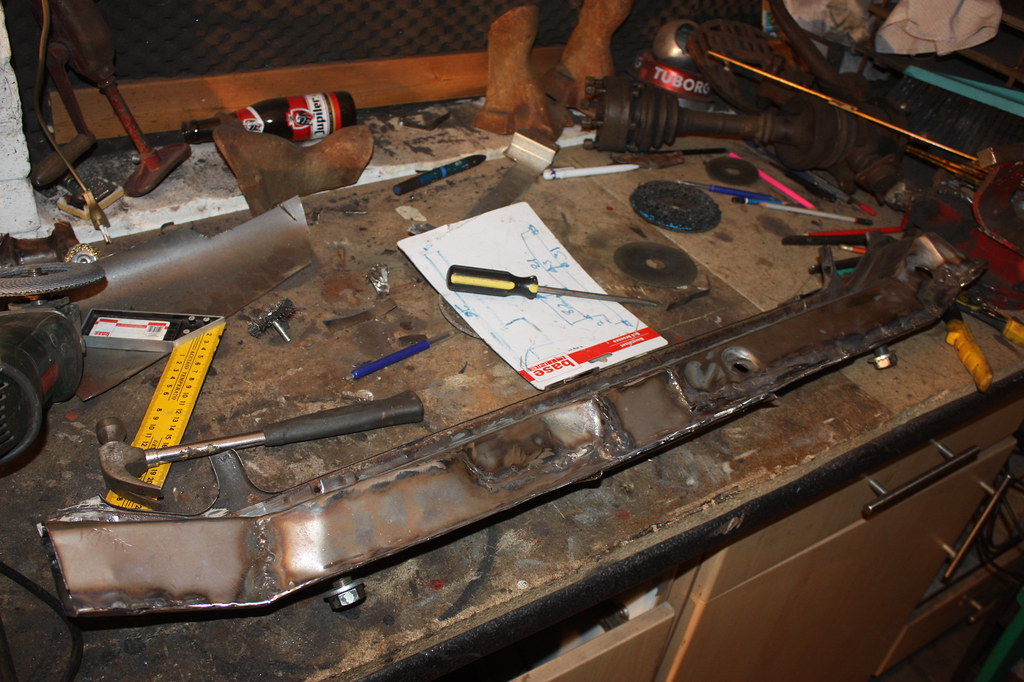 IMG_3206 IMG_3206 by frederikleyers, on Flickr 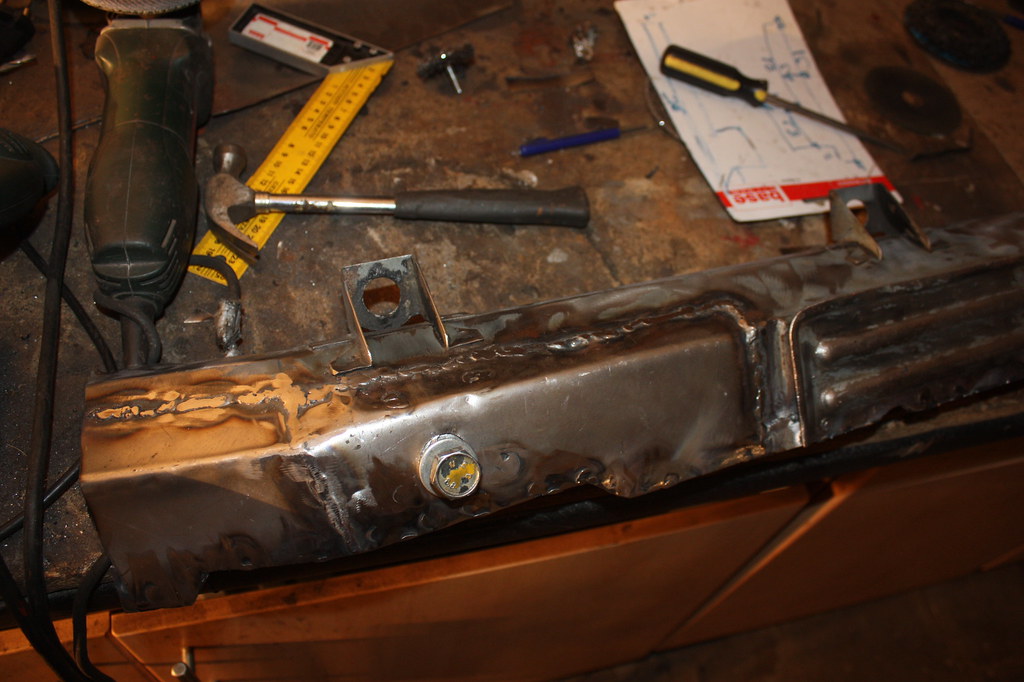 IMG_3207 IMG_3207 by frederikleyers, on Flickr 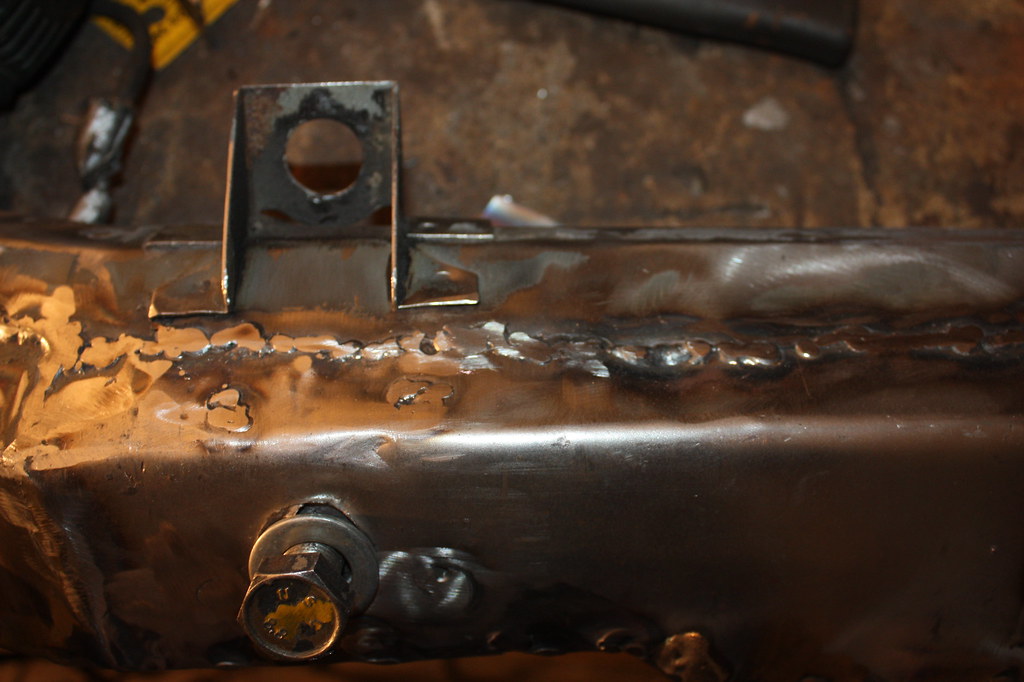 IMG_3209 IMG_3209 by frederikleyers, on Flickr 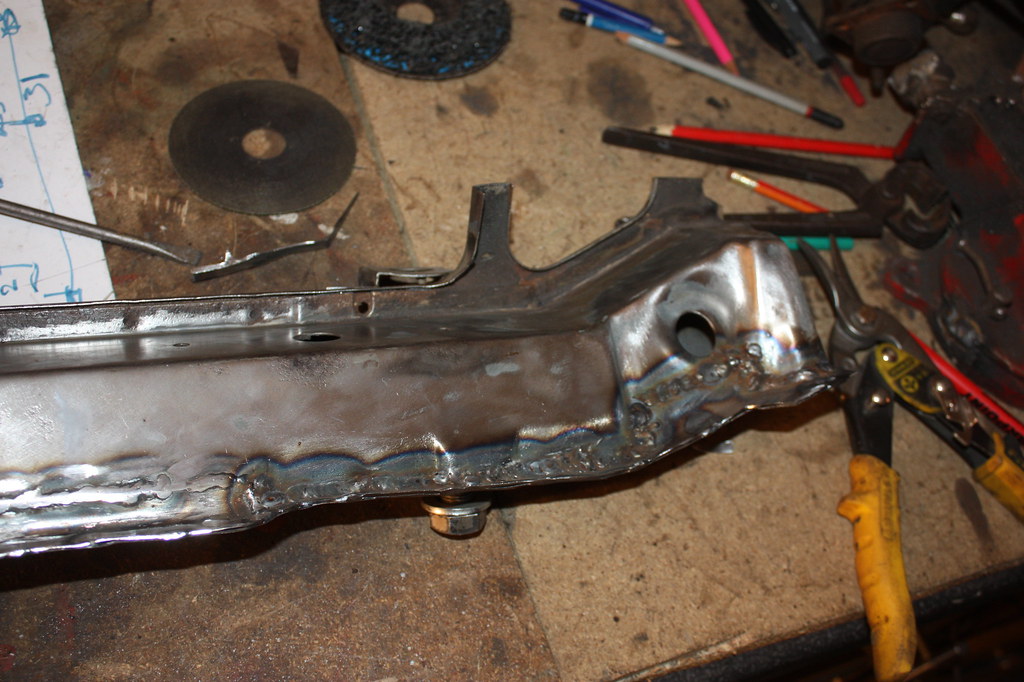 IMG_3212 IMG_3212 by frederikleyers, on Flickr 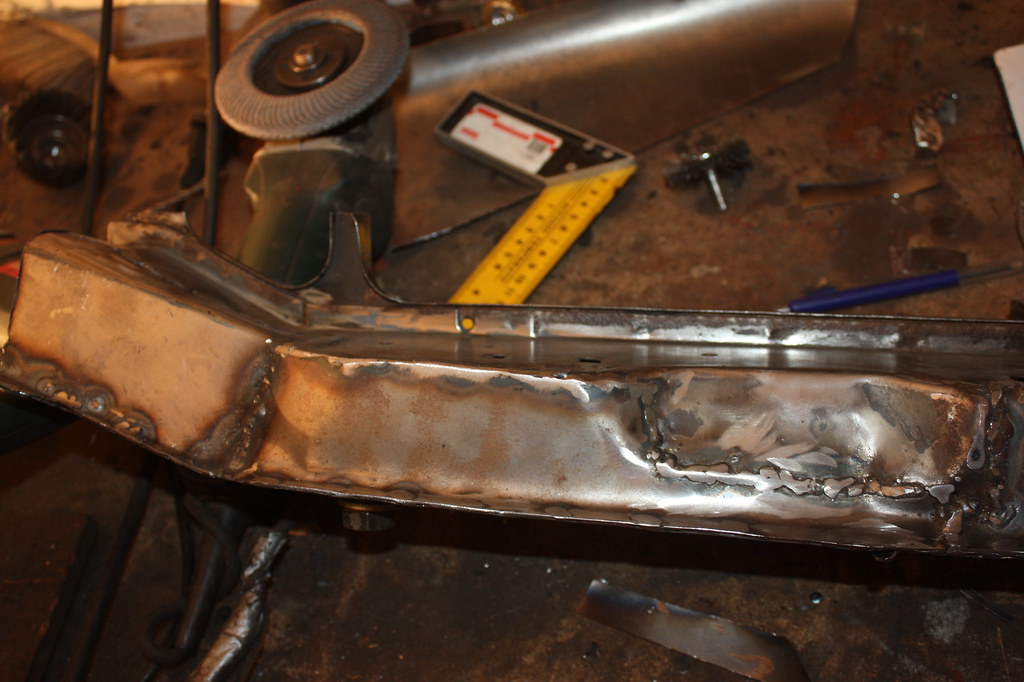 IMG_3213 IMG_3213 by frederikleyers, on Flickr 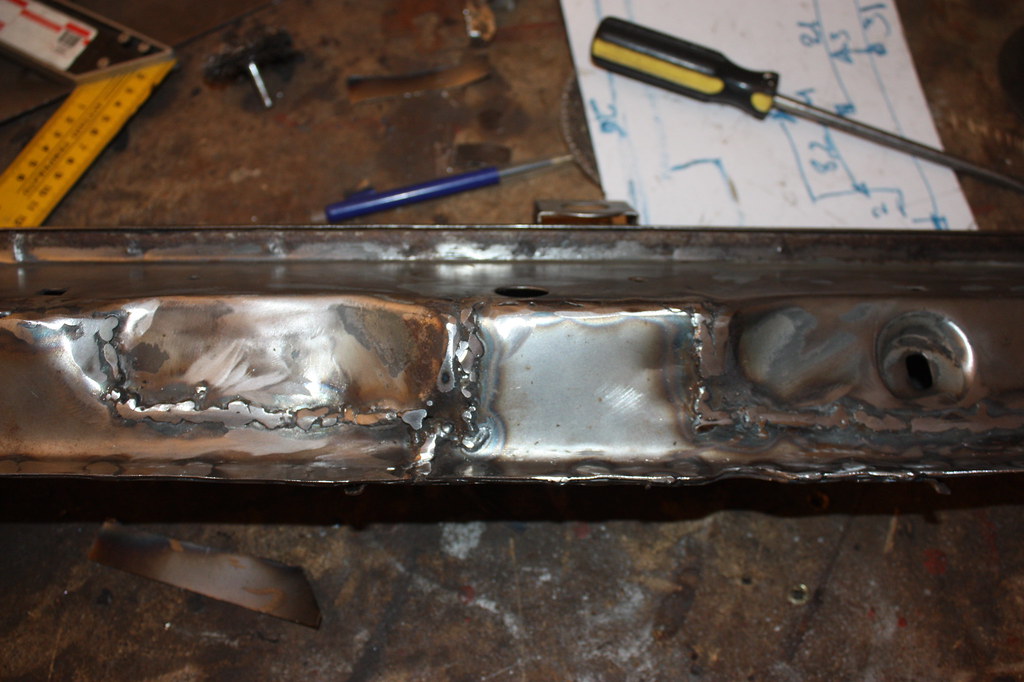 IMG_3214 IMG_3214 by frederikleyers, on Flickr 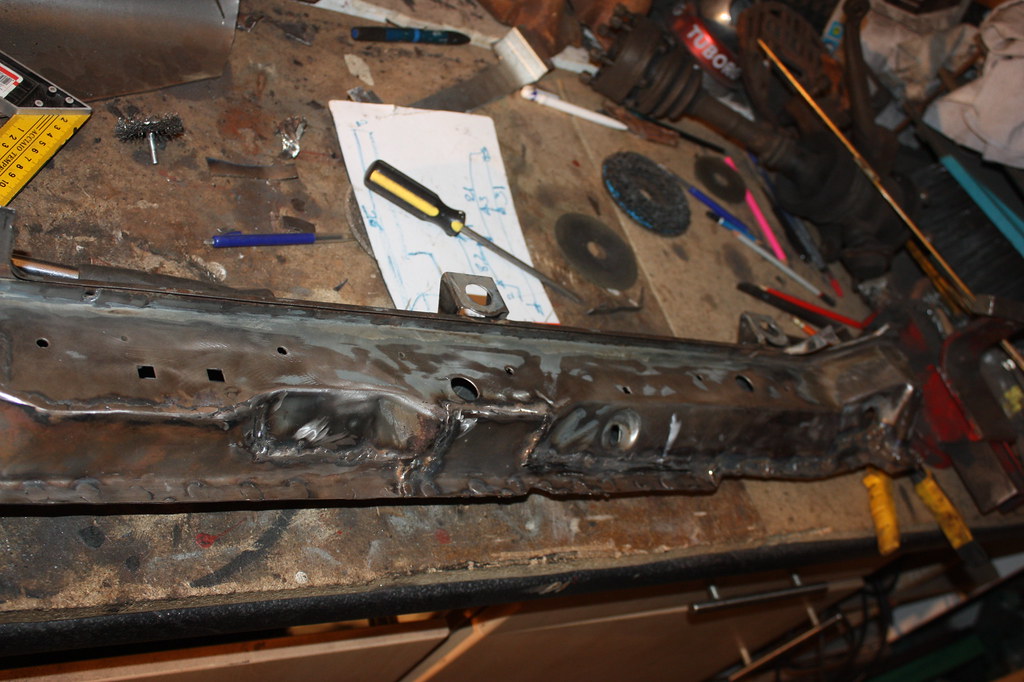 IMG_3217 IMG_3217 by frederikleyers, on Flickr I seperated the subframe from the engine. very dirty and a bit of rust. The rust is on both sides of the frame on the same place. There is also a piece that is pressed in, probably from jacking up the car. 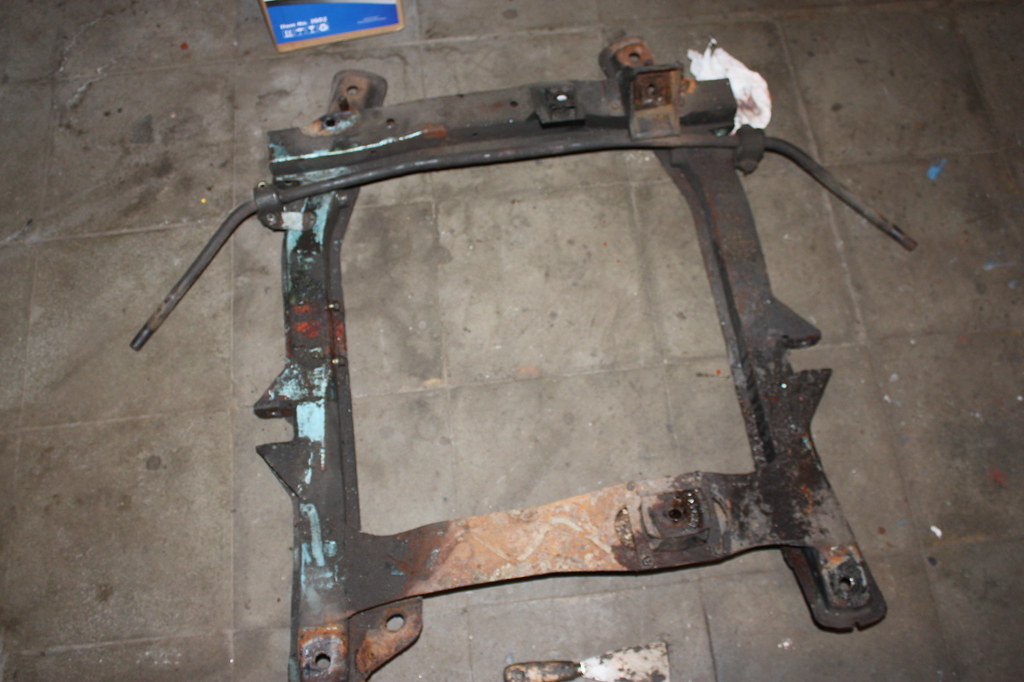 IMG_3221 IMG_3221 by frederikleyers, on Flickr 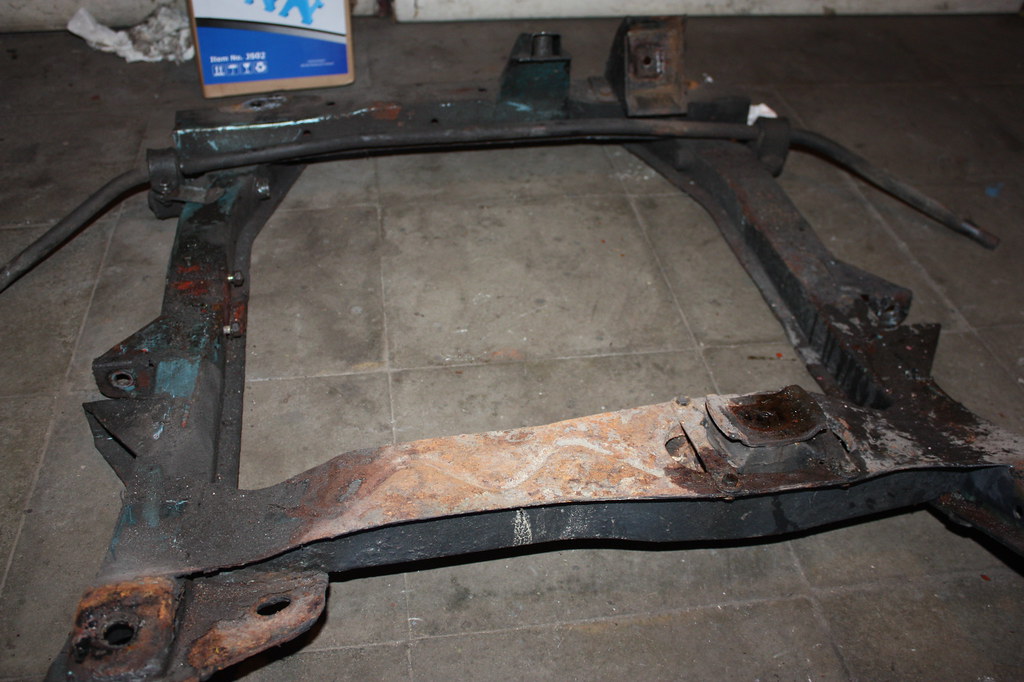 IMG_3222 IMG_3222 by frederikleyers, on Flickr 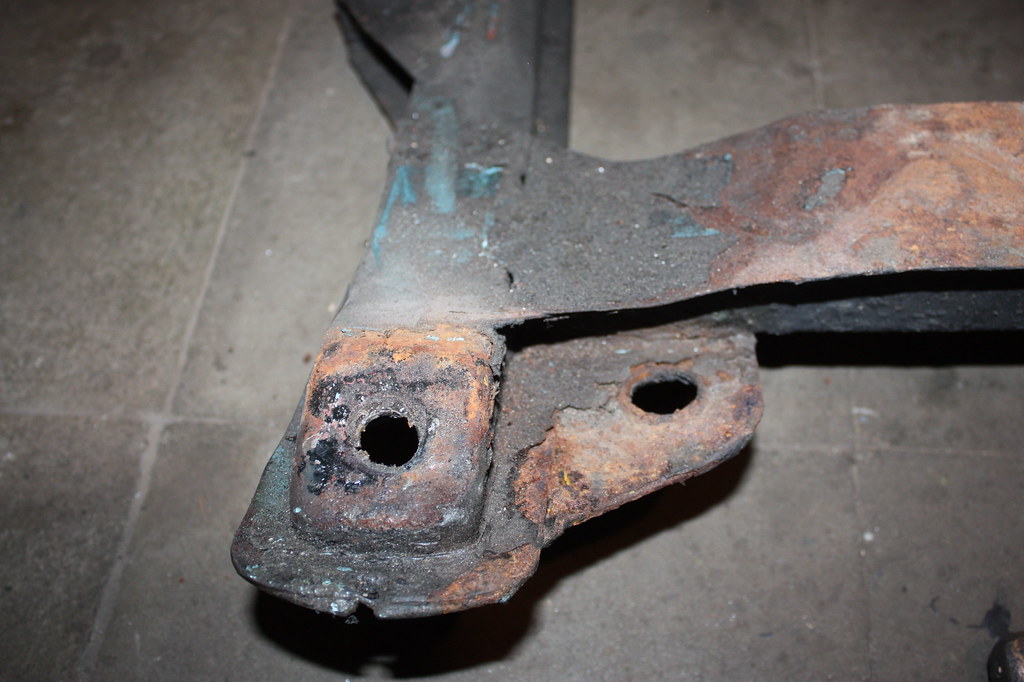 IMG_3223 IMG_3223 by frederikleyers, on Flickr 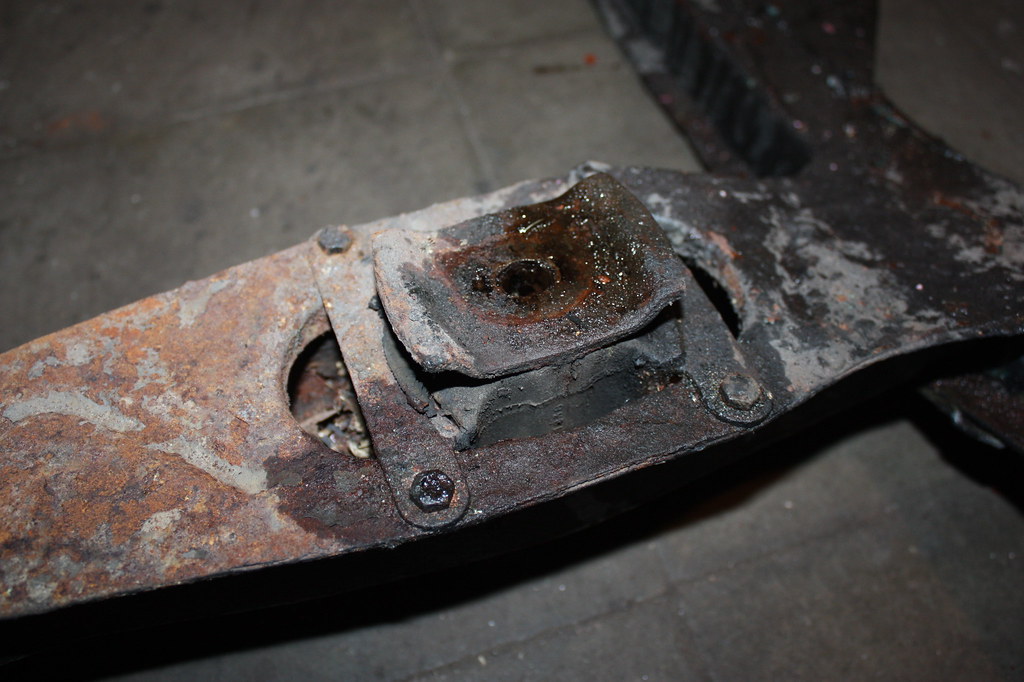 IMG_3224 IMG_3224 by frederikleyers, on Flickr 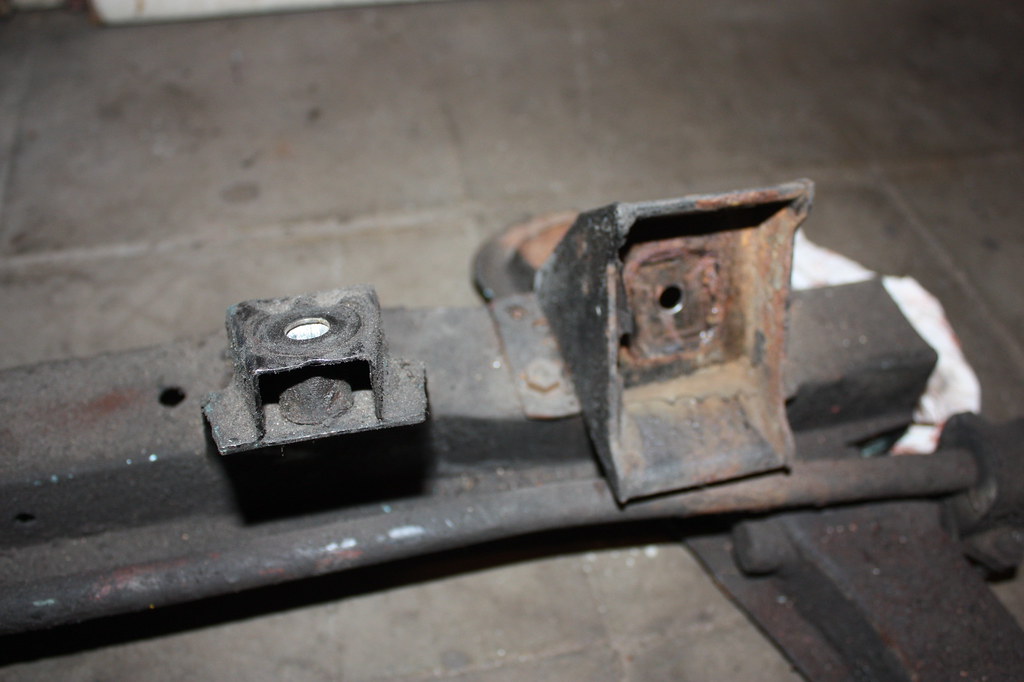 IMG_3225 IMG_3225 by frederikleyers, on Flickr 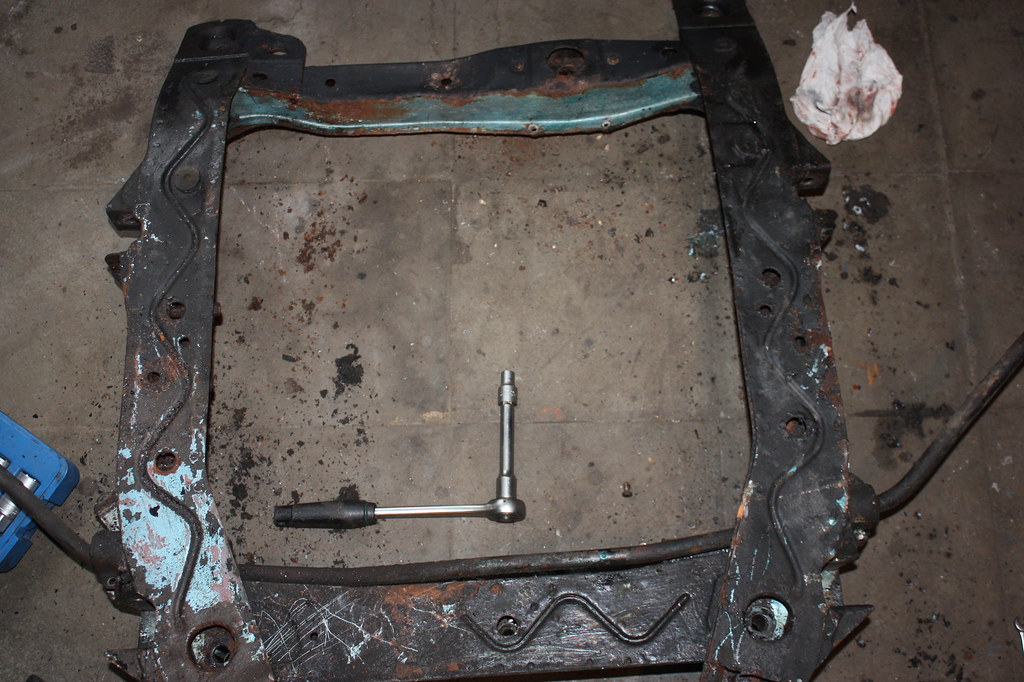 IMG_3226 IMG_3226 by frederikleyers, on Flickr 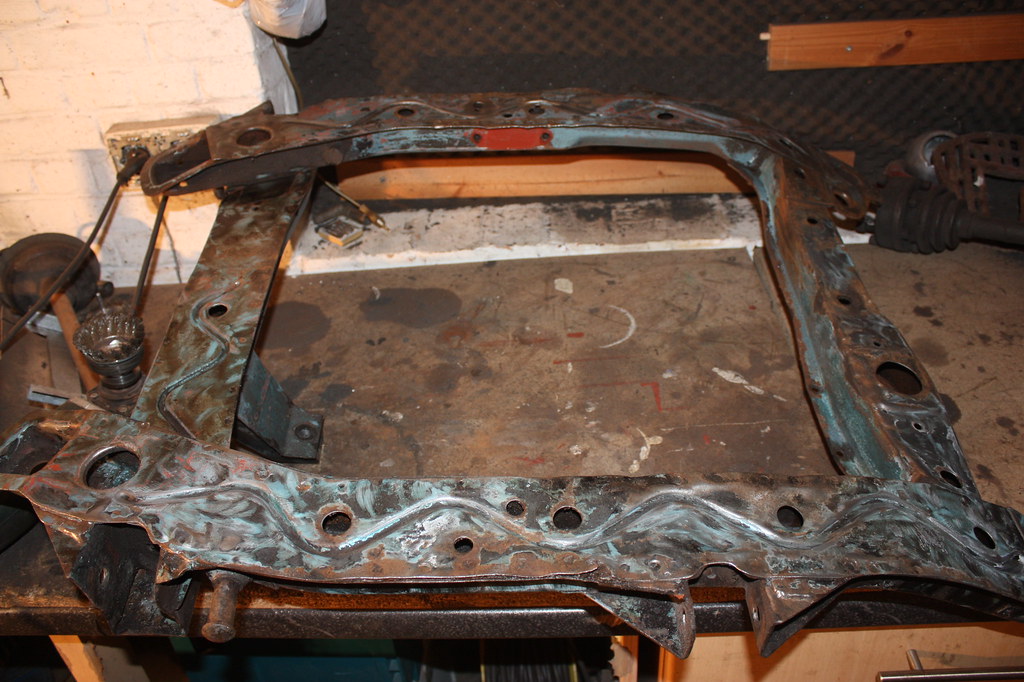 IMG_3236 IMG_3236 by frederikleyers, on Flickr  IMG_3238 IMG_3238 by frederikleyers, on Flickr 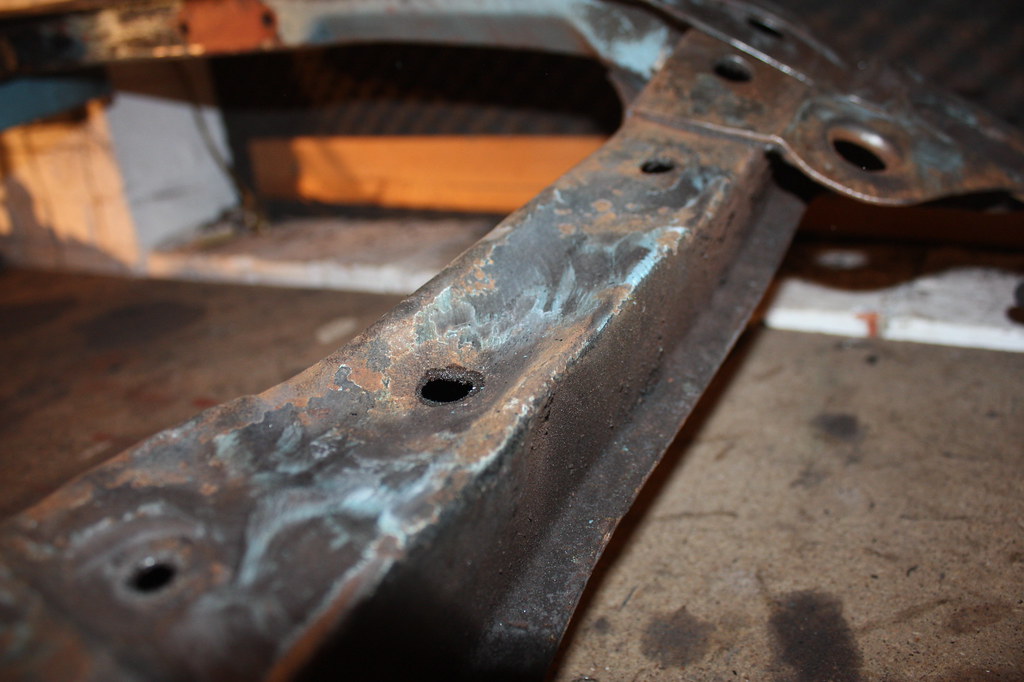 IMG_3239 IMG_3239 by frederikleyers, on Flickr pressed in, so i cutted out 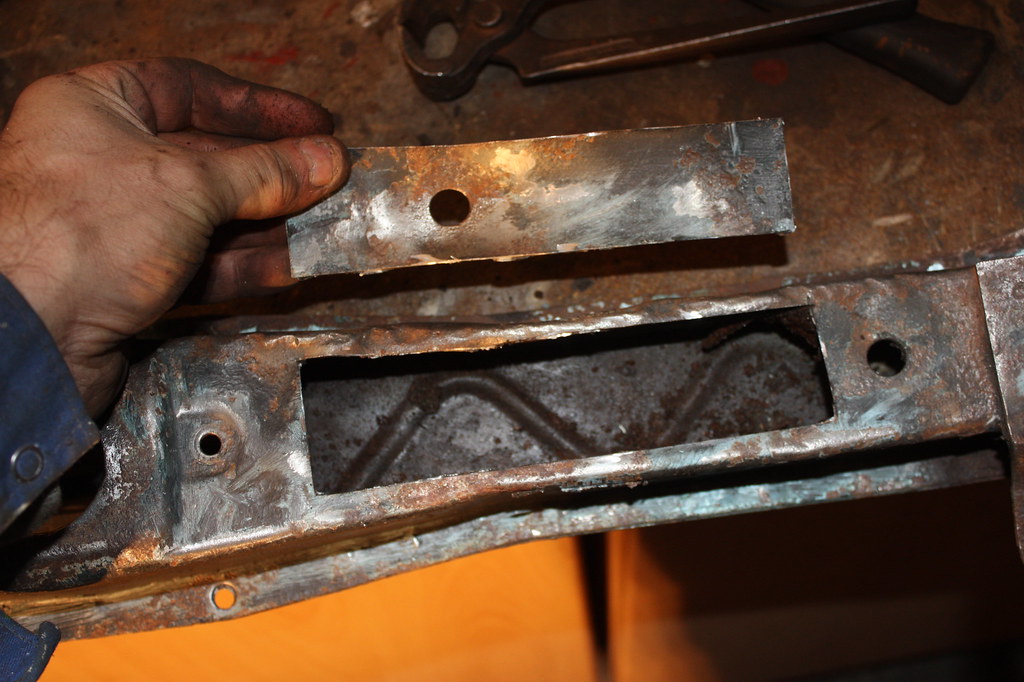 IMG_3242 IMG_3242 by frederikleyers, on Flickr 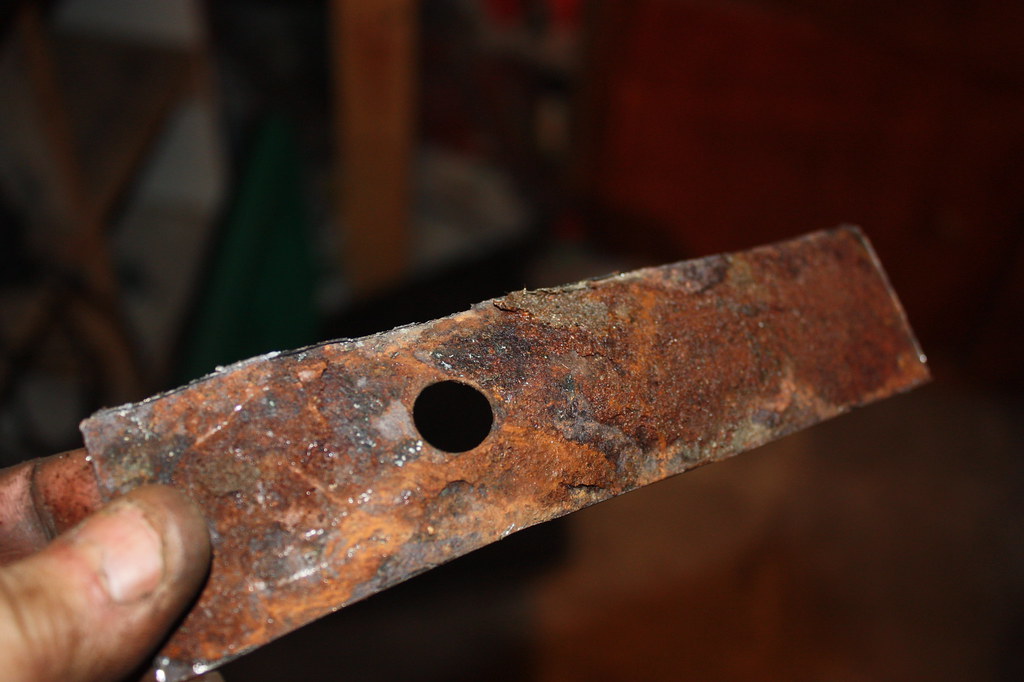 IMG_3244 IMG_3244 by frederikleyers, on Flickr  IMG_3245 IMG_3245 by frederikleyers, on Flickr greats, fred |
|
|
|
|
 Logged
|
|
|
|
|
fred2660
|
 |
« Reply #50 on: October 13, 2017, 04:50:50 PM » |
|
some new parts arrived. had to wait a long time for them. But if you look some on the internet you can do some good deals 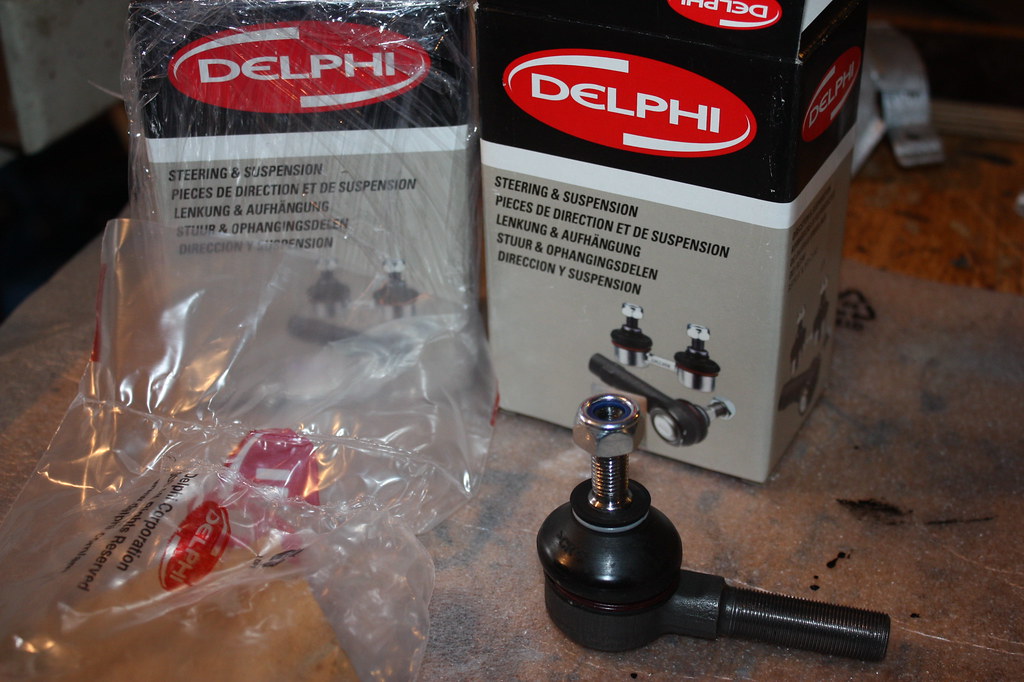 IMG_3262 IMG_3262 by frederikleyers, on Flickr 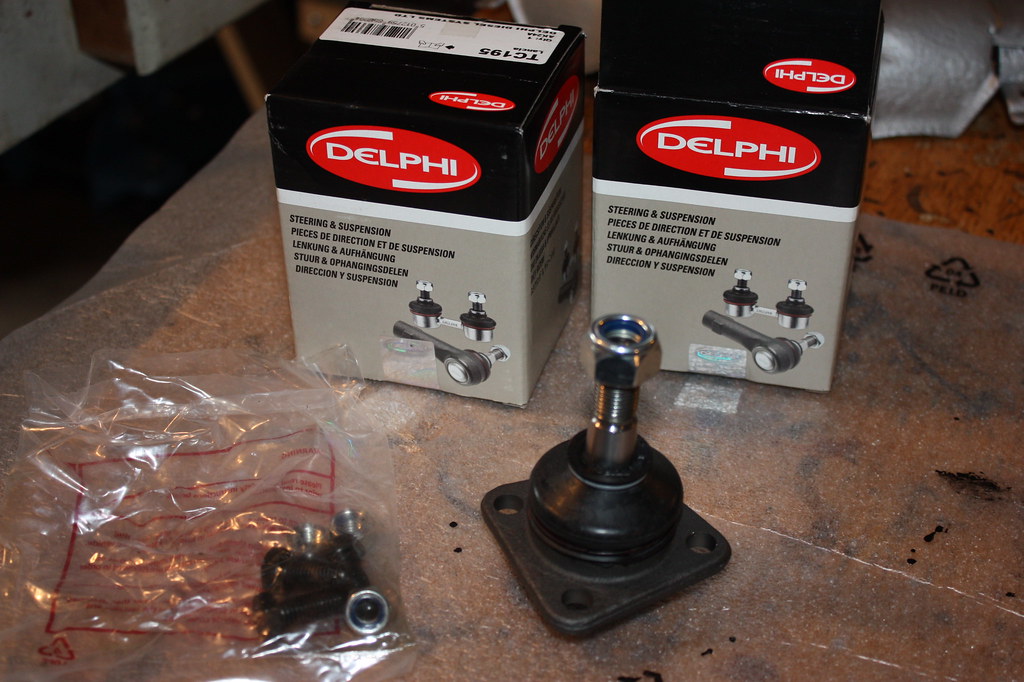 IMG_3264 IMG_3264 by frederikleyers, on Flickr  IMG_3265 IMG_3265 by frederikleyers, on Flickr 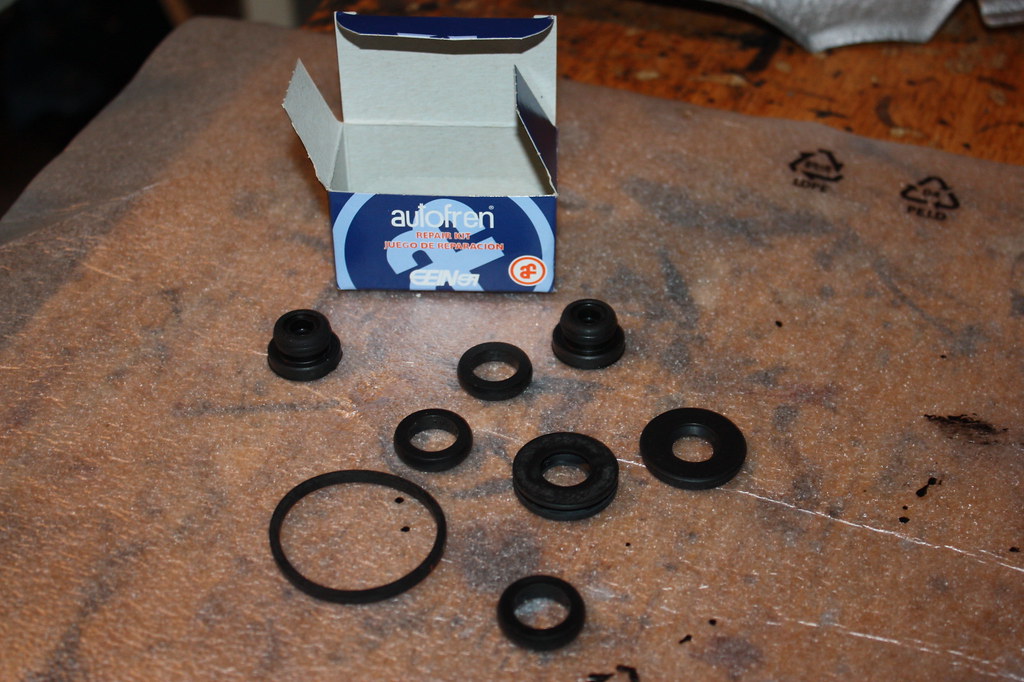 IMG_3266 IMG_3266 by frederikleyers, on Flickr 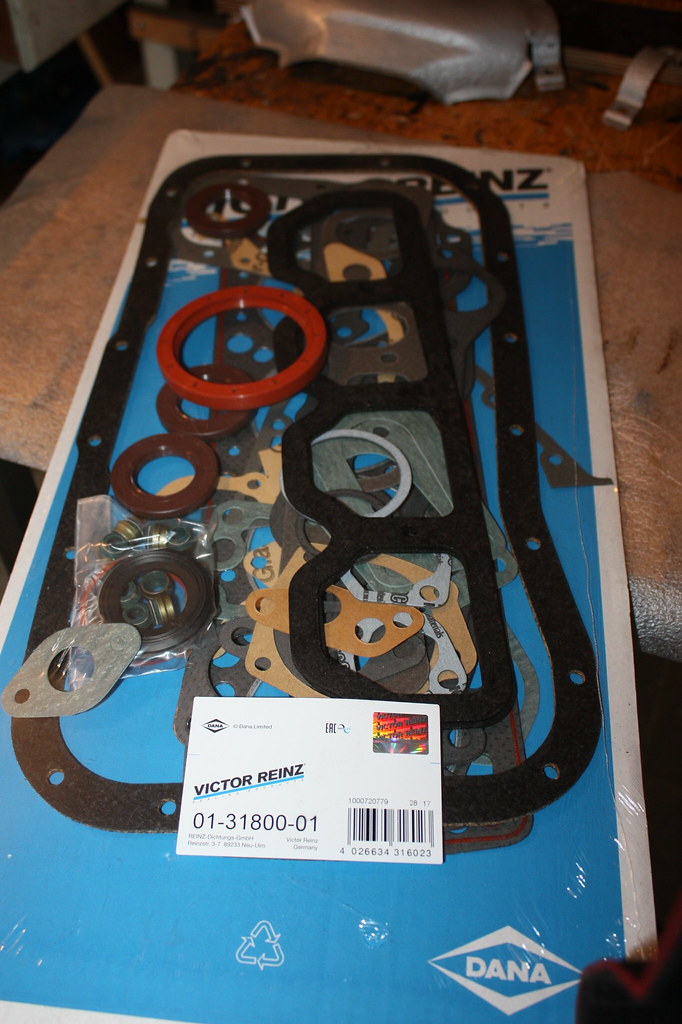 IMG_3267 IMG_3267 by frederikleyers, on Flickr 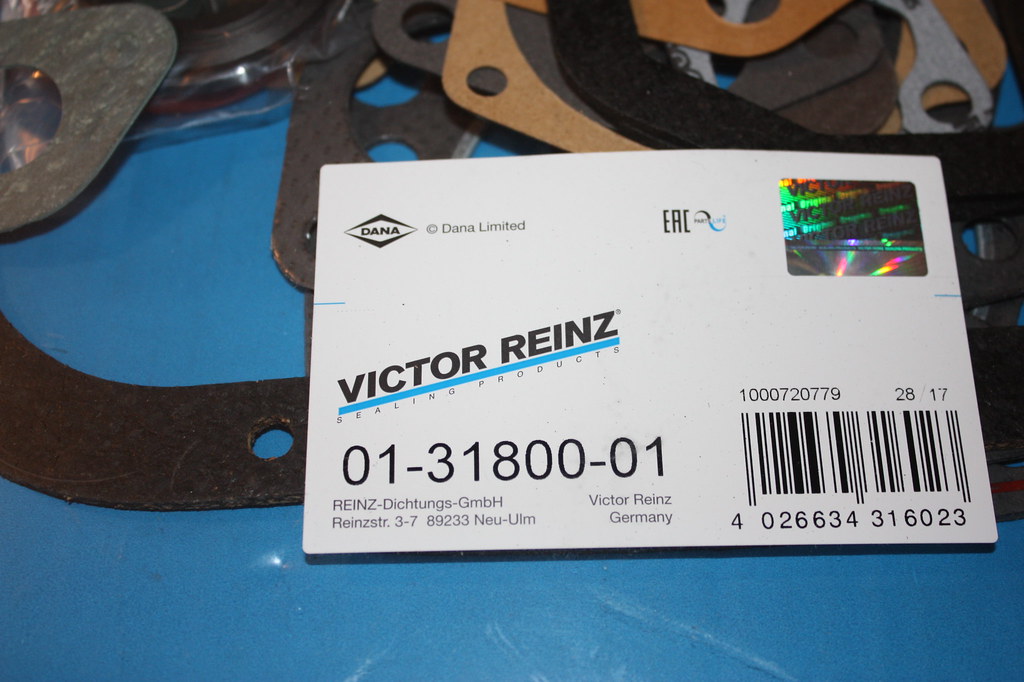 IMG_3269 IMG_3269 by frederikleyers, on Flickr realy happy with the gaskets, some parts drying and waiting to be installed. 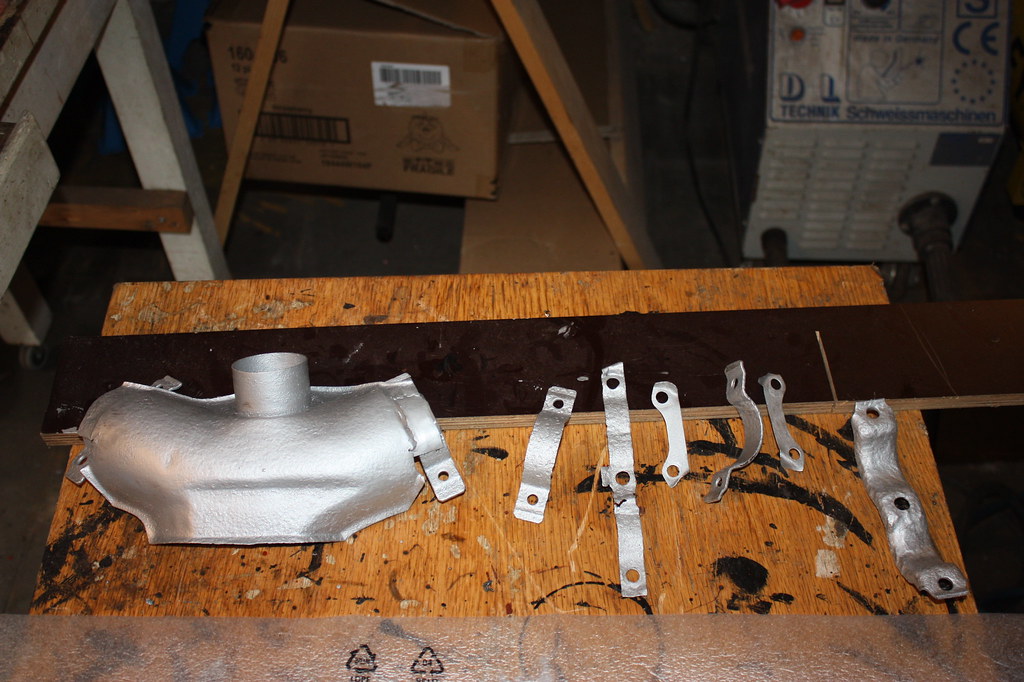 IMG_3270 IMG_3270 by frederikleyers, on Flickr 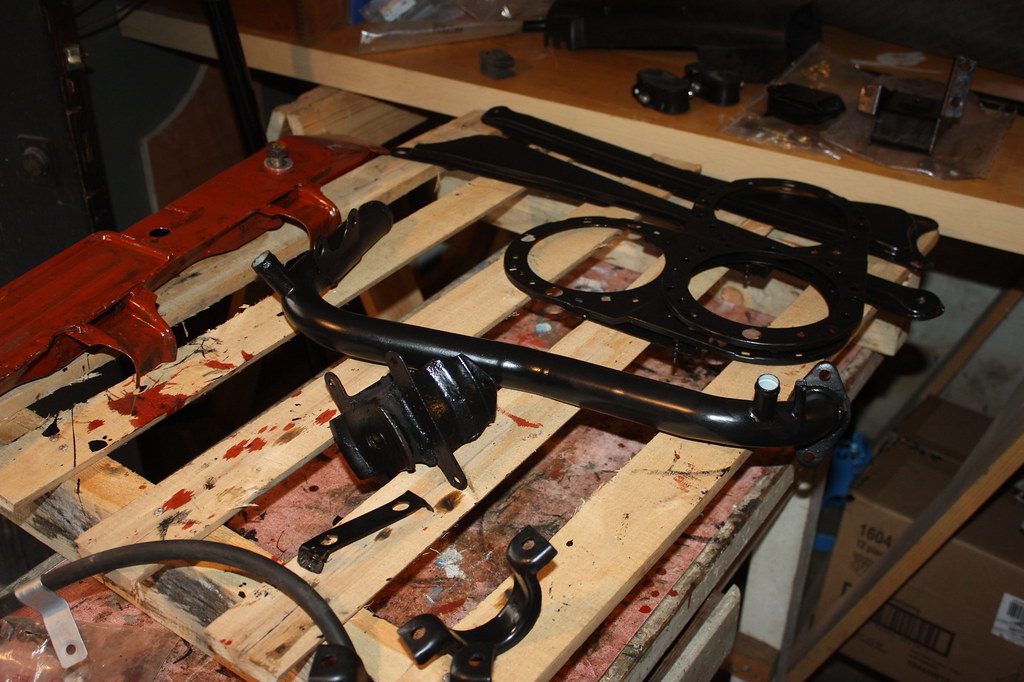 IMG_3271 IMG_3271 by frederikleyers, on Flickr 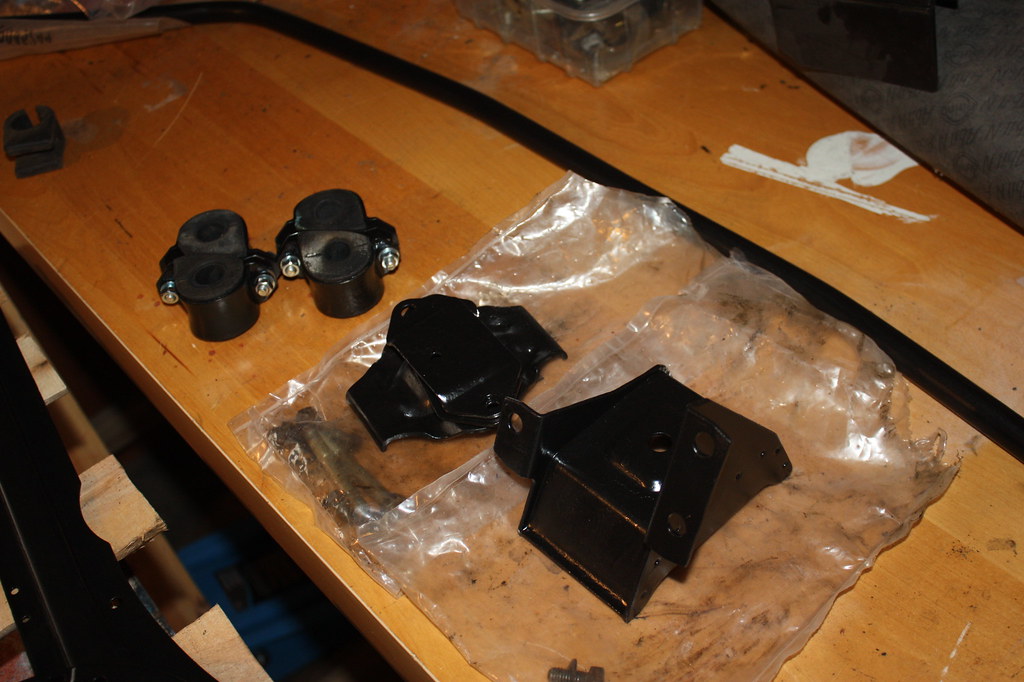 IMG_3272 IMG_3272 by frederikleyers, on Flickr 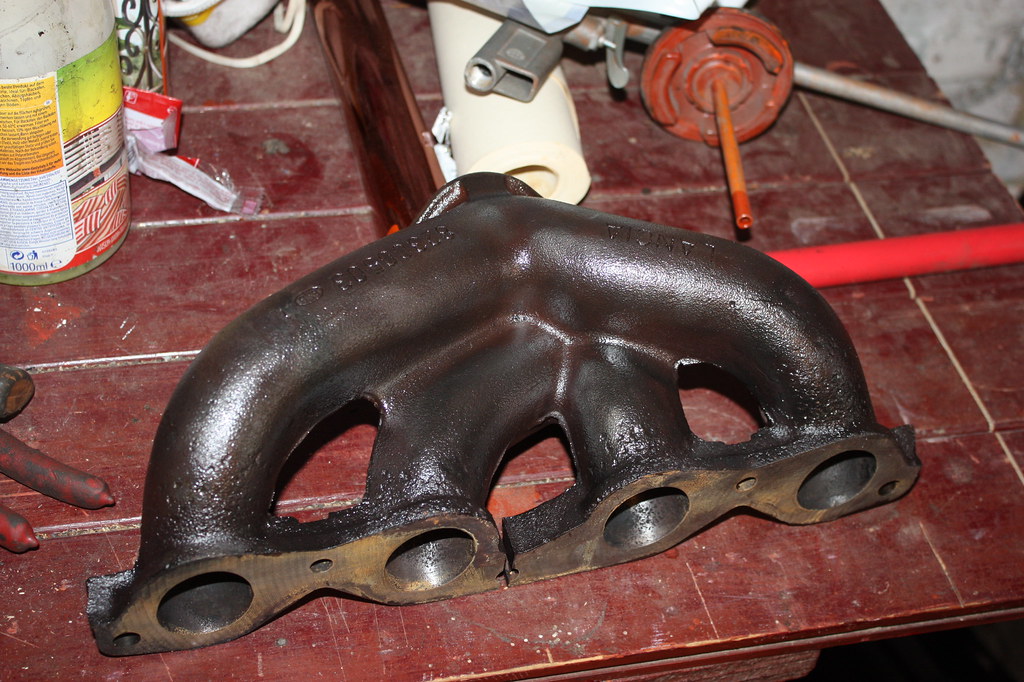 IMG_3273 IMG_3273 by frederikleyers, on Flickr 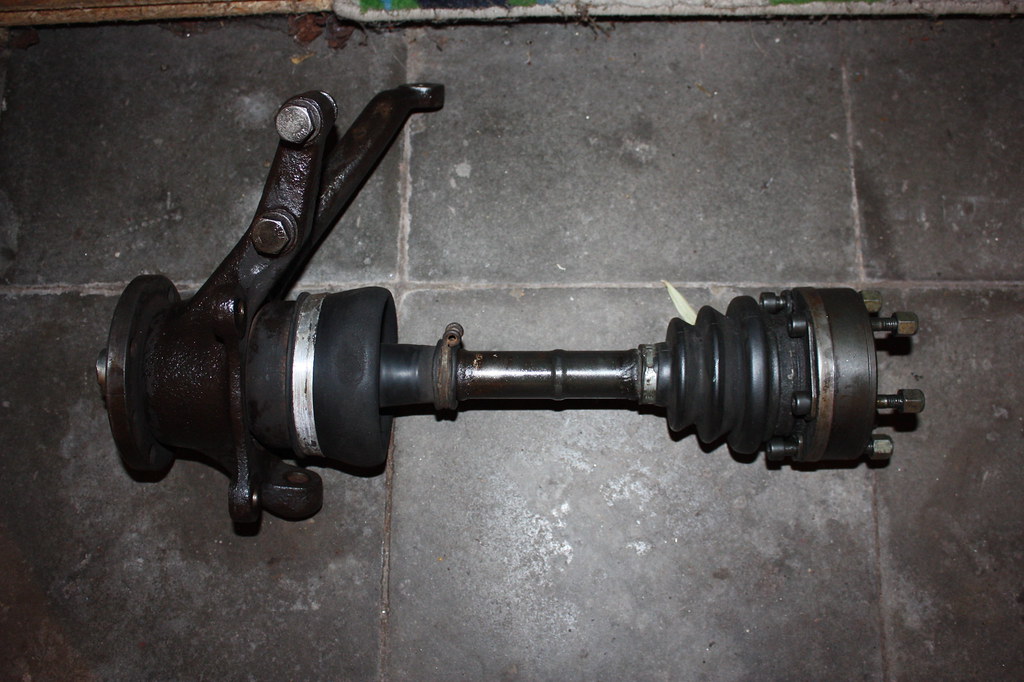 IMG_3274 IMG_3274 by frederikleyers, on Flickr 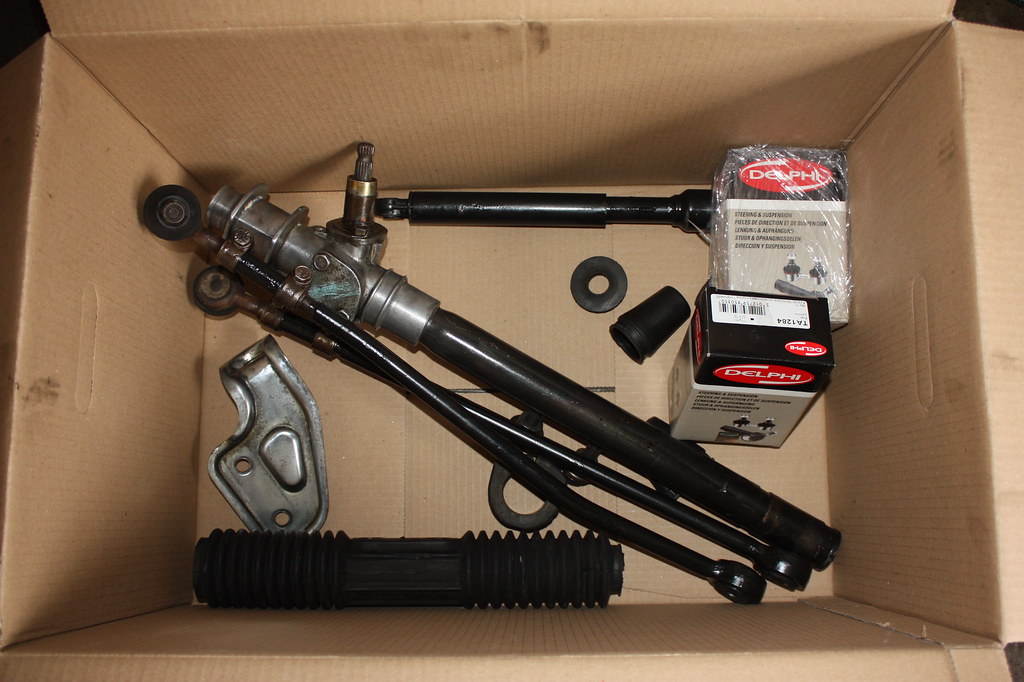 IMG_3275 IMG_3275 by frederikleyers, on Flickr the subframe is out to be sanded and powdercoated. I was realy fed up with the grinding greats |
|
|
|
|
 Logged
|
|
|
|
|
|
|
peteracs
|
 |
« Reply #52 on: October 22, 2017, 08:11:39 PM » |
|
Hi
Nice work, I enjoyed rebuilding the master cylinder, less so the front wheel cylinders with the really difficult retaining ring.....
On the lower ball joints for the front wishbones, I found one of the new ones I bought, different suppliers for both bought at different times, had too high a threaded section and had to cut it down, otherwise it fouled the drive shaft assembly. I think it was a Delphi one from memory.
Peter
|
|
|
|
« Last Edit: October 22, 2017, 08:14:47 PM by peteracs »
|
 Logged
|
Beta Spyder S2 pre F/L 1600
Beta HPE S2 pre F/L 1600
|
|
|
|
fred2660
|
 |
« Reply #53 on: October 24, 2017, 06:14:57 PM » |
|
@ peter: you are right. the new balljoint is probably gonna get too high 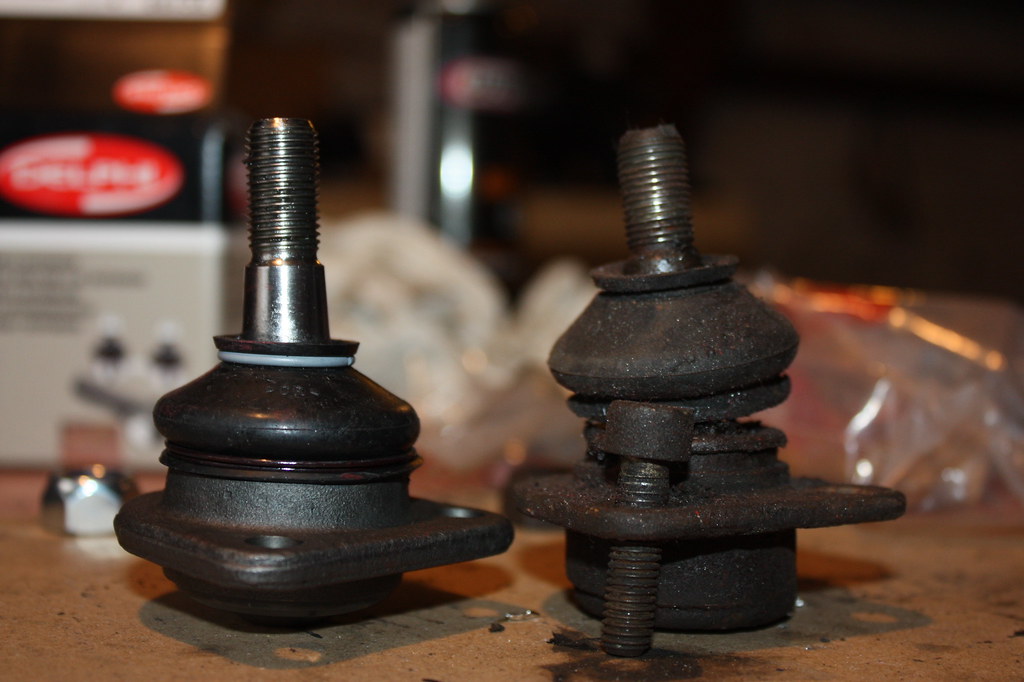 IMG_3298 IMG_3298 by frederikleyers, on Flickr meanwhile I have put the engine on an enginestand 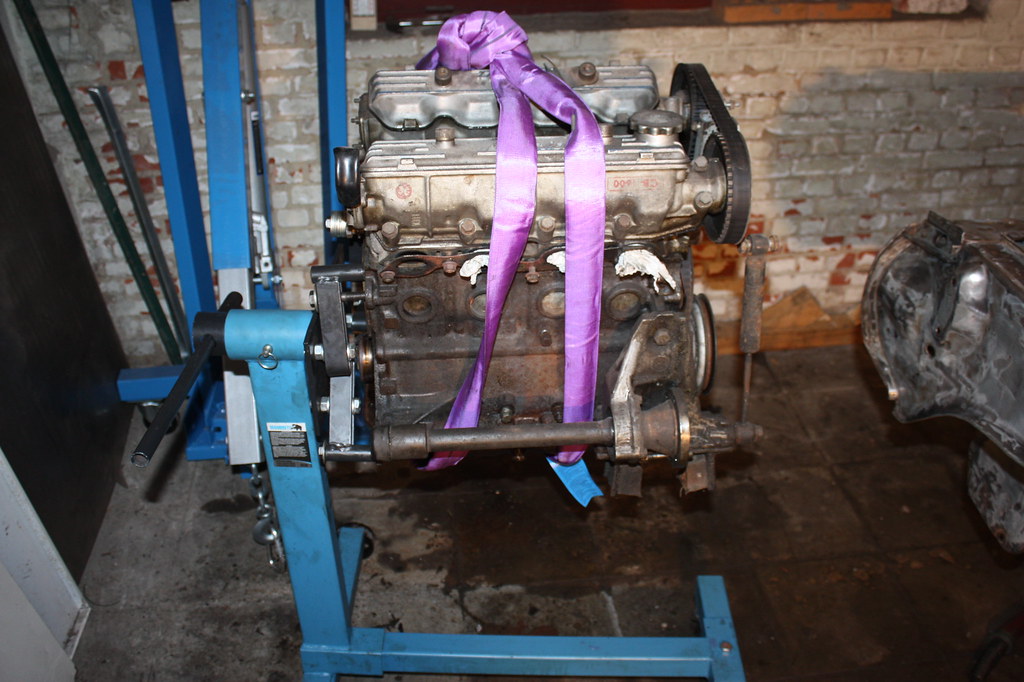 IMG_3312 IMG_3312 by frederikleyers, on Flickr gonna work a bit on cleaning the thing. its so dirty (promise to myself: next time i do a restoration, i have to have some kind of sandblaster) During the work on the car I sometimes encounter 'yellow marks'. Is this a factory thing or something a previous owner has done? 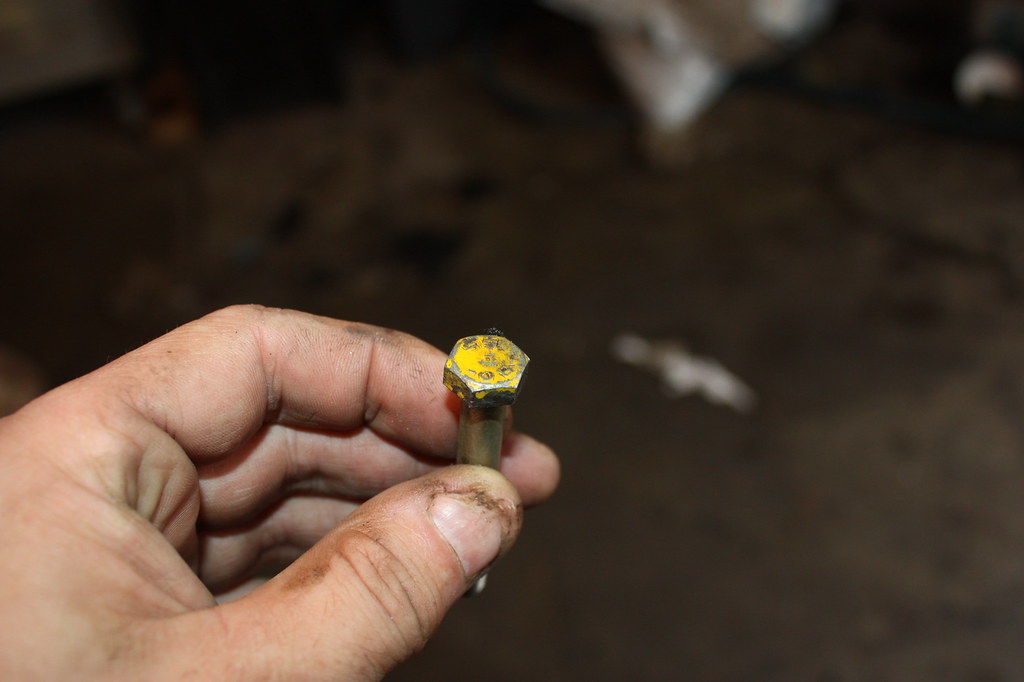 IMG_3317 IMG_3317 by frederikleyers, on Flickr greats |
|
|
|
|
 Logged
|
|
|
|
|
HFStuart
|
 |
« Reply #54 on: October 25, 2017, 04:40:57 PM » |
|
It looks like that ball joint I designed to mount under the wishbone rather than on top of it.
|
|
|
|
|
 Logged
|
|
|
|
|
peteracs
|
 |
« Reply #55 on: October 25, 2017, 05:31:13 PM » |
|
Hi Stuart
The issue is not that. If you mount top or bottom, the thread length and taper still mean the thread butts up against the CV joint when fully tightened.
Peter
|
|
|
|
|
 Logged
|
Beta Spyder S2 pre F/L 1600
Beta HPE S2 pre F/L 1600
|
|
|
|
HFStuart
|
 |
« Reply #56 on: October 25, 2017, 05:33:45 PM » |
|
Ah, gotcha!
|
|
|
|
|
 Logged
|
|
|
|
|
fred2660
|
 |
« Reply #57 on: October 28, 2017, 04:55:04 PM » |
|
Got the subframe back so I could weld the front profile back in 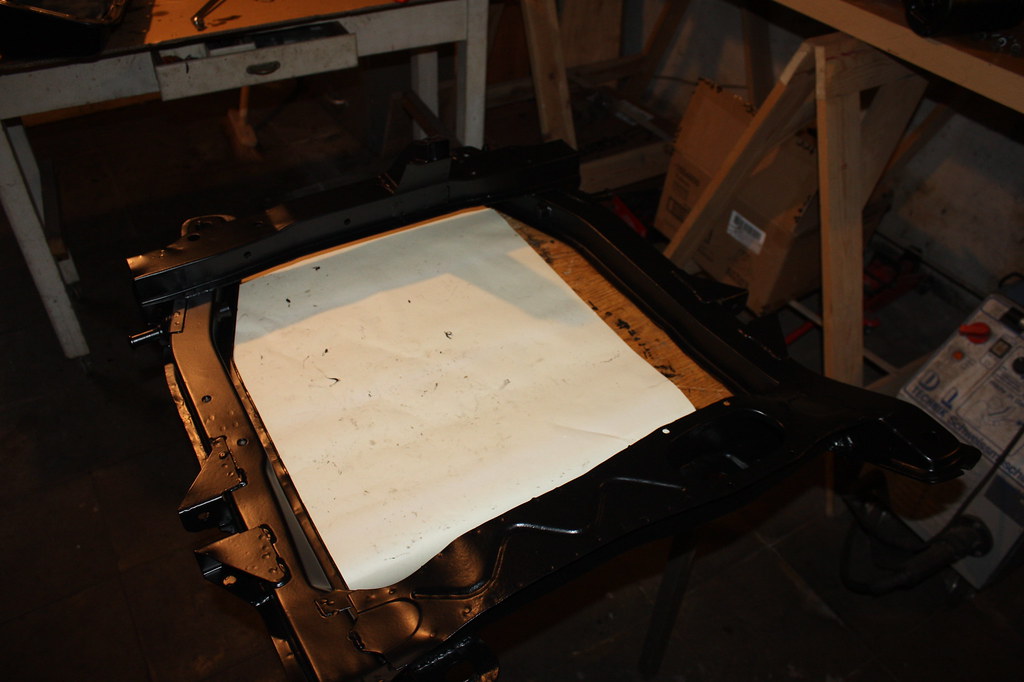 IMG_3335 IMG_3335 by frederikleyers, on Flickr 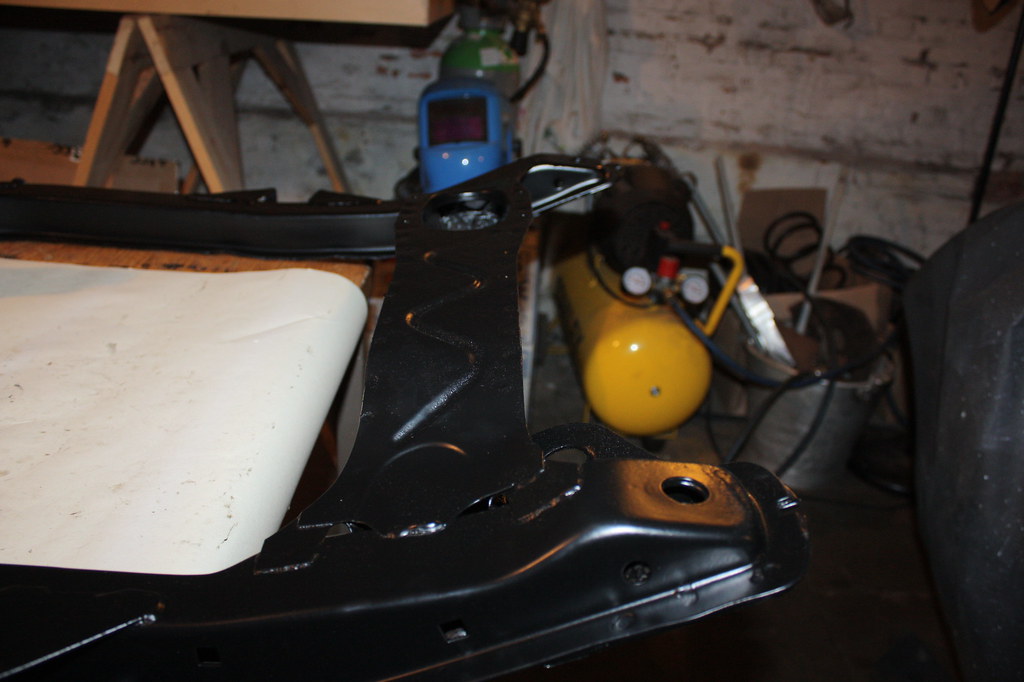 IMG_3336 IMG_3336 by frederikleyers, on Flickr 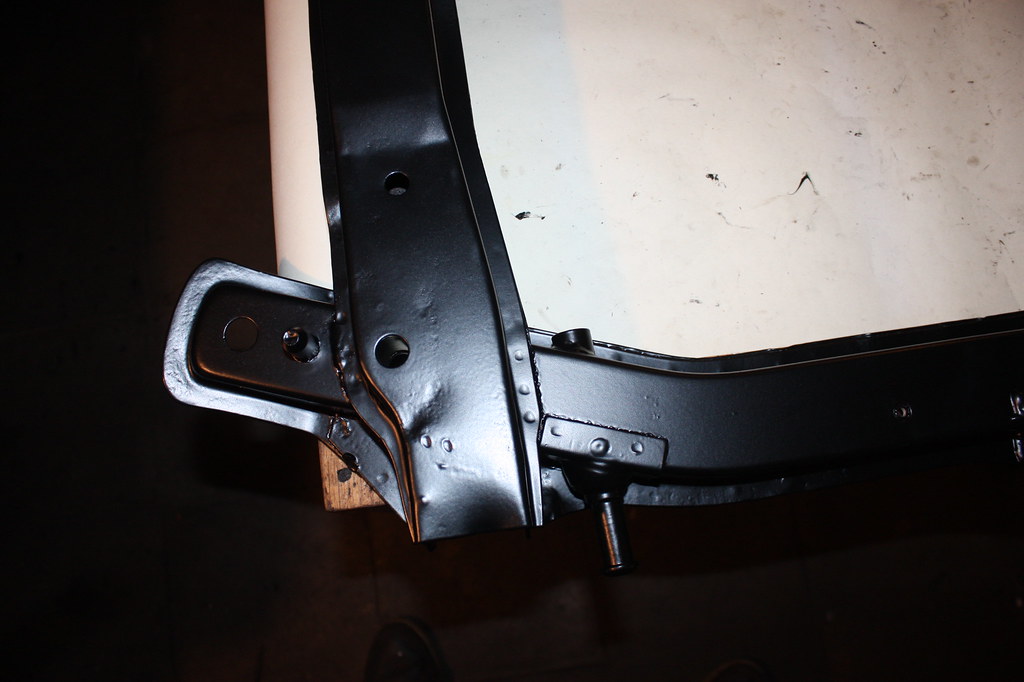 IMG_3337 IMG_3337 by frederikleyers, on Flickr 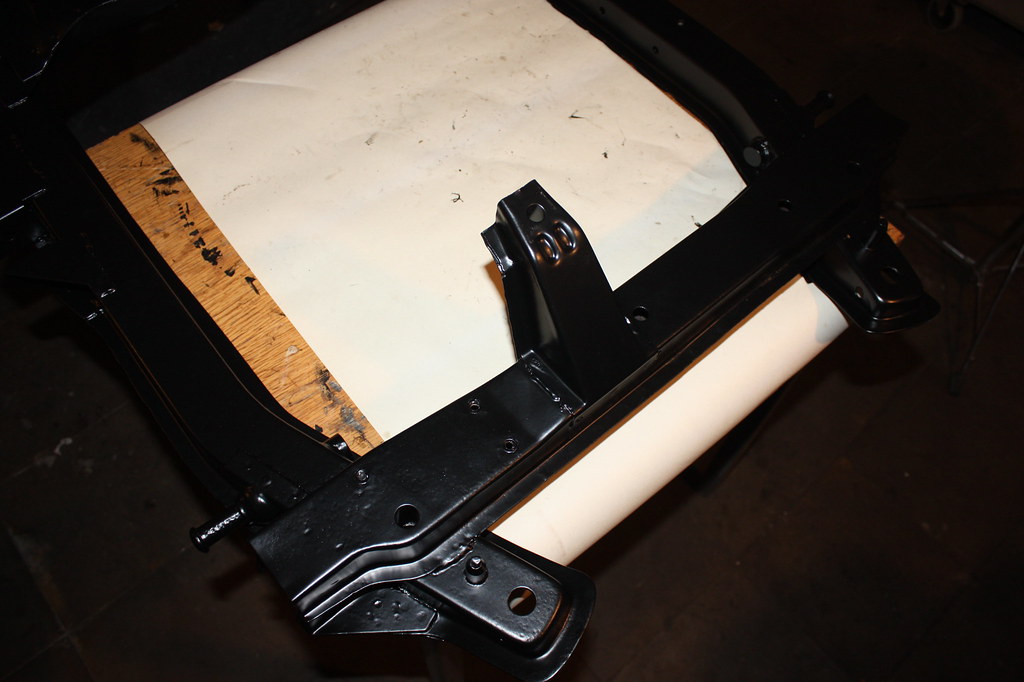 IMG_3338 IMG_3338 by frederikleyers, on Flickr 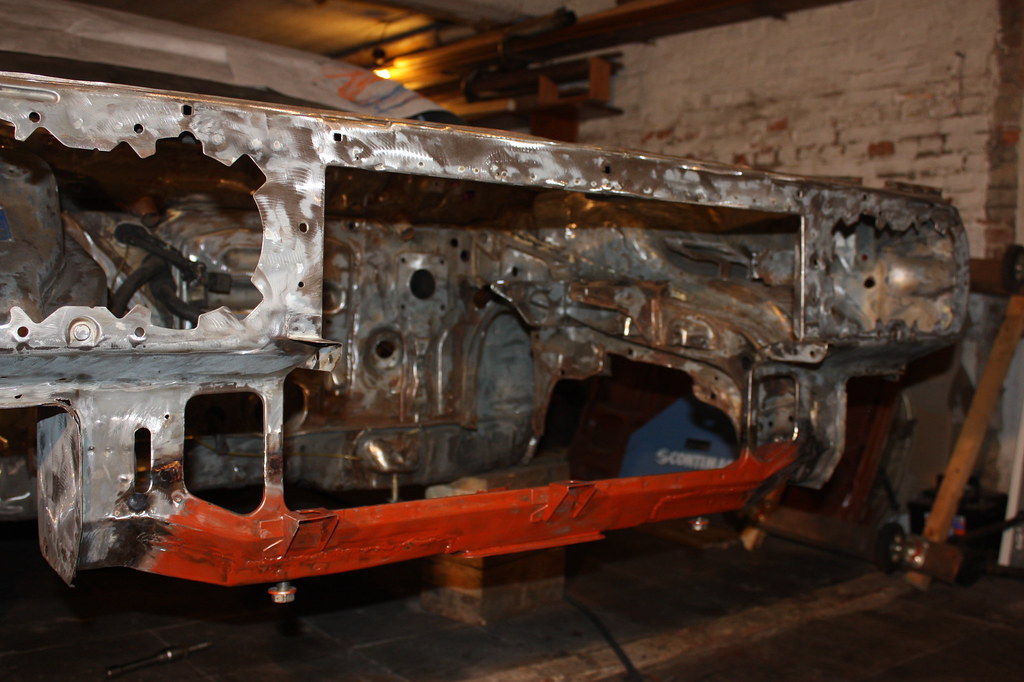 IMG_3346 IMG_3346 by frederikleyers, on Flickr  IMG_3347 IMG_3347 by frederikleyers, on Flickr 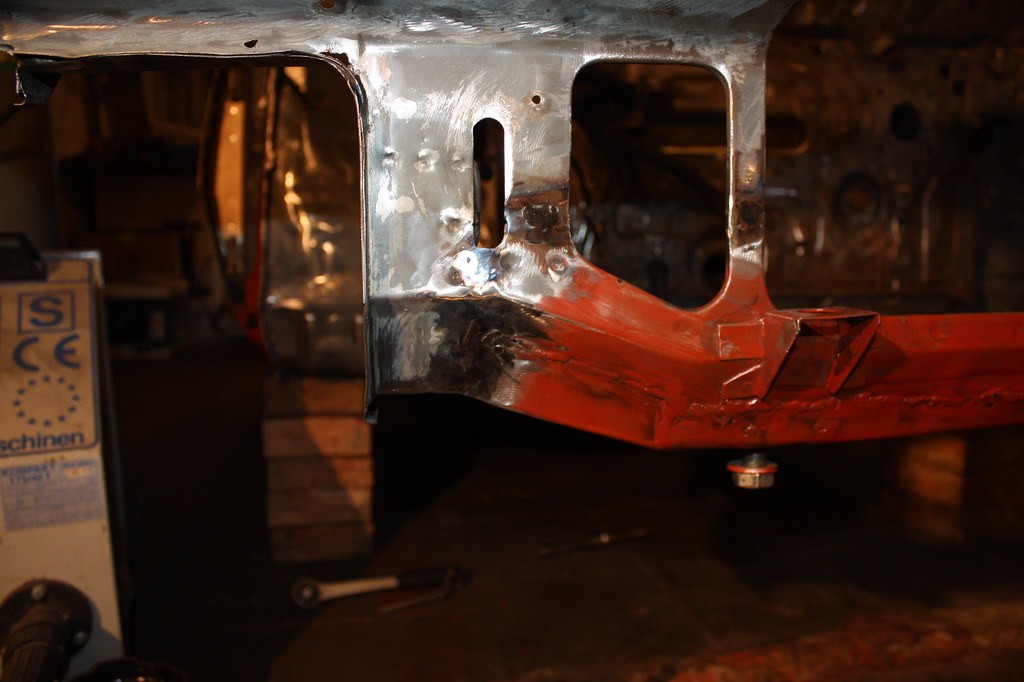 IMG_3349 IMG_3349 by frederikleyers, on Flickr 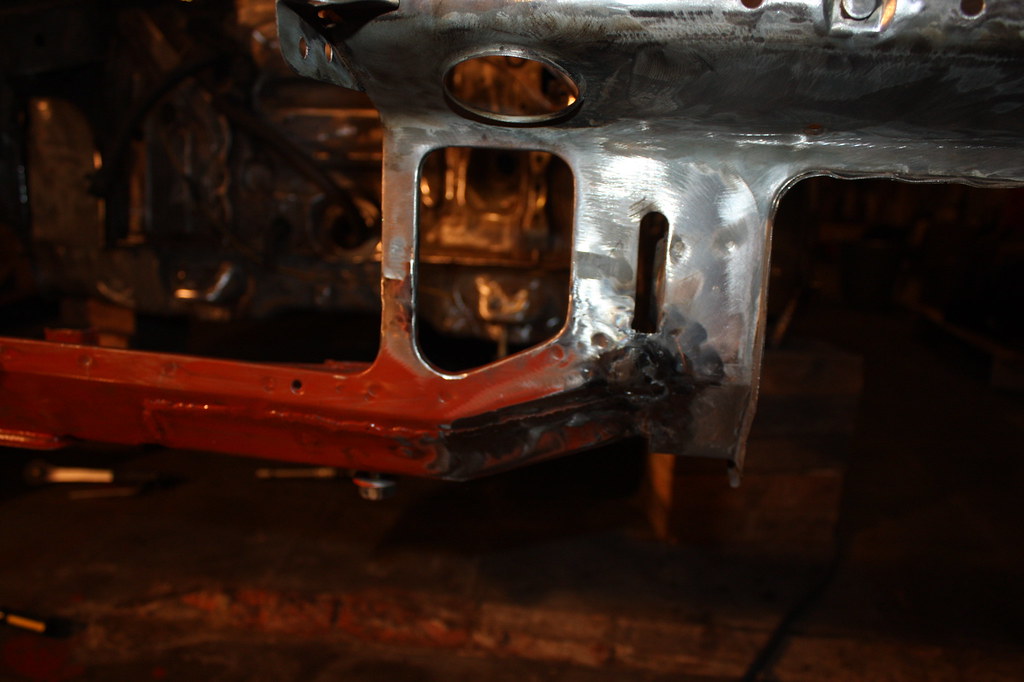 IMG_3350 IMG_3350 by frederikleyers, on Flickr  IMG_3351 IMG_3351 by frederikleyers, on Flickr  IMG_3352 IMG_3352 by frederikleyers, on Flickr meanwhile I cleaned the oilpump 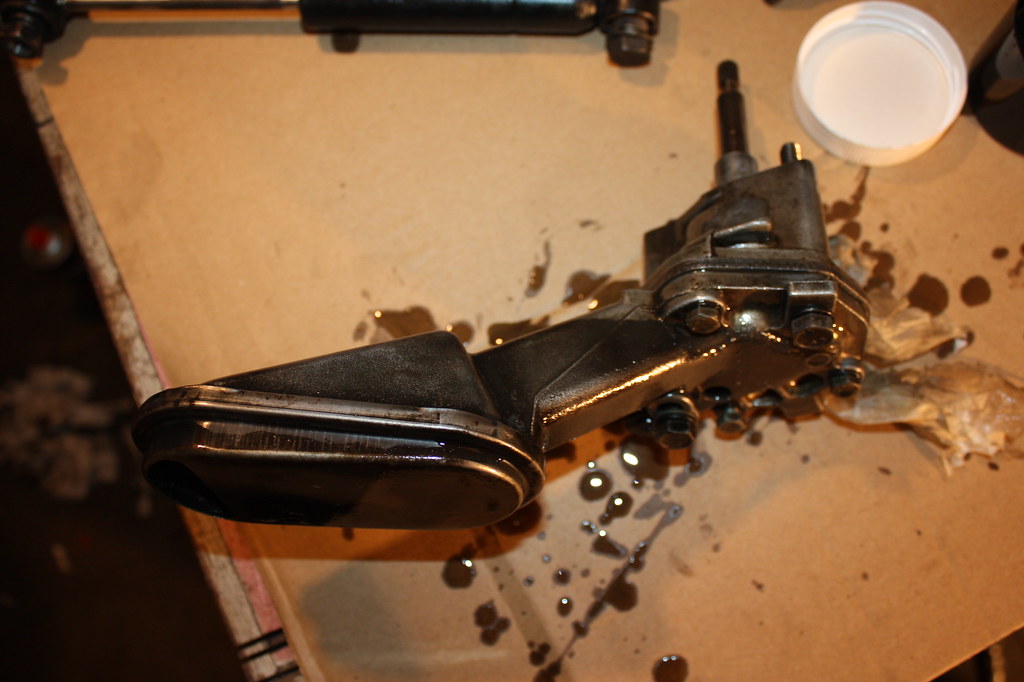 IMG_3327 IMG_3327 by frederikleyers, on Flickr 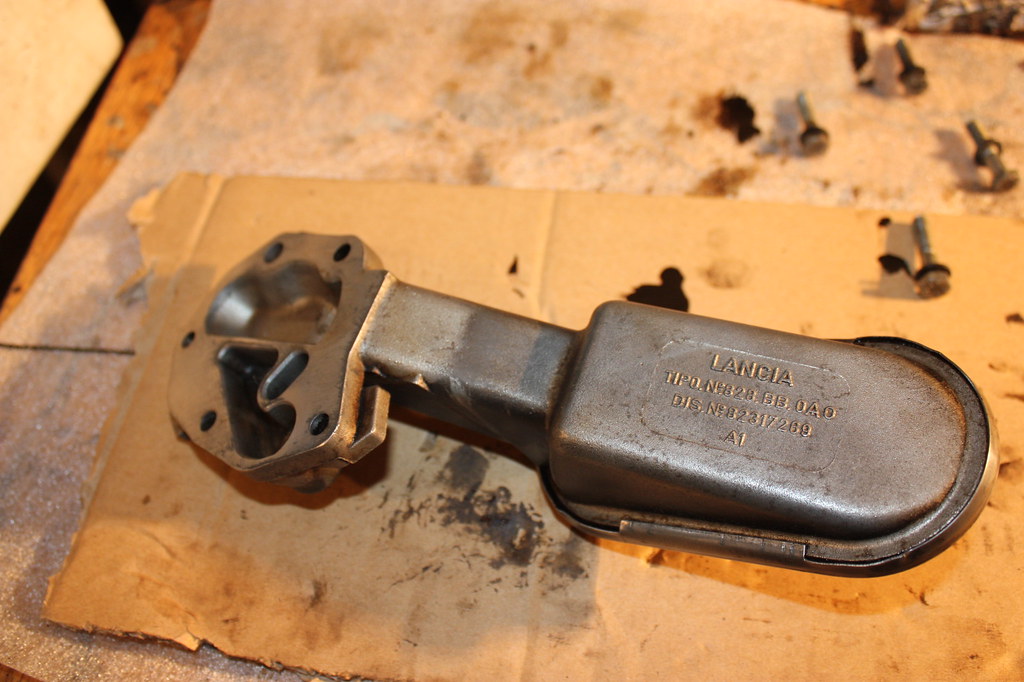 IMG_3324 IMG_3324 by frederikleyers, on Flickr  IMG_3323 IMG_3323 by frederikleyers, on Flickr 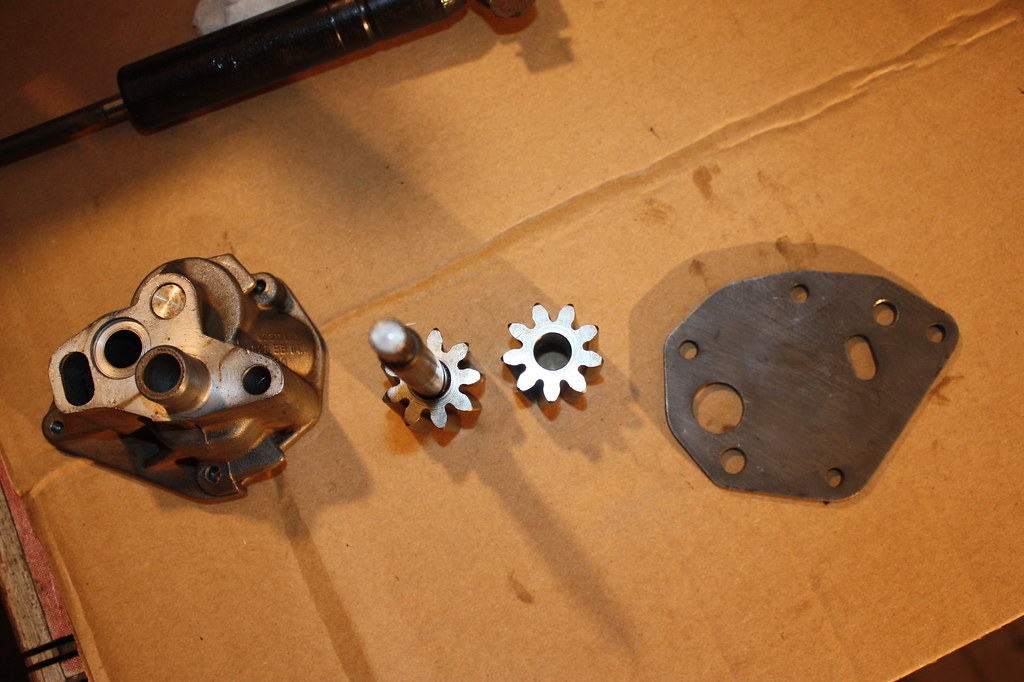 IMG_3322 IMG_3322 by frederikleyers, on Flickr question: I have never rebuild an engine before. Is it difficult to replace the head gasket? cya |
|
|
|
|
 Logged
|
|
|
|
|
HFStuart
|
 |
« Reply #58 on: October 28, 2017, 05:08:21 PM » |
|
Check the oil pump clearances while it's apart.
Head gaskets are pretty simple with the engine out. You might want to think about new head bolts.
|
|
|
|
|
 Logged
|
|
|
|
|
rossocorsa
|
 |
« Reply #59 on: October 29, 2017, 12:27:15 PM » |
|
As regards head gasket you may want to consider changing to stretch type bolts, very late betas used this type, I think many later lancias use the same bolt spec, you would need some ribe tools to tighten them. Also consider modifying the top metal coolant pipe to late spec as on VX, helps with pressure in cylinder head reduces risk of HGF from memory it's just a couple of very short extra pipes to add on
|
|
|
|
« Last Edit: October 29, 2017, 12:28:46 PM by rossocorsa »
|
 Logged
|
|
|
|
|


