|
George-S
|
 |
« Reply #20 on: April 20, 2017, 08:51:27 PM » |
|
that's it not 100% done but getting much closer !
When it came to doing the back like your doing right now I also removed the inside panel makes it easier to seal when you put it back together .. yet again all very ruff at the mooo
|
|
|
|
 Logged
|
|
|
|
|
fred2660
|
 |
« Reply #21 on: April 21, 2017, 06:39:41 PM » |
|
your car seems even worse  |
|
|
|
|
 Logged
|
|
|
|
|
fred2660
|
 |
« Reply #22 on: April 30, 2017, 07:19:54 PM » |
|
welded some more and started to paint the inside of the car with a rust primer 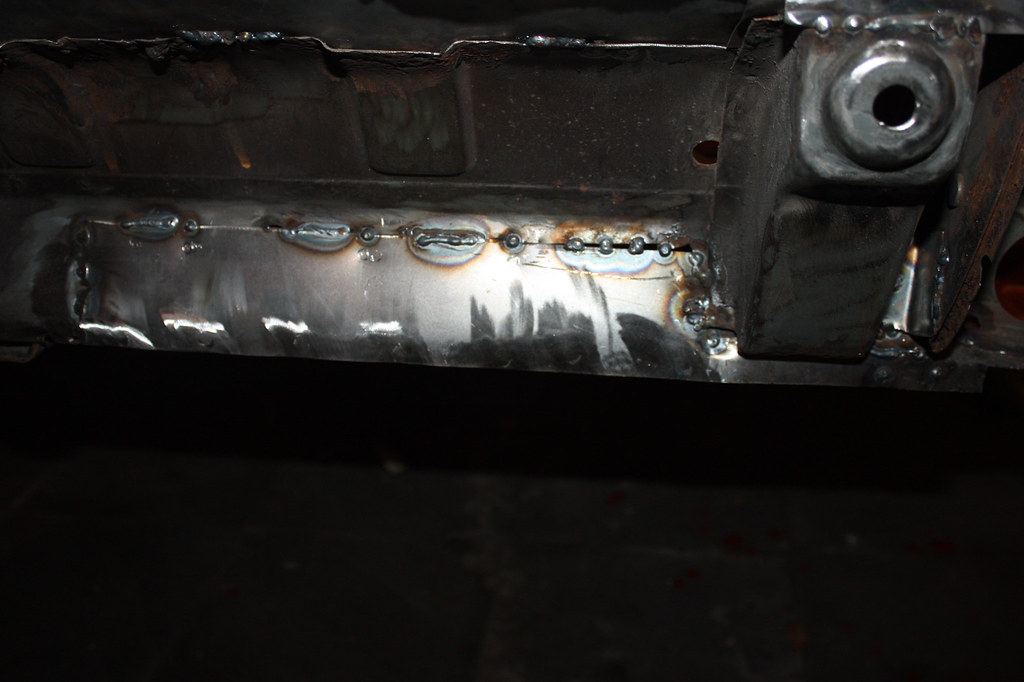 IMG_2062 IMG_2062 by frederikleyers, on Flickr 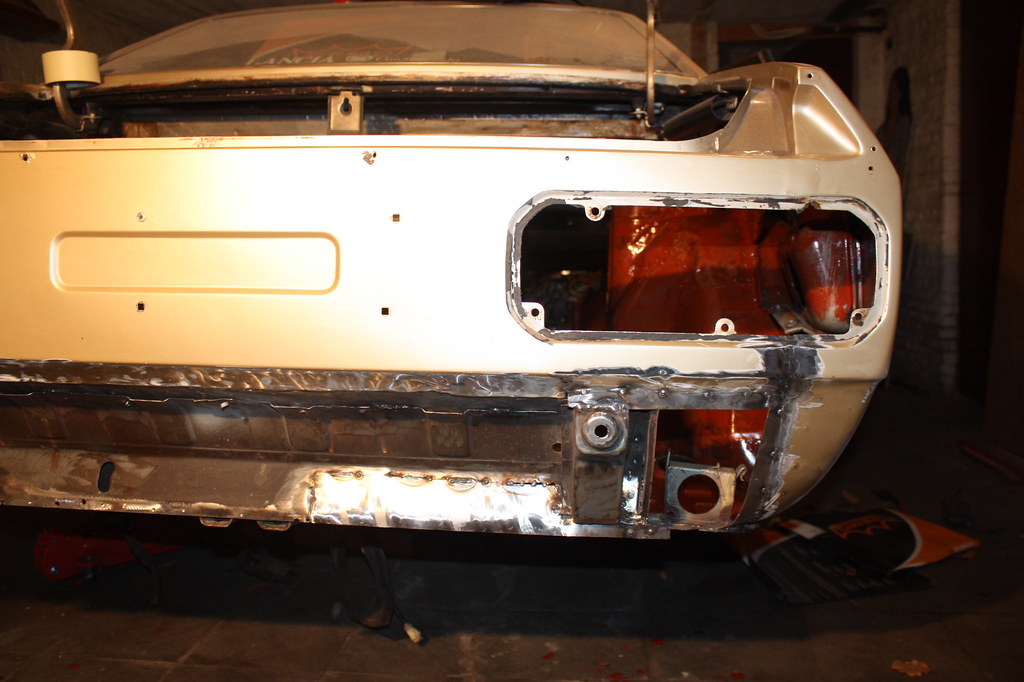 IMG_2064 IMG_2064 by frederikleyers, on Flickr 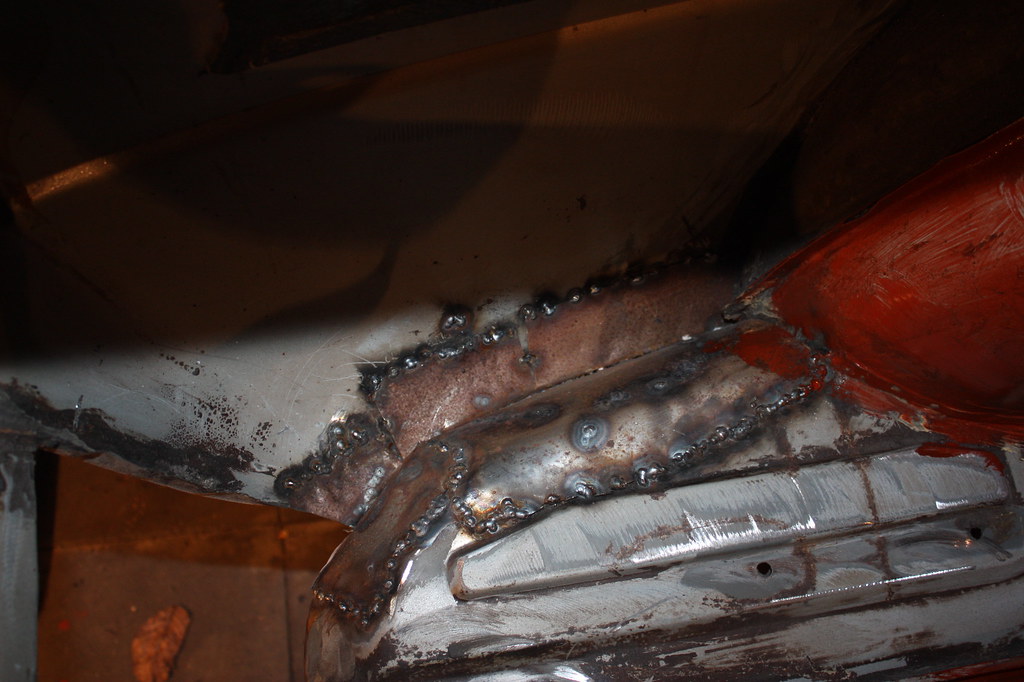 IMG_2067 IMG_2067 by frederikleyers, on Flickr 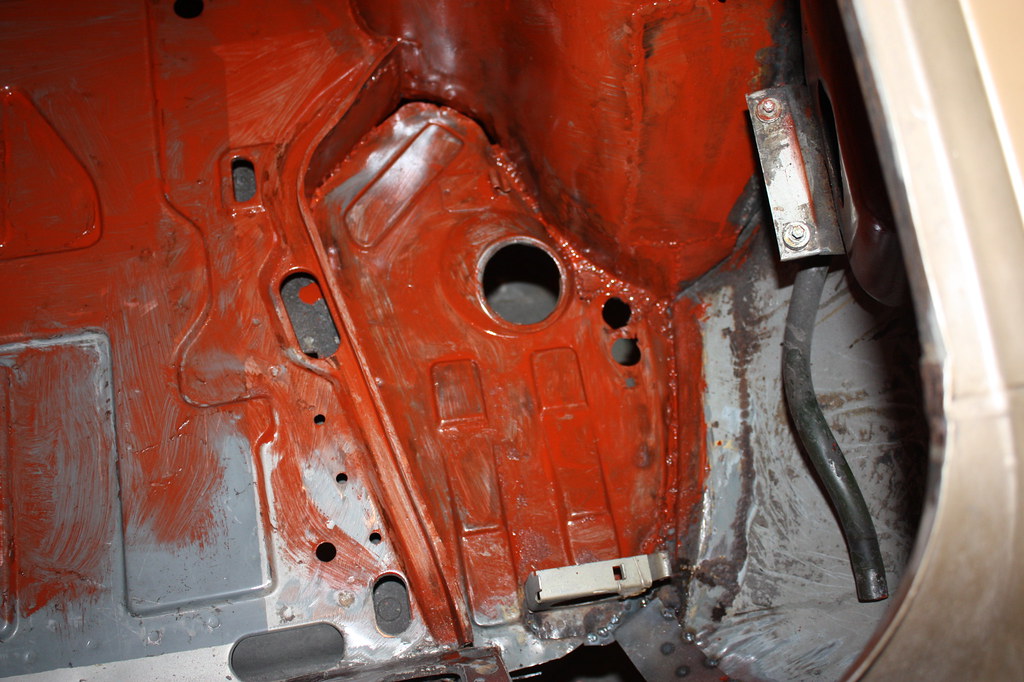 IMG_2066 IMG_2066 by frederikleyers, on Flickr 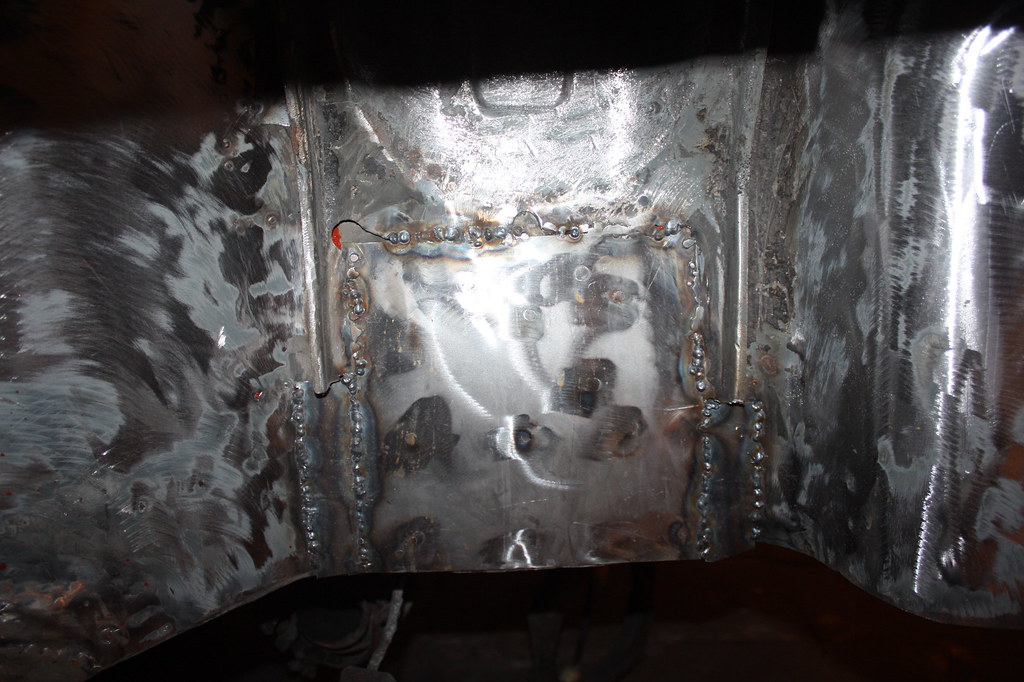 IMG_2070 IMG_2070 by frederikleyers, on Flickr 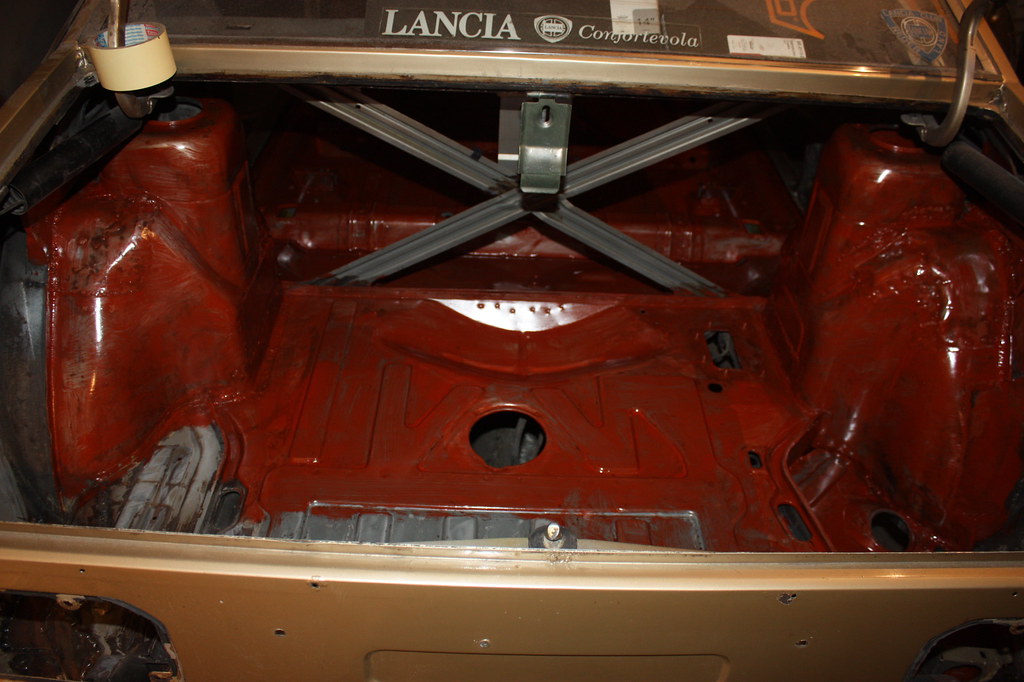 IMG_2068 IMG_2068 by frederikleyers, on Flickr 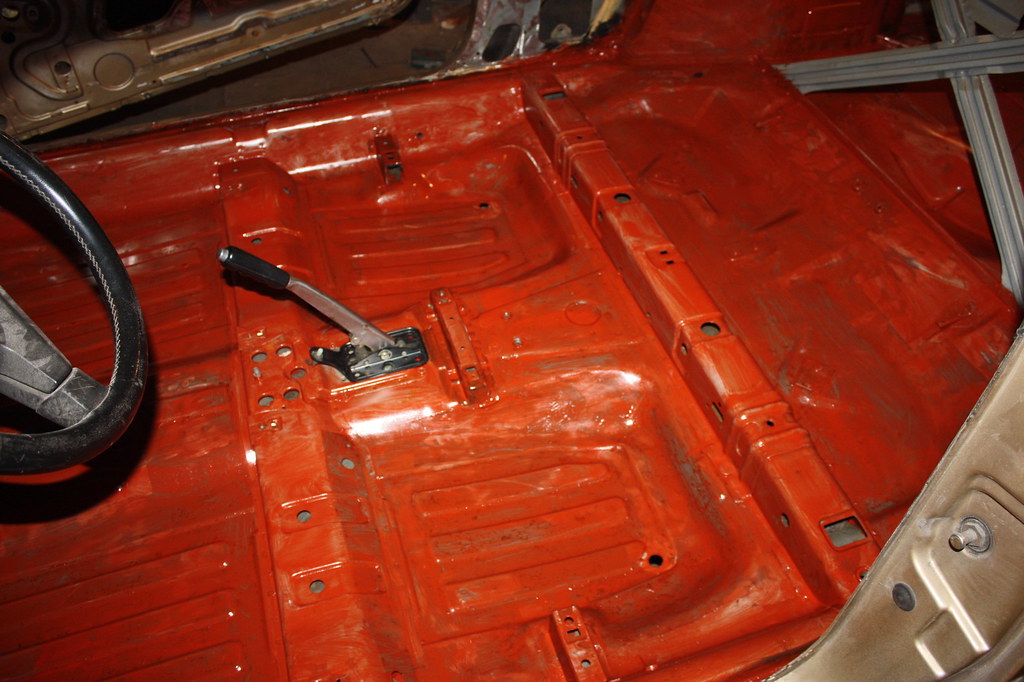 IMG_2071 IMG_2071 by frederikleyers, on Flickr 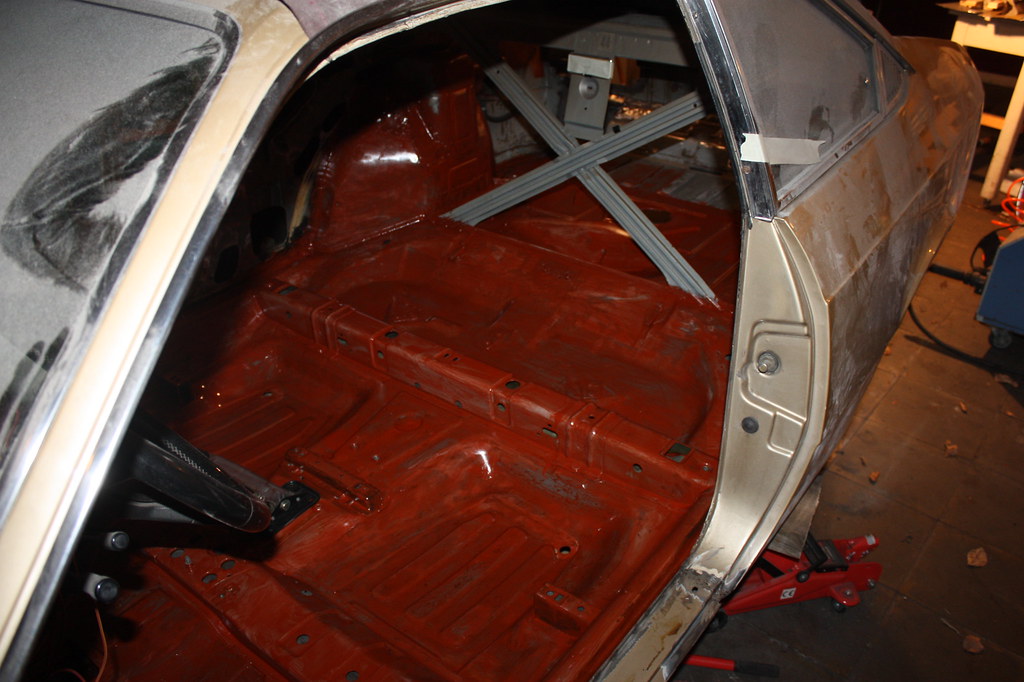 IMG_2072 IMG_2072 by frederikleyers, on Flickr still have a lot of welding to do ordered also a haynes manual anyone has a suggestion for a good inside sealent(?) for all the joints and to put over the welds, ? thanks greets |
|
|
|
« Last Edit: April 30, 2017, 07:21:52 PM by fred2660 »
|
 Logged
|
|
|
|
|
|
|
George-S
|
 |
« Reply #24 on: May 07, 2017, 05:48:30 PM » |
|
Nice work ! Not got to the doors yet on mine  .. I would advise using fiberglass or body filler on some of the worlds as you will probs allow water into the car.. that or it will just just again. Rust primer and paint only does so much ..... |
|
|
|
|
 Logged
|
|
|
|
|
|
Ricambi Storici
Newbie

 Offline Offline
 Italy
Posts: 2
|
 |
« Reply #26 on: June 02, 2017, 10:24:42 PM » |
|
Hi there, if you didnt solve please write me an email at ricambistorici@gmail.com I have a couple of Lancia original rear shock absorbers NEW (also front ones). |
|
|
|
|
 Logged
|
|
|
|
|
fred2660
|
 |
« Reply #27 on: June 21, 2017, 05:45:45 PM » |
|
hello there, a little update. I have been working on the car less consistent lately. the welding is getting boring and frustrating, especially the upside down welding; anyways. I redid the rear left inner fender. the car really starts to look like frankenstein 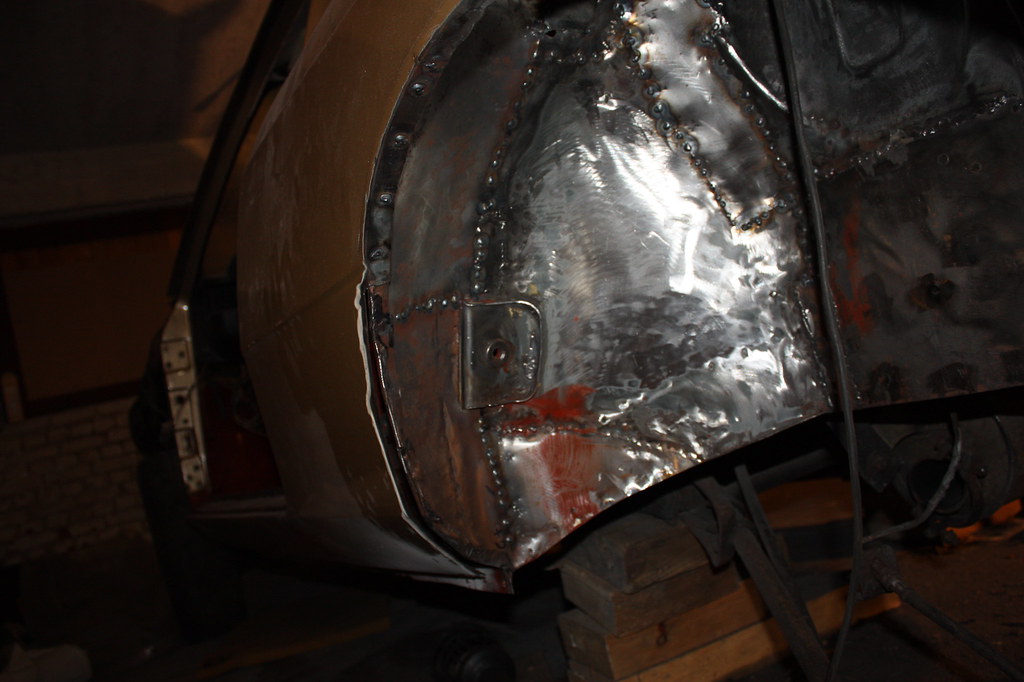 IMG_2365 IMG_2365 by frederikleyers, on Flickr 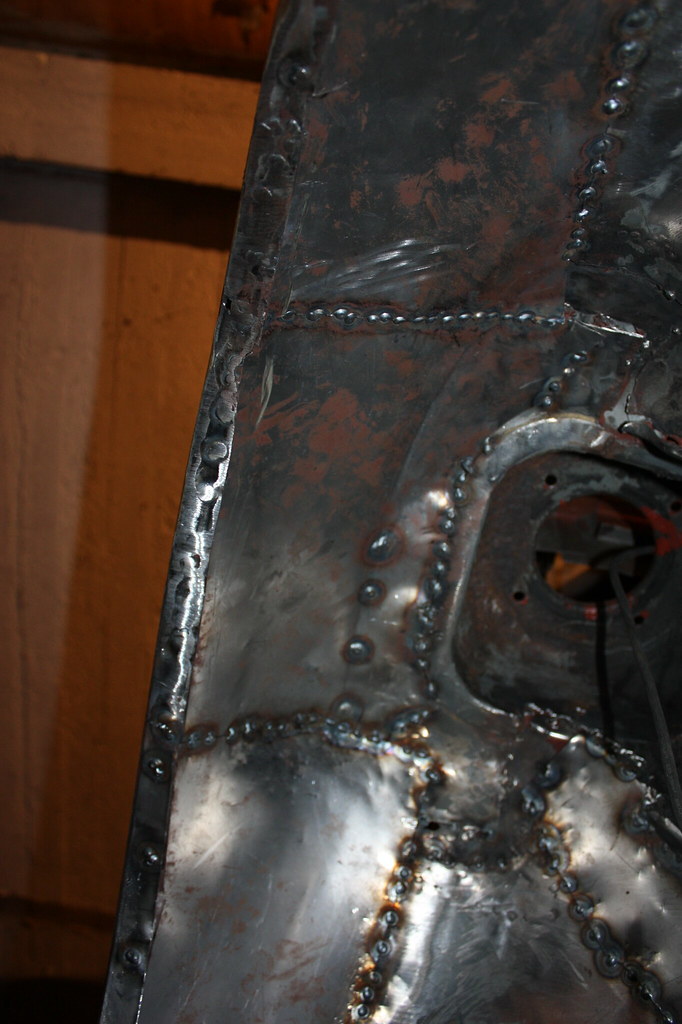 IMG_2366 IMG_2366 by frederikleyers, on Flickr 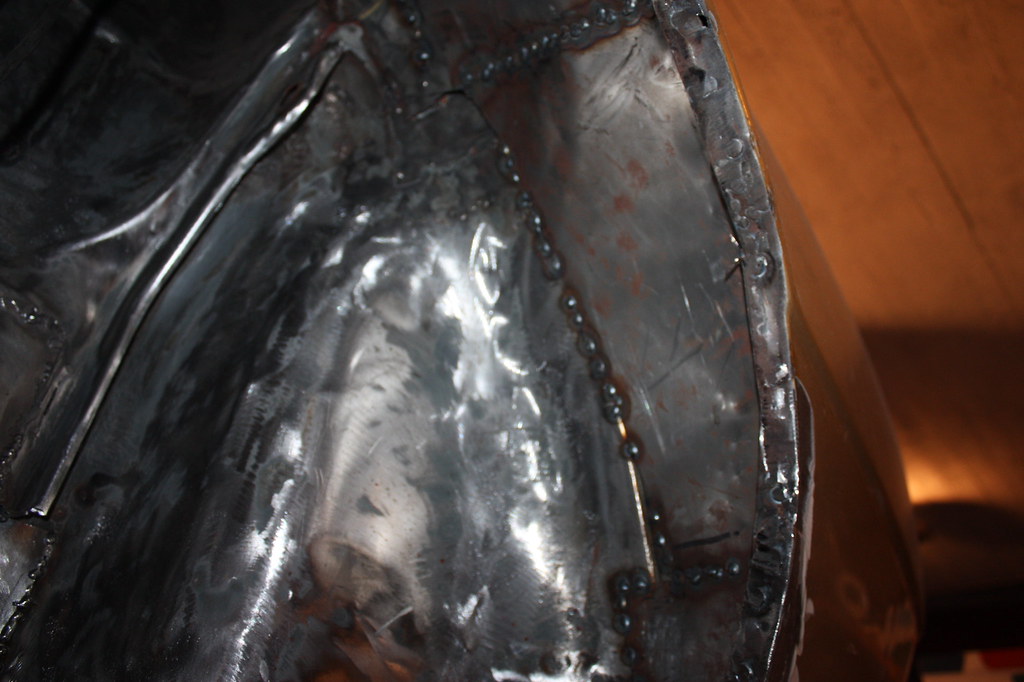 IMG_2367 IMG_2367 by frederikleyers, on Flickr  IMG_2365 IMG_2365 by frederikleyers, on Flickr 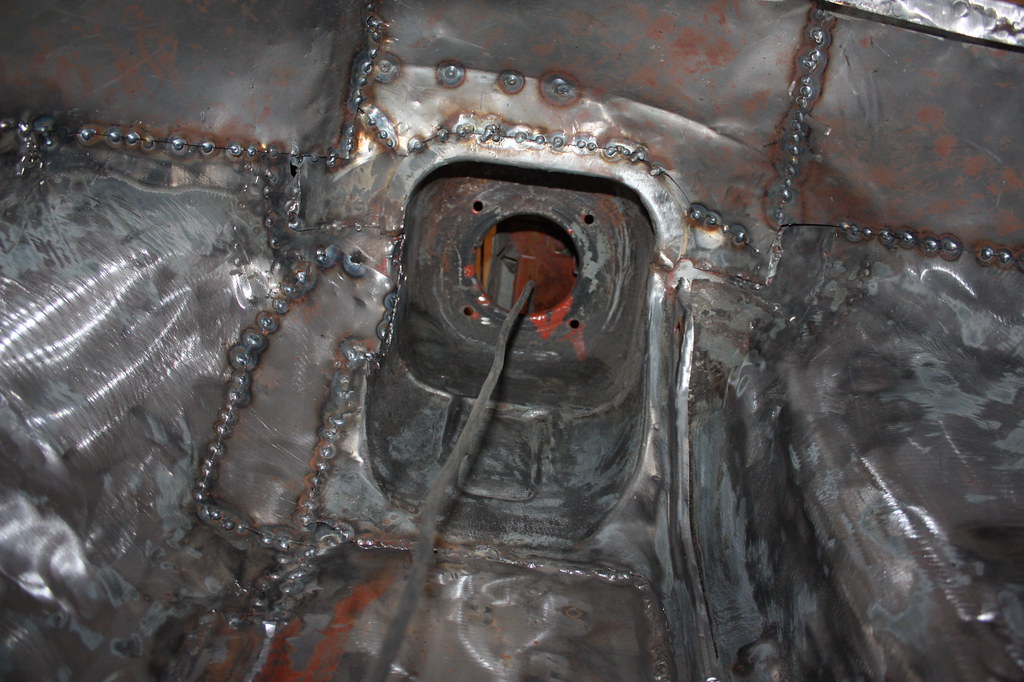 IMG_2368 IMG_2368 by frederikleyers, on Flickr I also made a new back panel. the original was too rusted and no longer usable. I am quite satisfied so far by this job. look for yourself 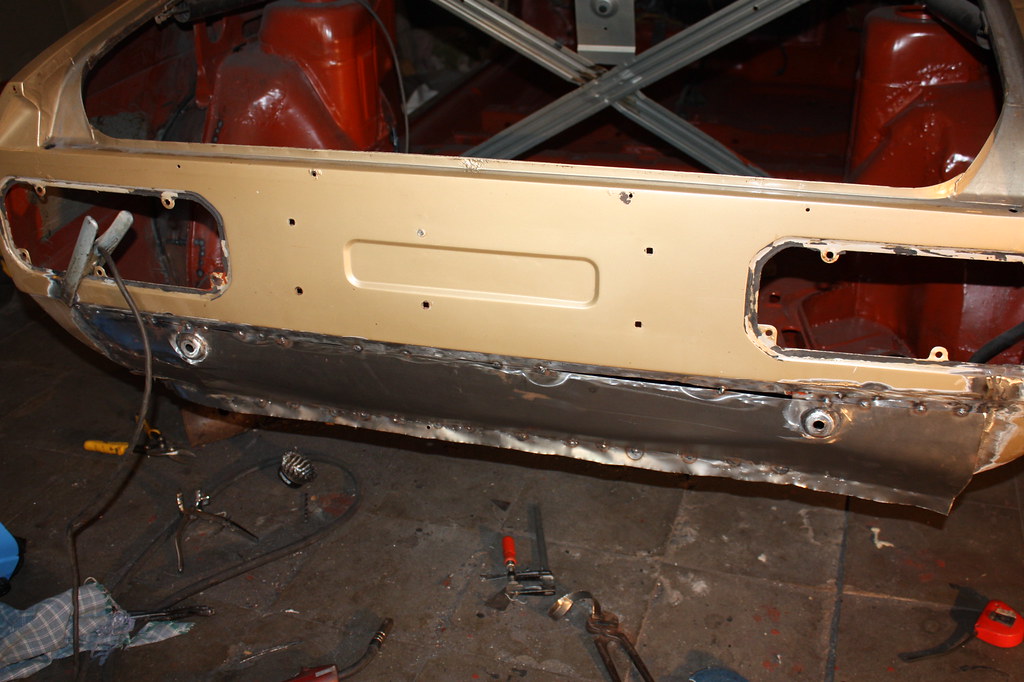 IMG_2352 IMG_2352 by frederikleyers, on Flickr 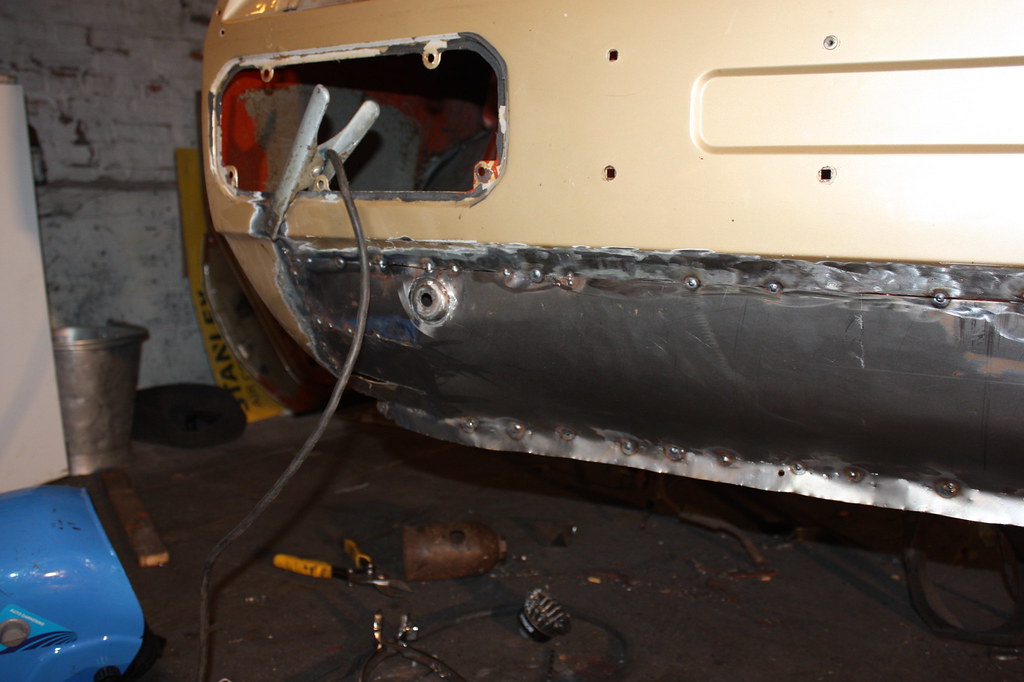 IMG_2353 IMG_2353 by frederikleyers, on Flickr 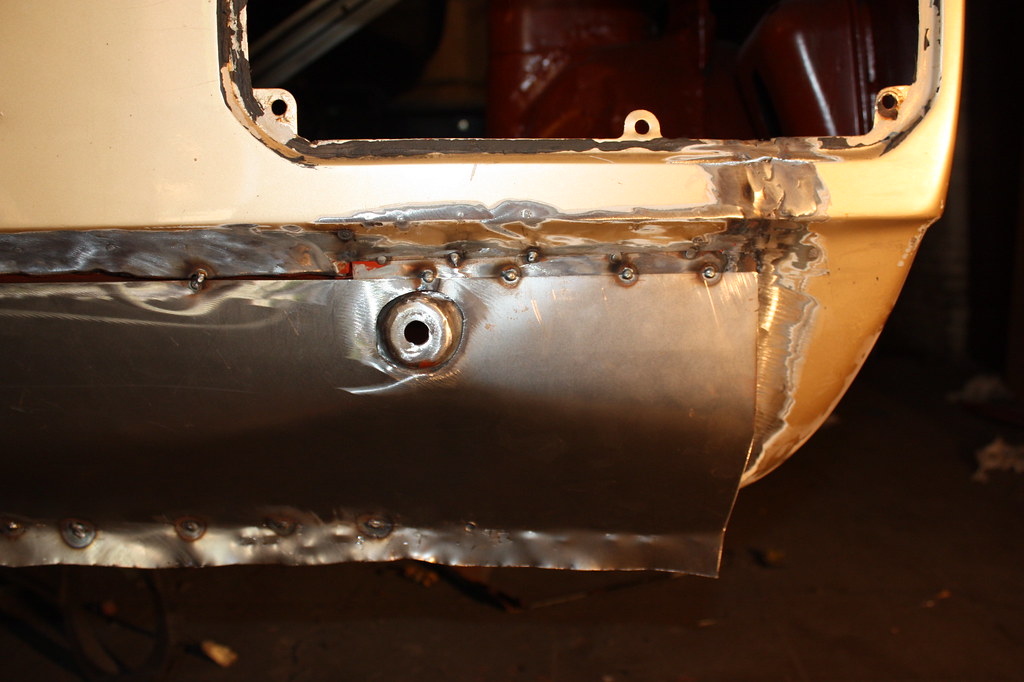 IMG_2354 IMG_2354 by frederikleyers, on Flickr 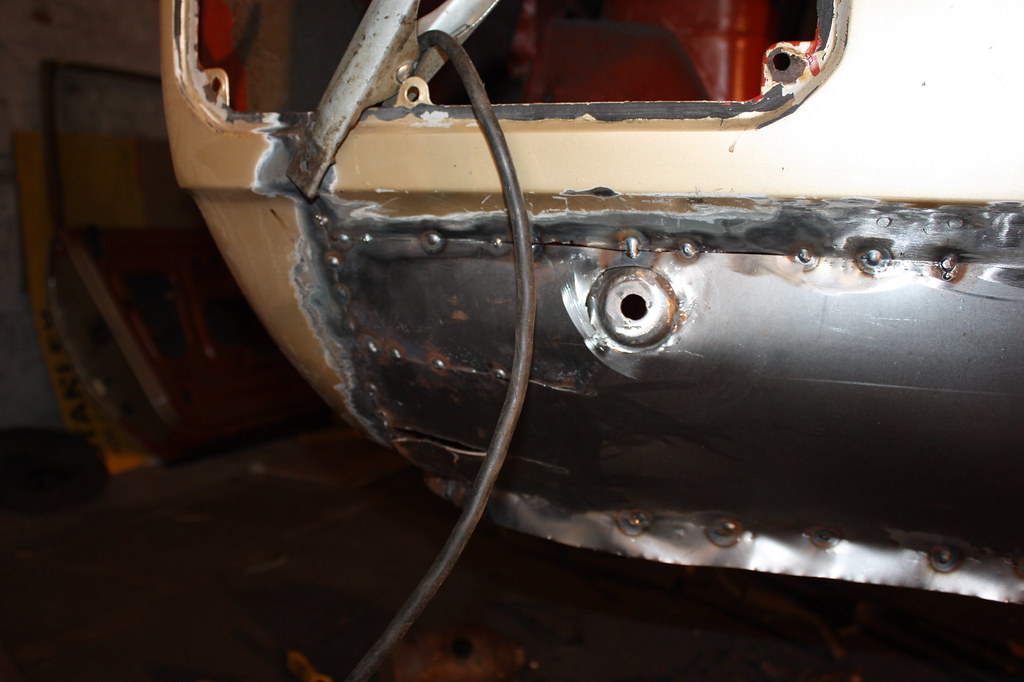 IMG_2355 IMG_2355 by frederikleyers, on Flickr 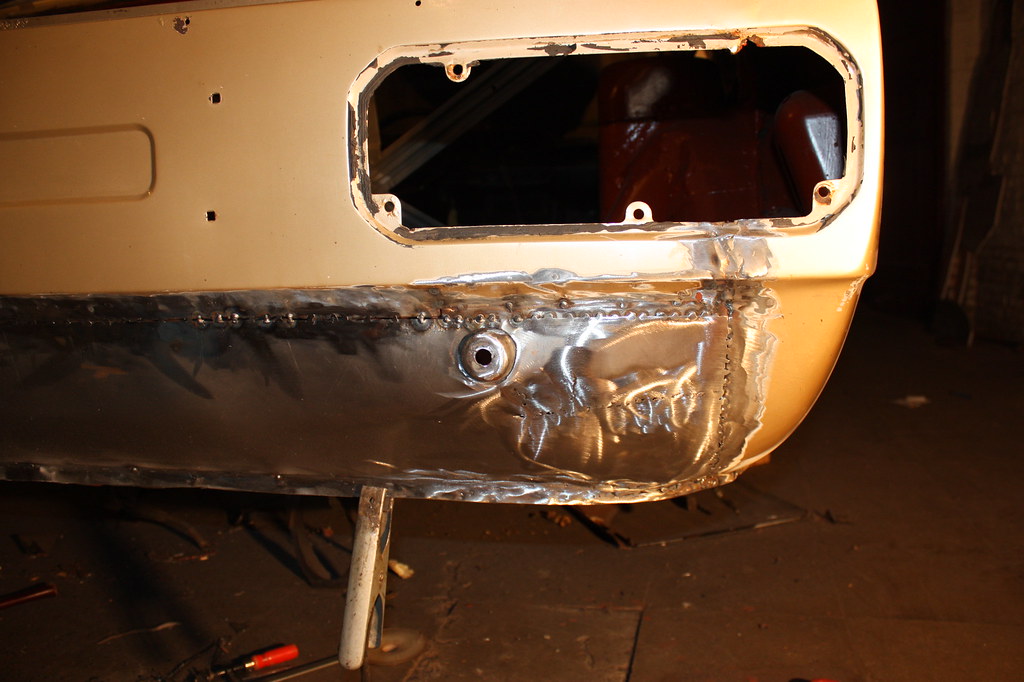 IMG_2359 IMG_2359 by frederikleyers, on Flickr 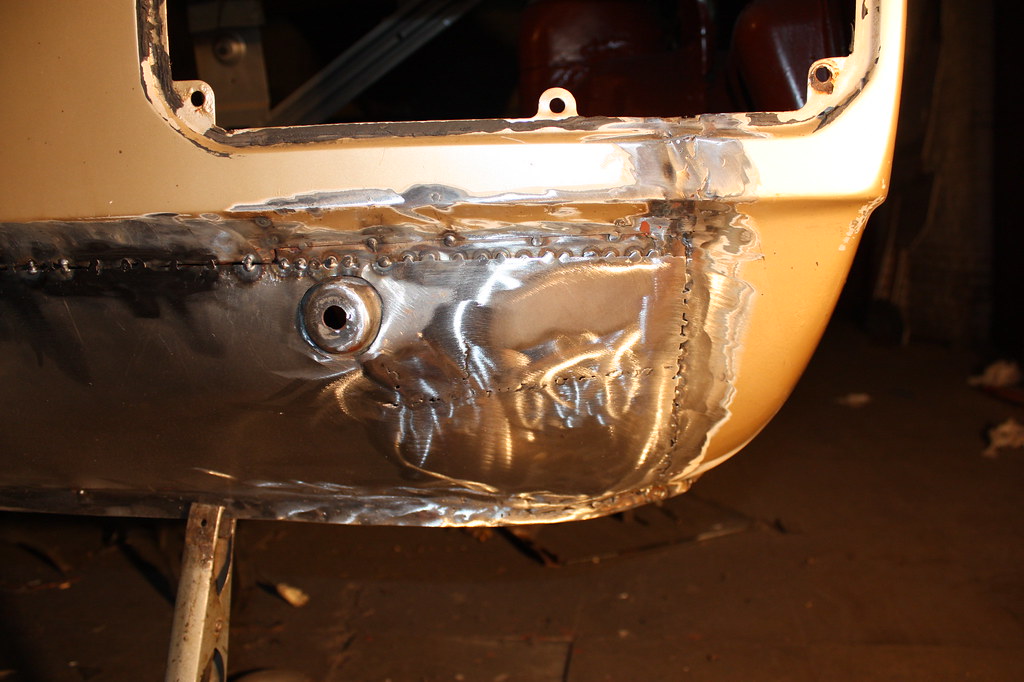 IMG_2360 IMG_2360 by frederikleyers, on Flickr 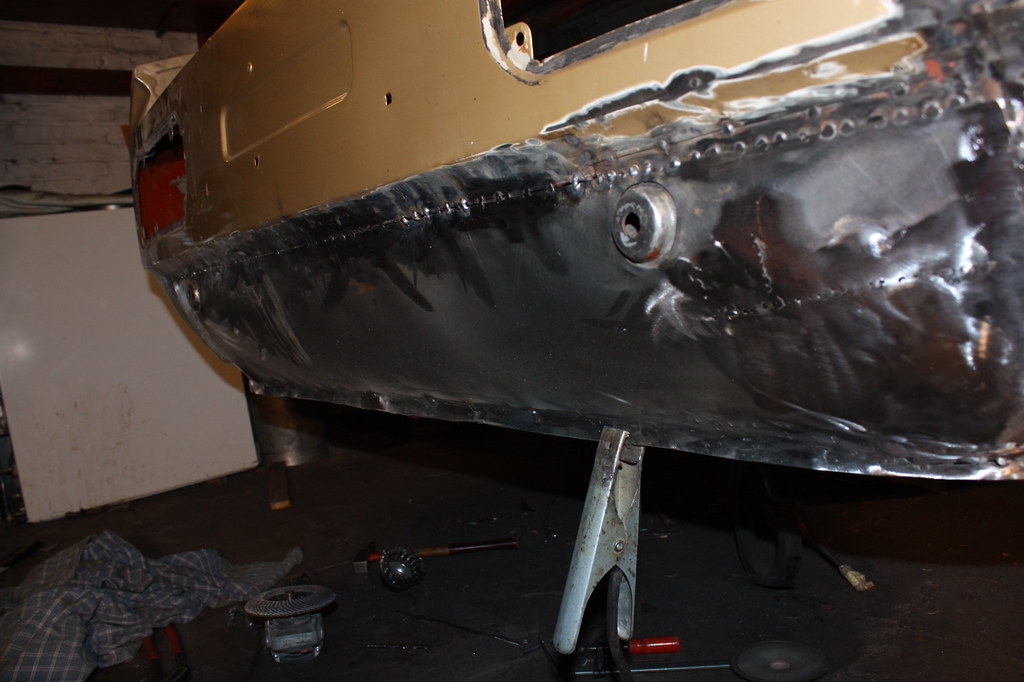 IMG_2361 IMG_2361 by frederikleyers, on Flickr 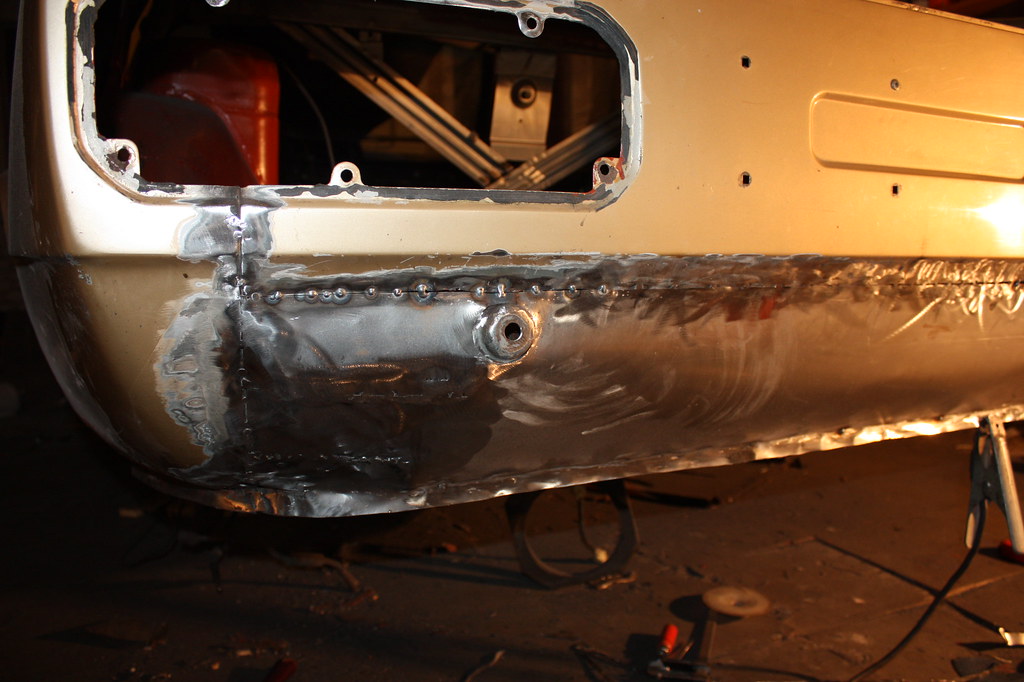 IMG_2362 IMG_2362 by frederikleyers, on Flickr 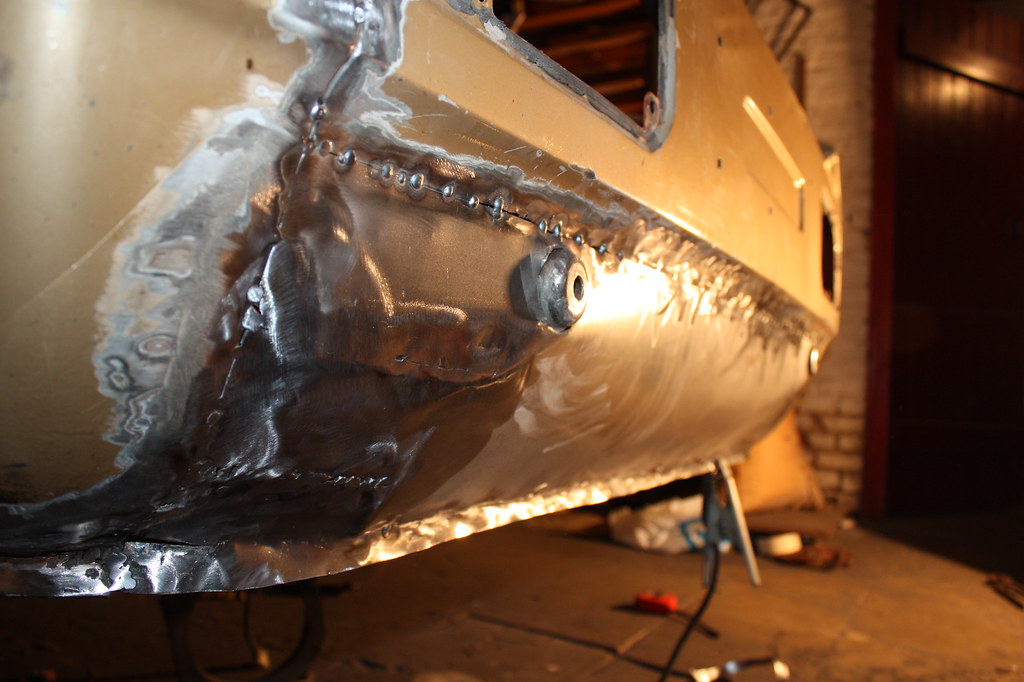 IMG_2363 IMG_2363 by frederikleyers, on Flickr after this the welding is almost done (hopefully) later.... |
|
|
|
|
 Logged
|
|
|
|
|
George-S
|
 |
« Reply #28 on: June 23, 2017, 11:03:42 PM » |
|
Good work.. though I find welding 100000 times better then rubbing down body filer which I can imagine u might be needing some...
|
|
|
|
|
 Logged
|
|
|
|
lanciamad
http://www.flickr.com/photos/lanciamad
Hero Member
    
 Offline Offline
 England
Posts: 699
Marcus Robinson
|
 |
« Reply #29 on: June 25, 2017, 06:12:01 PM » |
|
Great work, keep it up  |
|
|
|
|
 Logged
|
|
|
|
|
fred2660
|
 |
« Reply #30 on: July 11, 2017, 07:34:16 PM » |
|
Hi bored with the bodywork I started working on the brakes and suspension. Also new parts are comming in 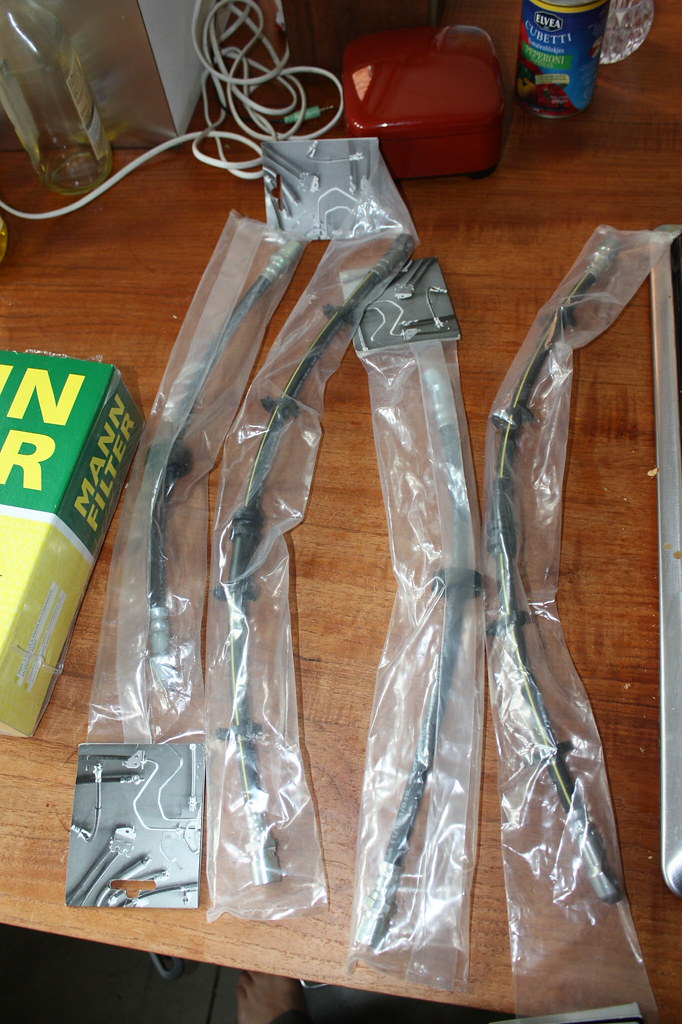 IMG_2369 IMG_2369 by frederikleyers, on Flickr 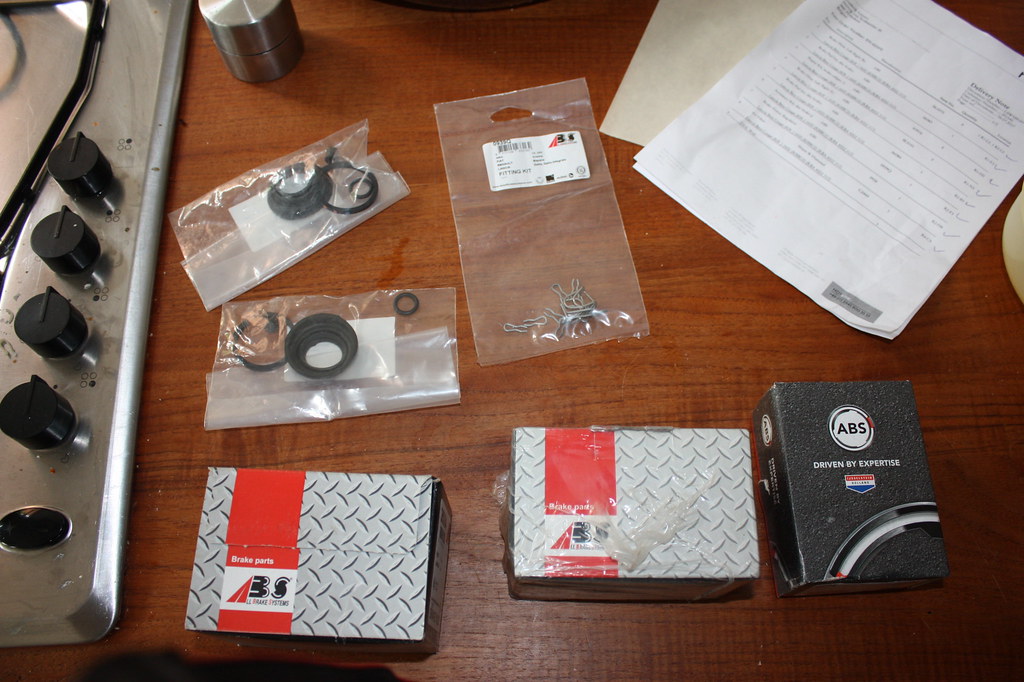 IMG_2370 IMG_2370 by frederikleyers, on Flickr still looking for braking discs and the iron rings between the coil and the rubber in the rear suspension. A lot of grinding and painting going on and today I reassebled a rear caliper. goddamn what a frustrating job. In the end I managed it but not looking forward for doing the other one. It took me more than two hours to find the way to do it, and i hope i did it right (the posts in the technical pages were helpfull but in the end you have to find your own way) 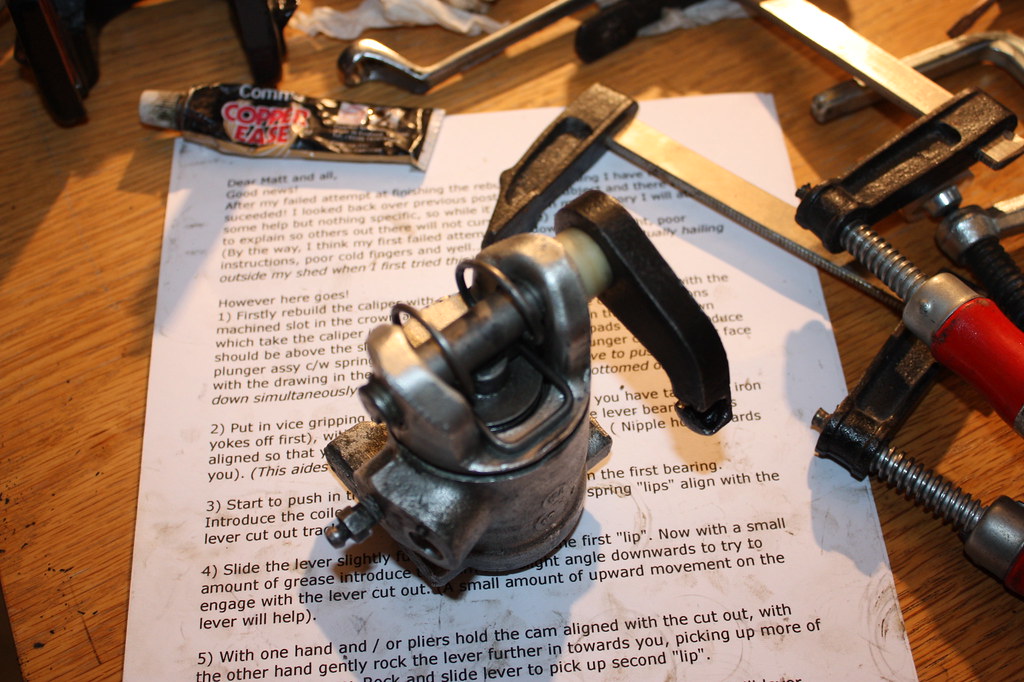 IMG_2372 IMG_2372 by frederikleyers, on Flickr 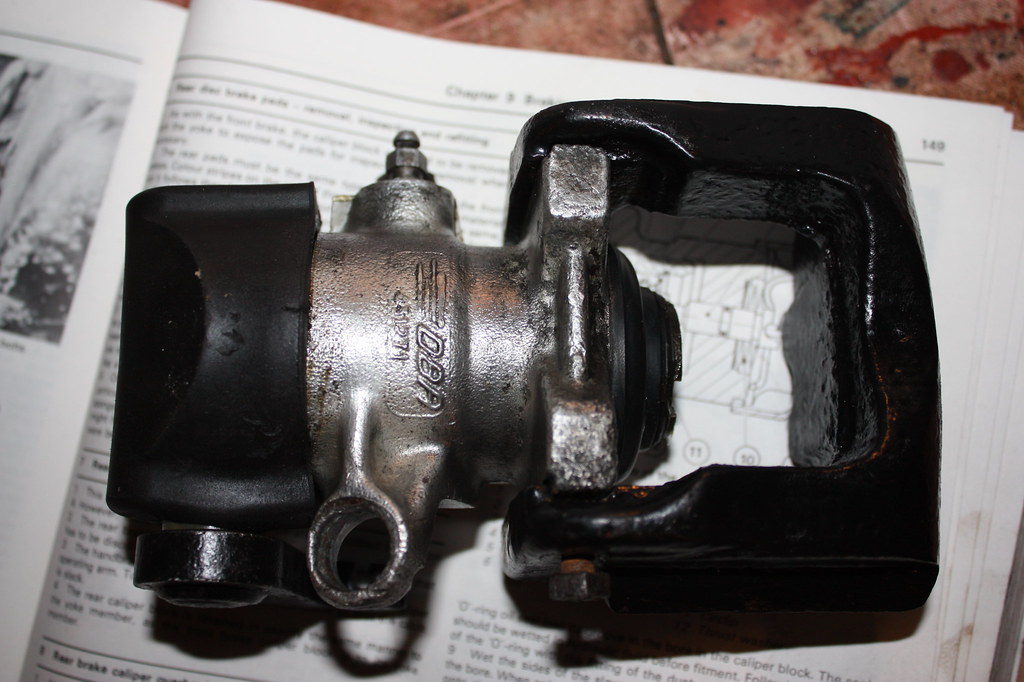 IMG_2375 IMG_2375 by frederikleyers, on Flickr the other one, i will make more detailed fotos druing the process cheers |
|
|
|
|
 Logged
|
|
|
|
|
fred2660
|
 |
« Reply #31 on: July 11, 2017, 09:29:29 PM » |
|
after rebuilding the caliper I keep on questioning myself how the whole mechanism works. I dont understand how the piston can move up and down (by pressure of oil or air) in the caliper when the bolt in the back of the handbrake is screwed in the piston. the piston doesnt turn, neither does the bolt.
who can explain in easy words?
thanks
|
|
|
|
|
 Logged
|
|
|
|
|
Neil-yaj396
|
 |
« Reply #32 on: July 12, 2017, 07:00:51 AM » |
|
after rebuilding the caliper I keep on questioning myself how the whole mechanism works. I dont understand how the piston can move up and down (by pressure of oil or air) in the caliper when the bolt in the back of the handbrake is screwed in the piston. the piston doesnt turn, neither does the bolt.
who can explain in easy words?
thanks
Even a professional brake rebuilding company screwed up re-assembling my rear calipers, so not an easy job unfortunately. |
|
|
|
|
 Logged
|
|
|
|
|
dougdee123
|
 |
« Reply #33 on: July 12, 2017, 10:42:29 AM » |
|
The screw mechanism provides adjustment for the handbrake whilst the pads wear. The problem that is being solved is how to have two systems acting on the same pair of pads to provide retardation when in motion and to secure with the handbrake when stationary. When you assemble the caliper screw the adjuster part all the way in whilst still aligning the components. This acts as a ratchet adjuster. Visualize the cylinder moving toward the pad but the screw insert not being allowed to rotate. the intermediate section will rotate on the thread but not when the handbrake is activated.
The piston should be fully inside its cylinder when you assemble everything and fit it to the car. When you pump the brakes in for the first time so that the pads are pressed onto the disc the screw thread of the adjuster will unwind and take up most of the travel so that it is near the disk for the use of the handbrake too. When your foot comes off the brake and the pressure in the braking system is off, the pads are free to come off the disc by an infinitesimally small amount allowing it not to bind.
The pads are then close to the disc and activating the handbrake applies a new force to press the pads onto the disc to hold the car. There is a a small tolerance of free movement so that the pads can again move off the disk when the handbrake is released.
I hope this helps.
|
|
|
|
|
 Logged
|
|
|
|
|
fred2660
|
 |
« Reply #34 on: July 12, 2017, 07:51:17 PM » |
|
thanks dougdee, ok i'm starting to understand. the inner mechanism of the piston can rotate independatly, so the piston can go up and down whilst the screw does not turn. I checked it 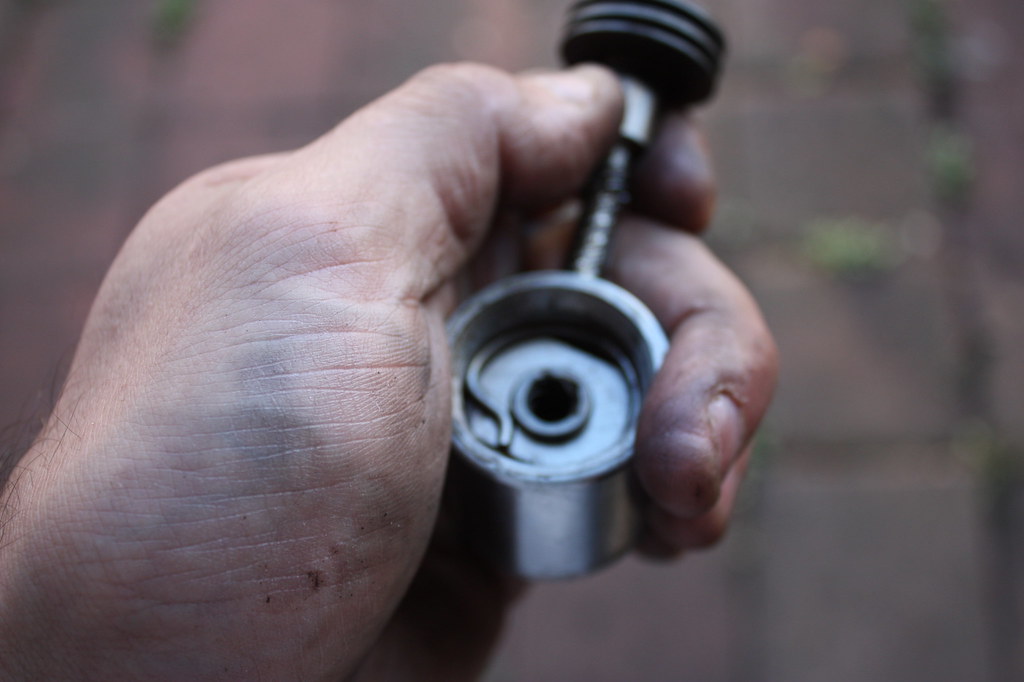 IMG_2386 IMG_2386 by frederikleyers, on Flickr 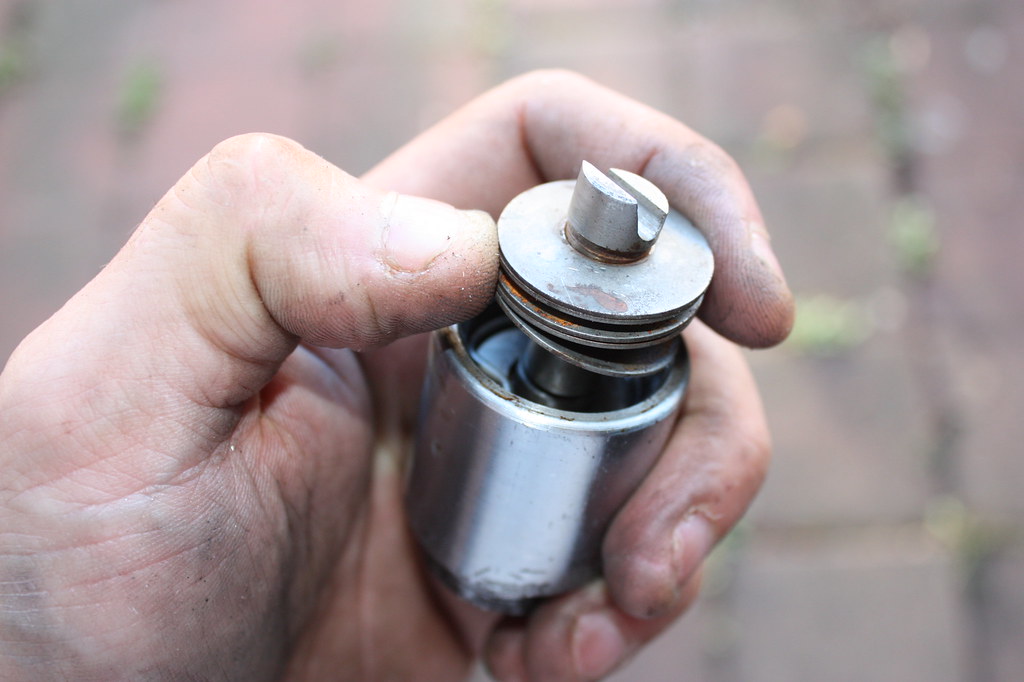 IMG_2385 IMG_2385 by frederikleyers, on Flickr thanks for the clarification Now I had to start on the other caliper and knowing all this I decided to not to disassenble it totaly . I decided to leave the handbrake mechanism intact 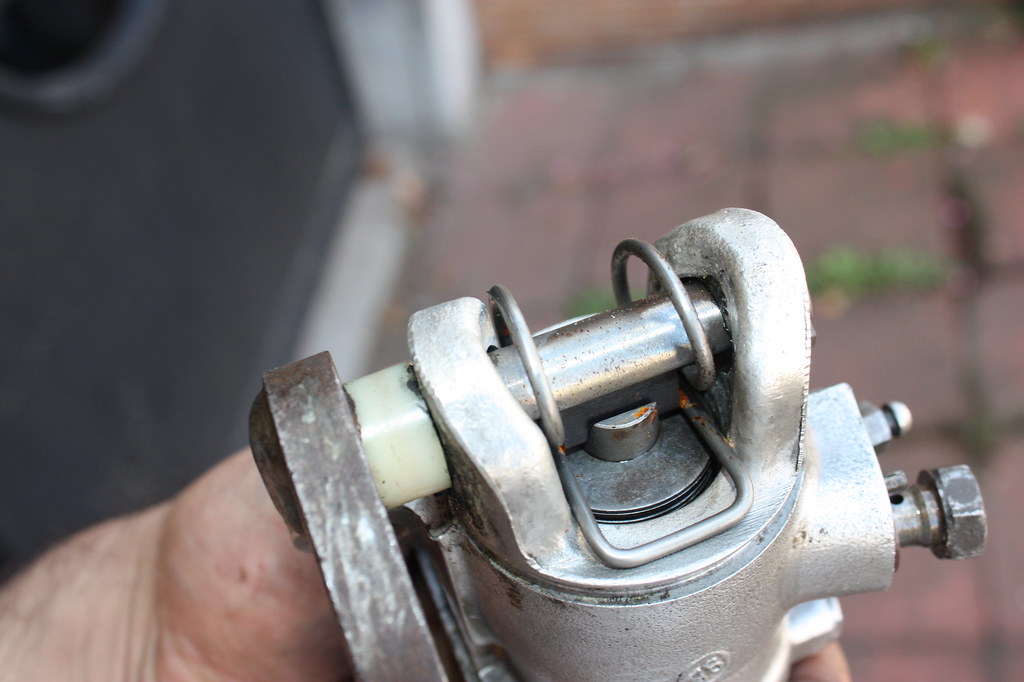 IMG_2383 IMG_2383 by frederikleyers, on Flickr I cleaned it but didnt feel like to do the whole operation again. instead I would screw the piston over the screw from the top off the caliper. I cleaned the inside of the caliper and placed the new o-ring wich i covered with some special grease. This grease makes it easyer for the piston to be pushed in 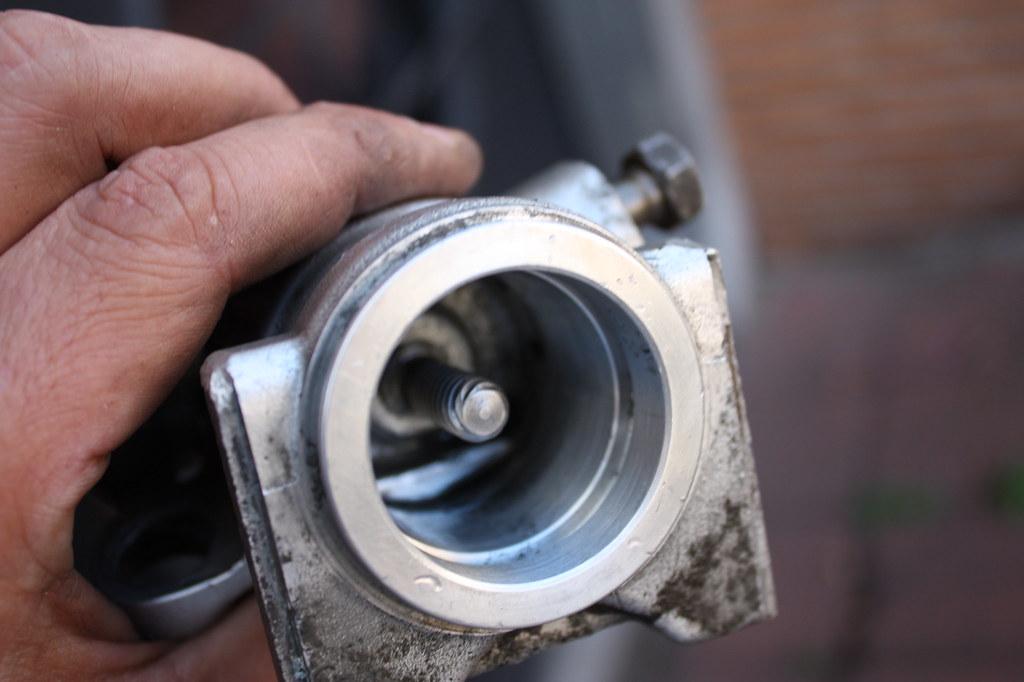 IMG_2382 IMG_2382 by frederikleyers, on Flickr 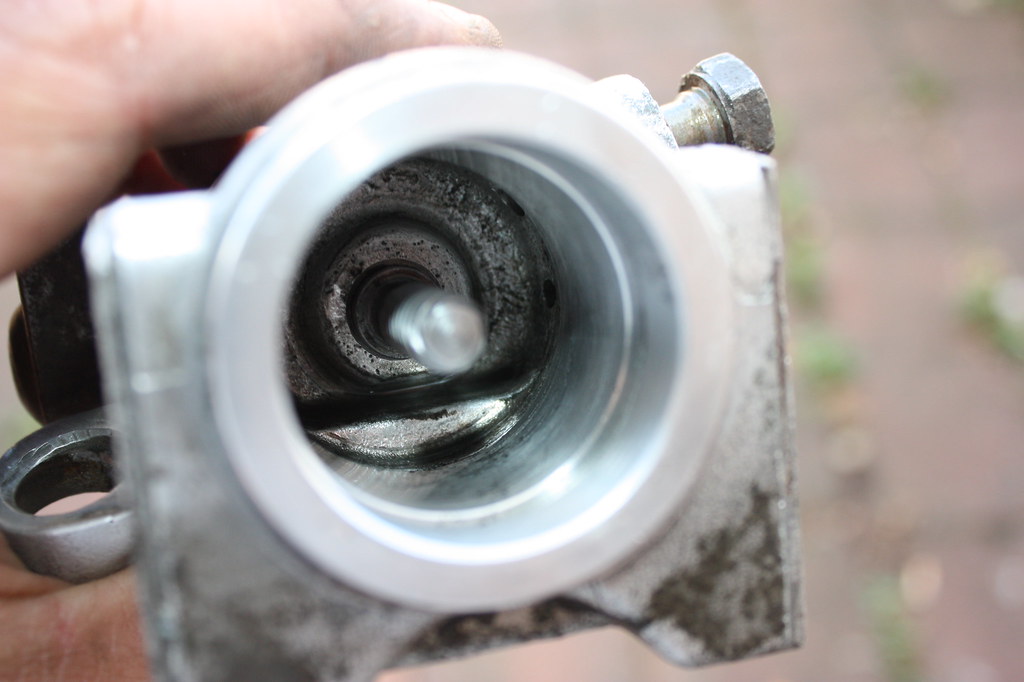 IMG_2378 IMG_2378 by frederikleyers, on Flickr 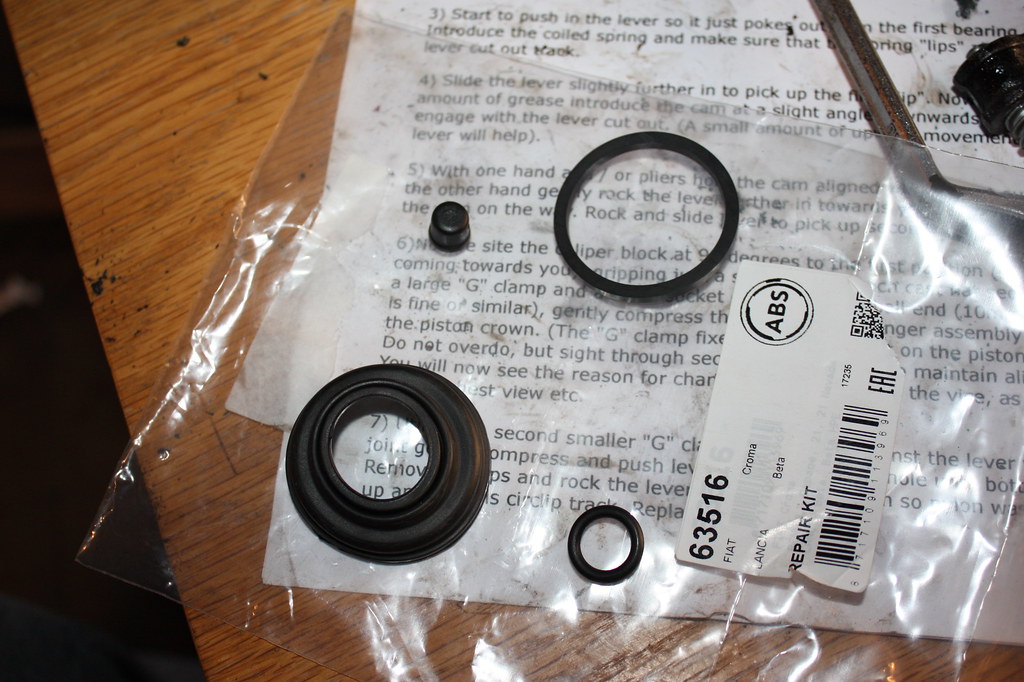 IMG_2387 IMG_2387 by frederikleyers, on Flickr 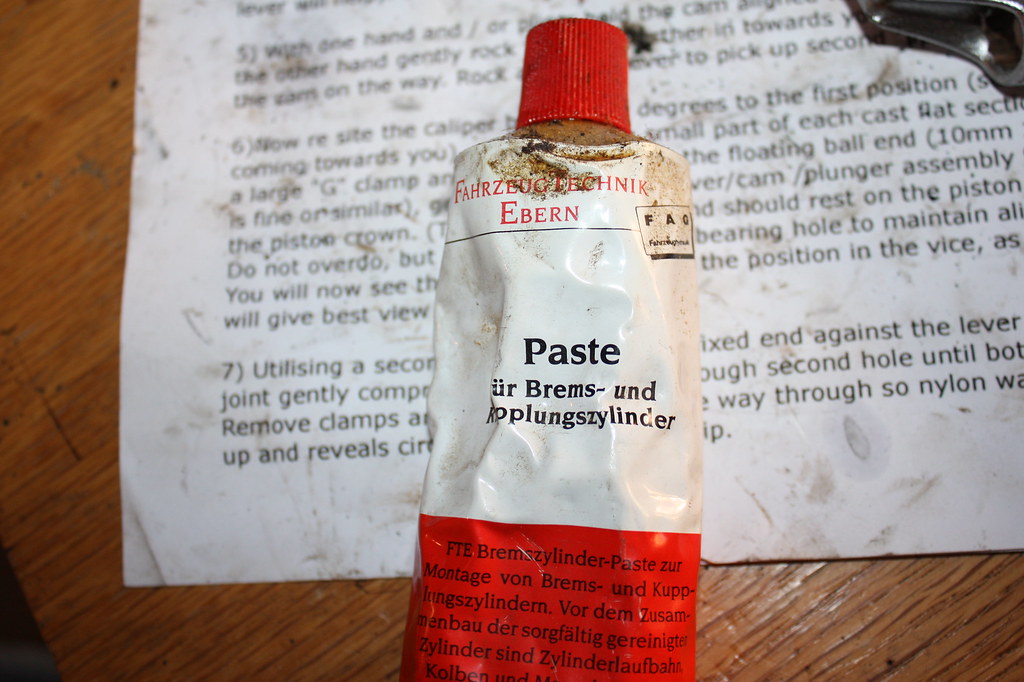 IMG_2389 IMG_2389 by frederikleyers, on Flickr 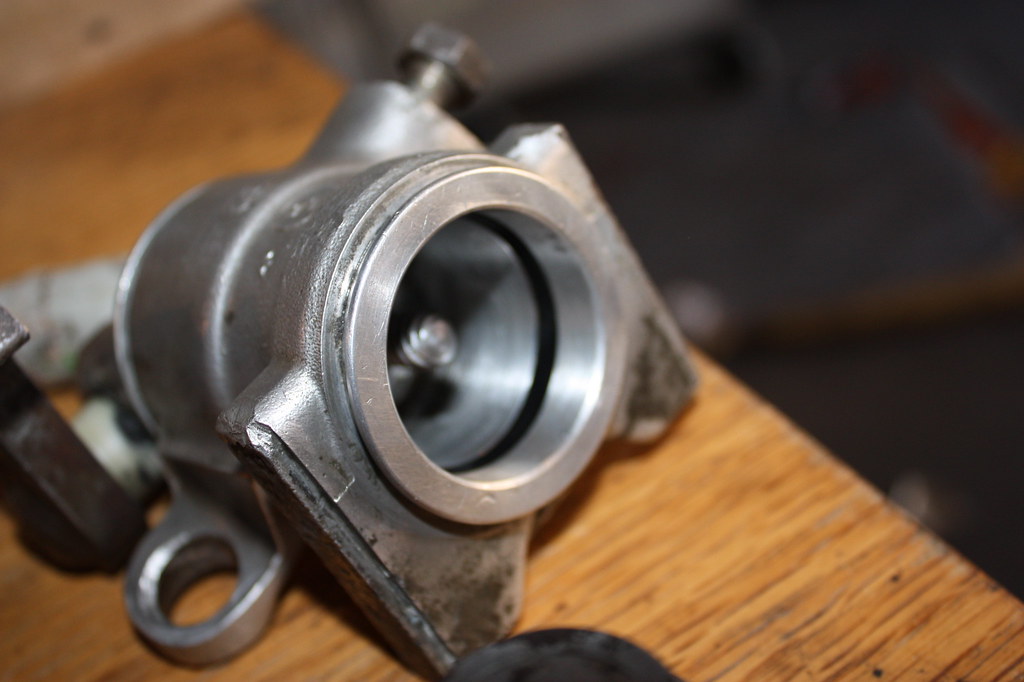 IMG_2388 IMG_2388 by frederikleyers, on Flickr then I screwed the piston in and placed the new dustcap 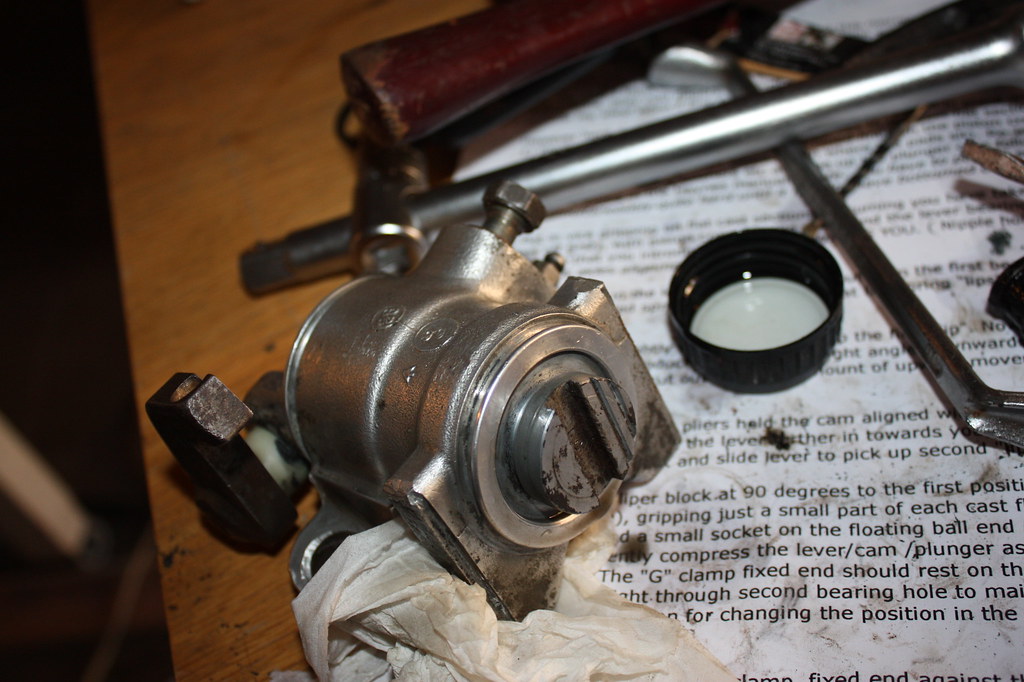 IMG_2390 IMG_2390 by frederikleyers, on Flickr 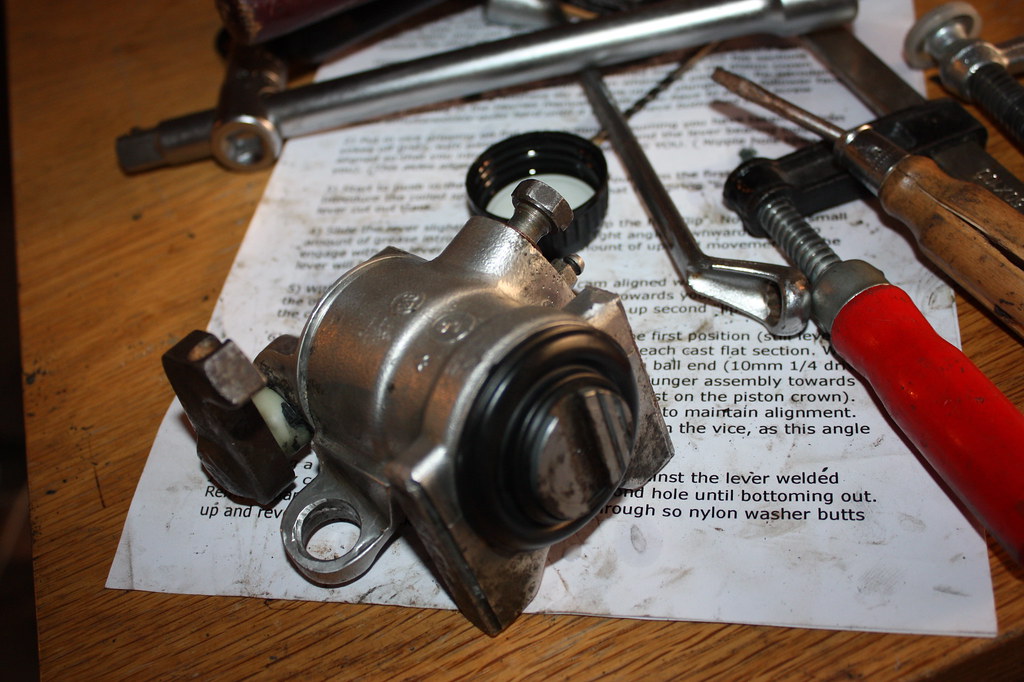 IMG_2391 IMG_2391 by frederikleyers, on Flickr I also put a lot of grease on the lever mechanism and replaced that dustcap also 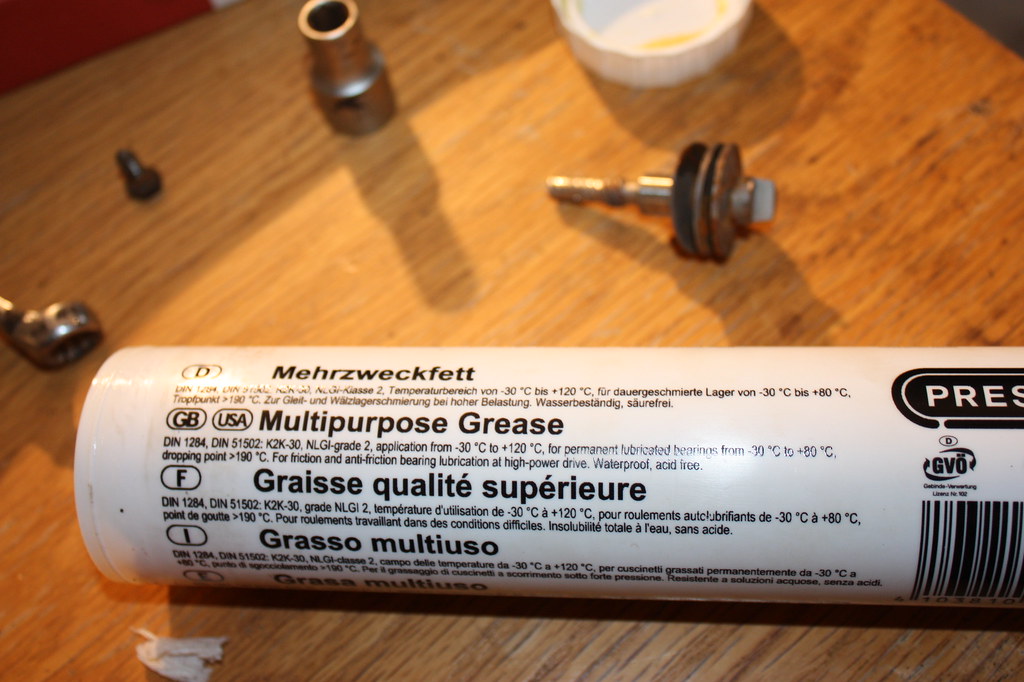 IMG_2371 IMG_2371 by frederikleyers, on Flickr 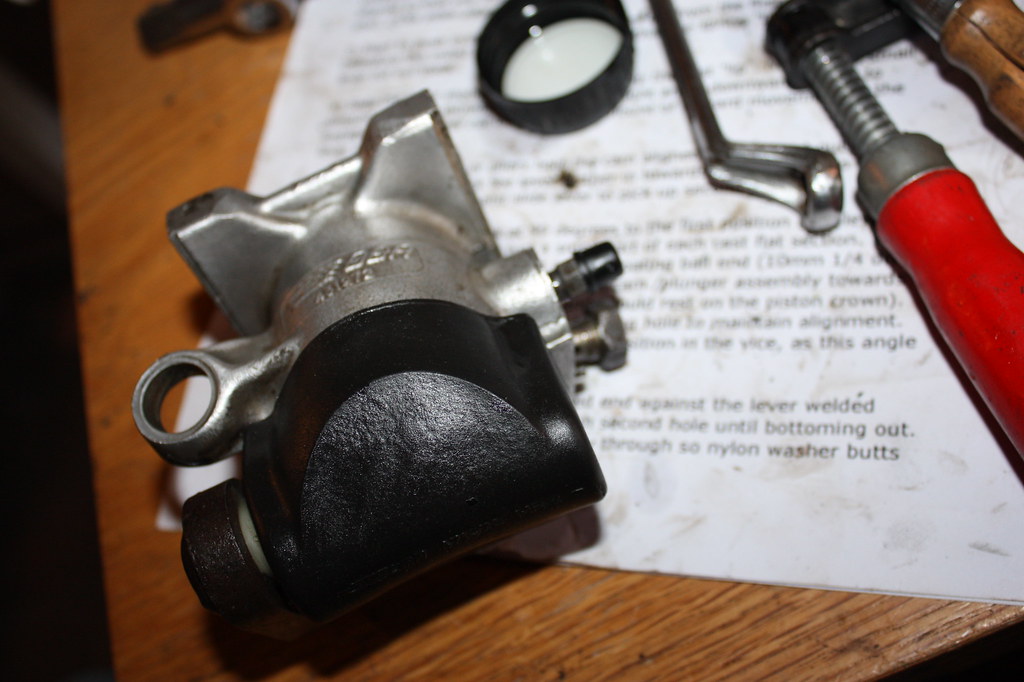 IMG_2392 IMG_2392 by frederikleyers, on Flickr Now I can put it away and wait until I can install it. Any suggestions or remarks, please shoot. thanks, fred |
|
|
|
|
 Logged
|
|
|
|
|
peteracs
|
 |
« Reply #35 on: July 12, 2017, 08:10:49 PM » |
|
Interesting, just curious why use grease, albeit special type, rather than just use brake fluid to lubricate the bore?
Peter
|
|
|
|
|
 Logged
|
Beta Spyder S2 pre F/L 1600
Beta HPE S2 pre F/L 1600
|
|
|
|
fred2660
|
 |
« Reply #36 on: July 12, 2017, 10:21:24 PM » |
|
Interesting, just curious why use grease, albeit special type, rather than just use brake fluid to lubricate the bore?
Someone told me to do it and i bought it, but dont think it is so important (the tube is almost 10 years old  ) |
|
|
|
|
 Logged
|
|
|
|
|
fred2660
|
 |
« Reply #37 on: July 29, 2017, 06:38:46 PM » |
|
started to put some sealent on the weldings and corners of the body 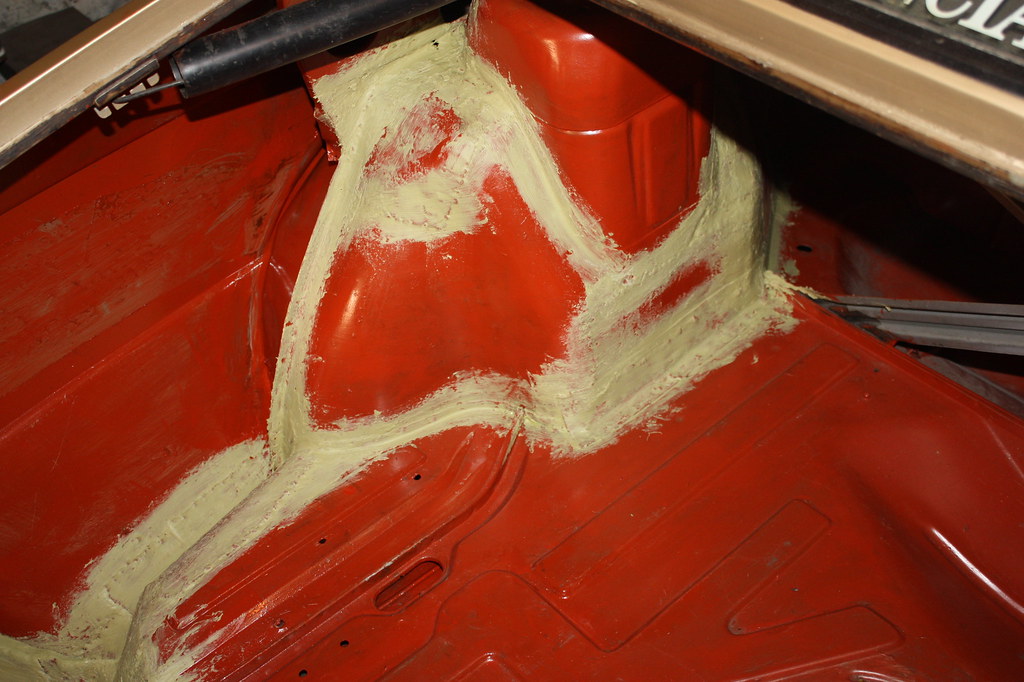 IMG_2808 IMG_2808 by frederikleyers, on Flickr 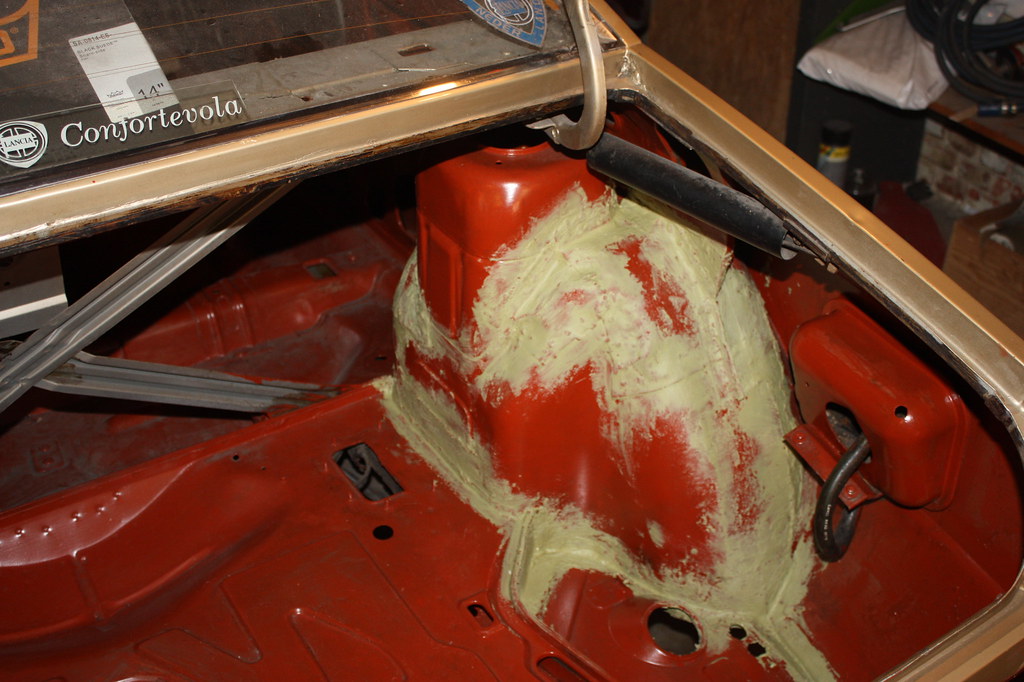 IMG_2809 IMG_2809 by frederikleyers, on Flickr 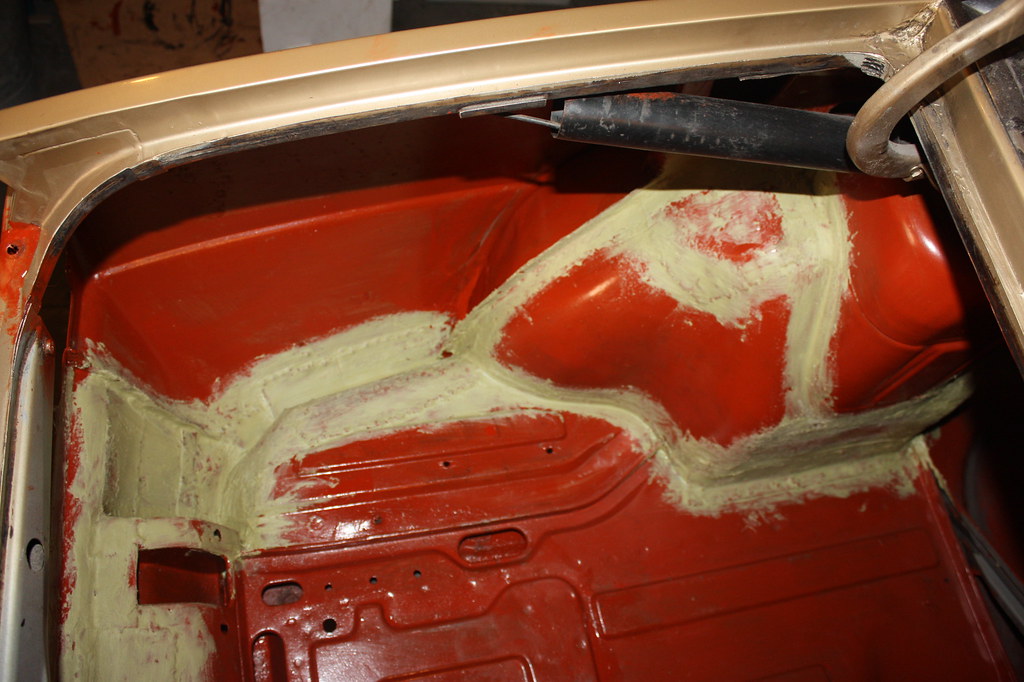 IMG_2810 IMG_2810 by frederikleyers, on Flickr 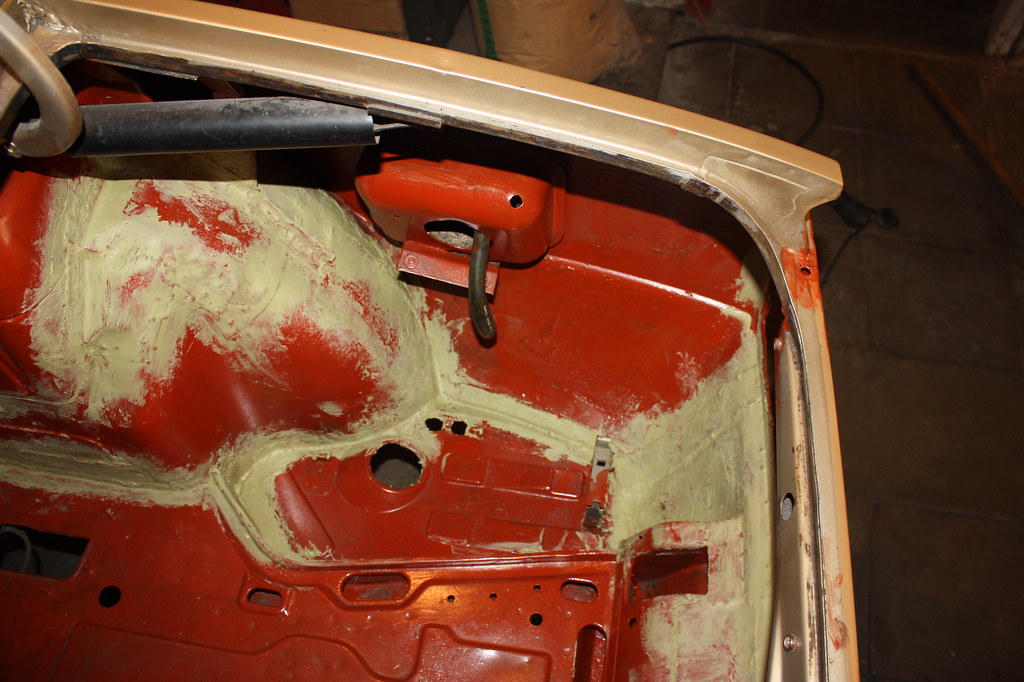 IMG_2811 IMG_2811 by frederikleyers, on Flickr 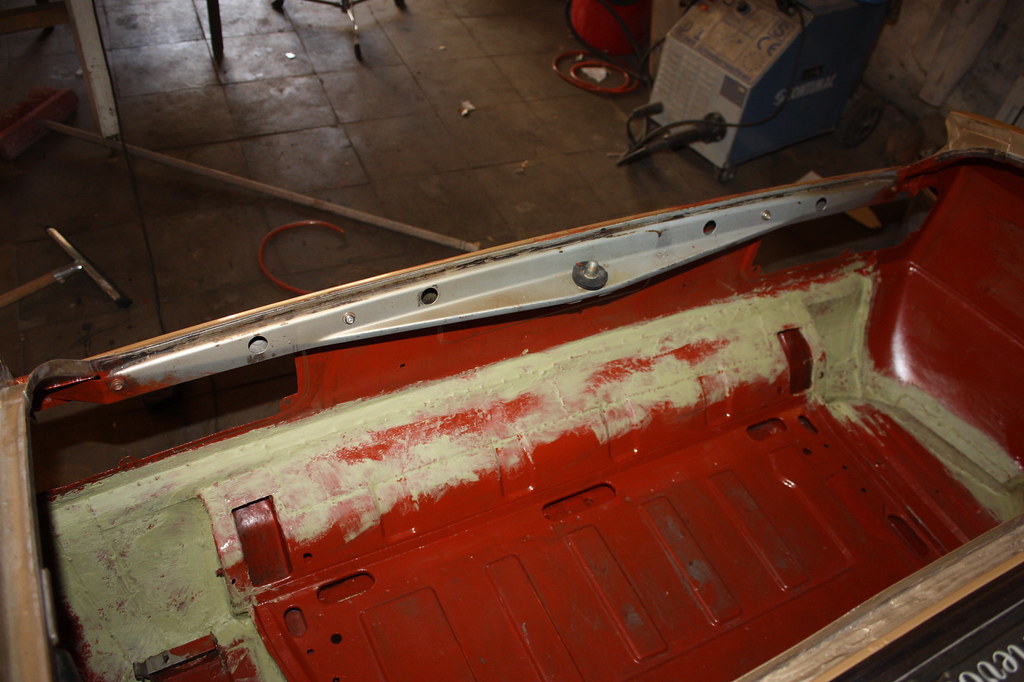 IMG_2812 IMG_2812 by frederikleyers, on Flickr 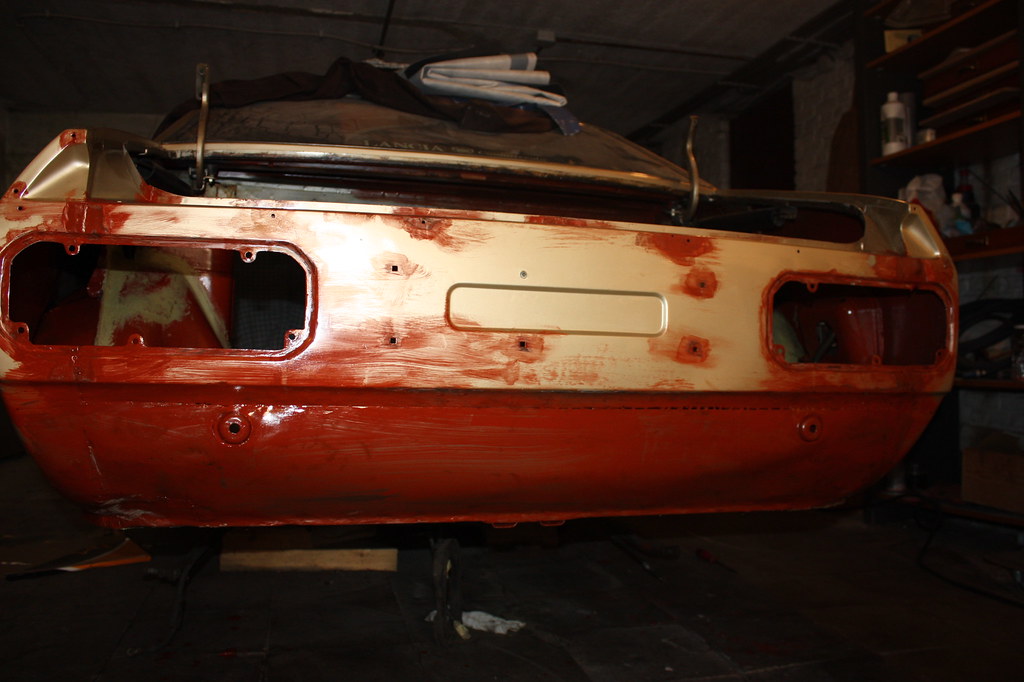 IMG_2813 IMG_2813 by frederikleyers, on Flickr 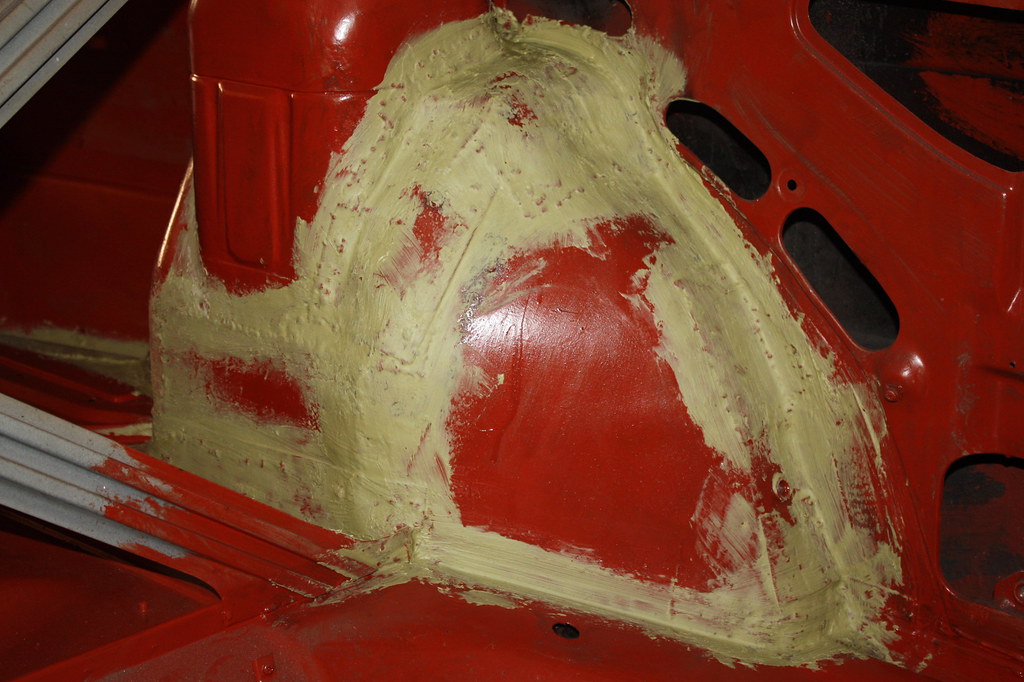 IMG_2814 IMG_2814 by frederikleyers, on Flickr 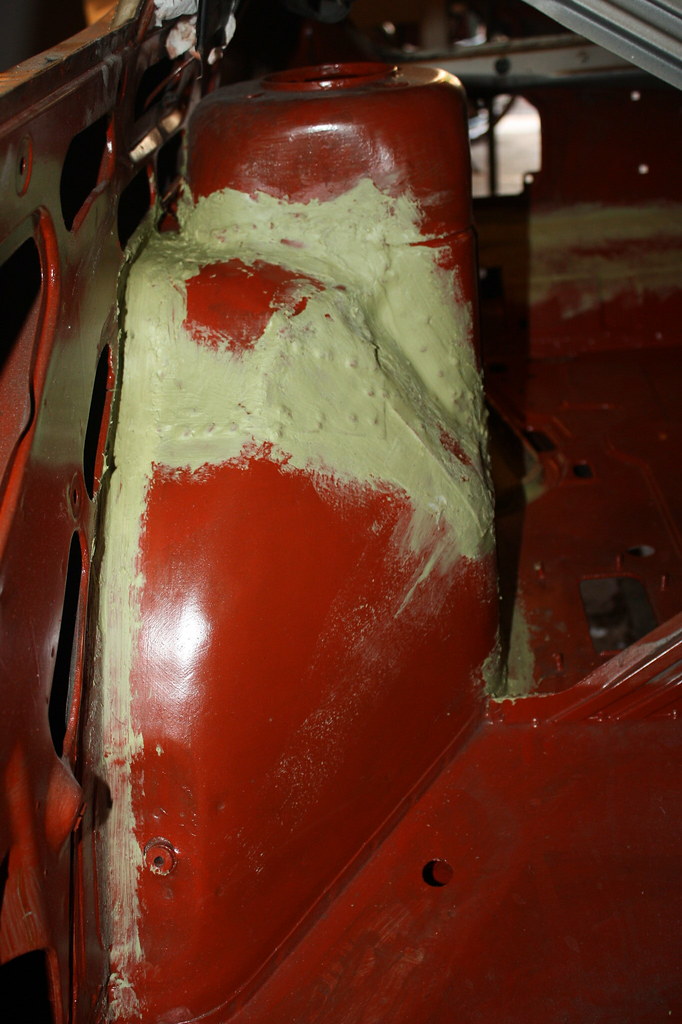 IMG_2815 IMG_2815 by frederikleyers, on Flickr 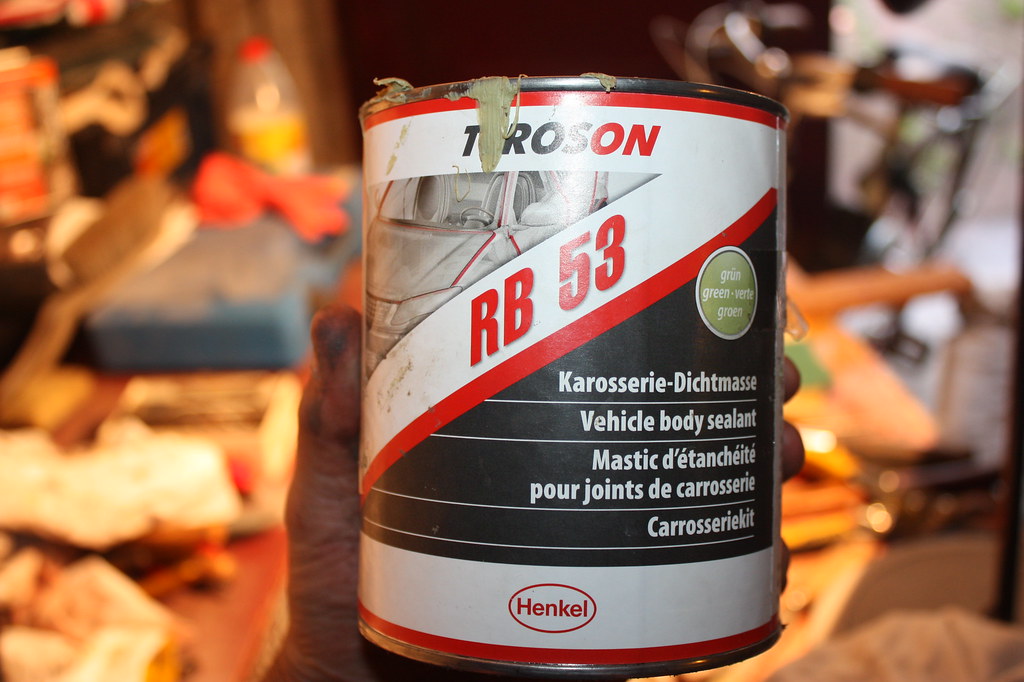 IMG_2816 IMG_2816 by frederikleyers, on Flickr think i am gonna grind it a little bit when its hard to make it a bit smooth. after that a coat of black paint two guys of a car bodyshop came to look at the car and the weldings. they said i did a good job ( me happy) greets |
|
|
|
|
 Logged
|
|
|
|
|
fred2660
|
 |
« Reply #38 on: August 09, 2017, 10:37:31 AM » |
|
some of my self made tools and home set-ups. sometimes they work, sometimes not. removing the wheelbearing from the rear hub is a real battle now I am thinking to replace the ARB bushes with the rubber ones or the PU ones. any thoughts? 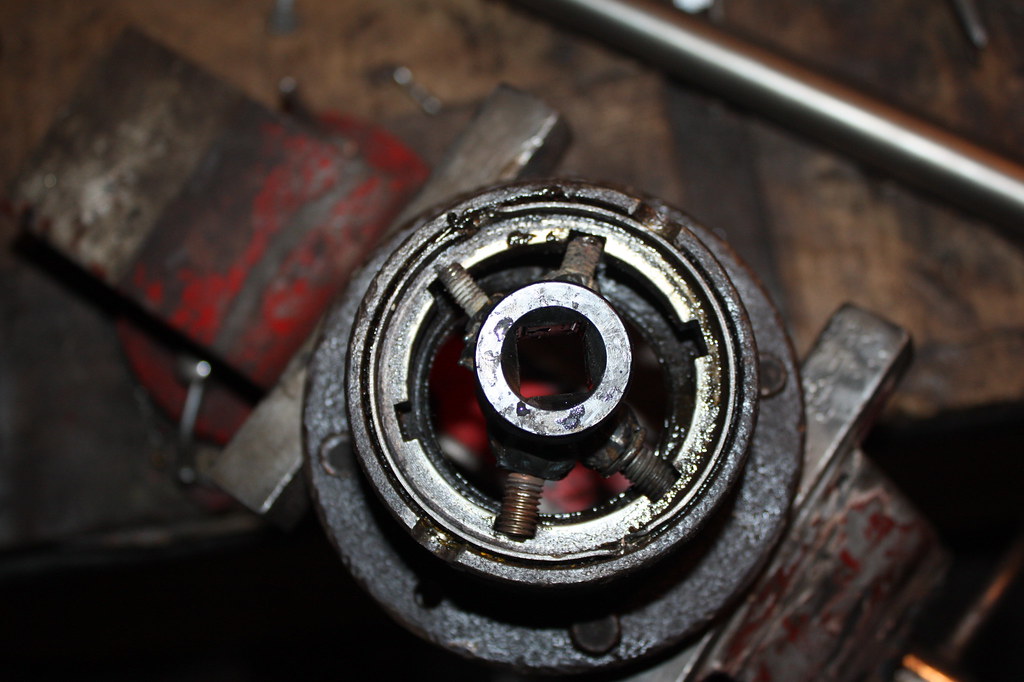 IMG_2819 IMG_2819 by frederikleyers, on Flickr 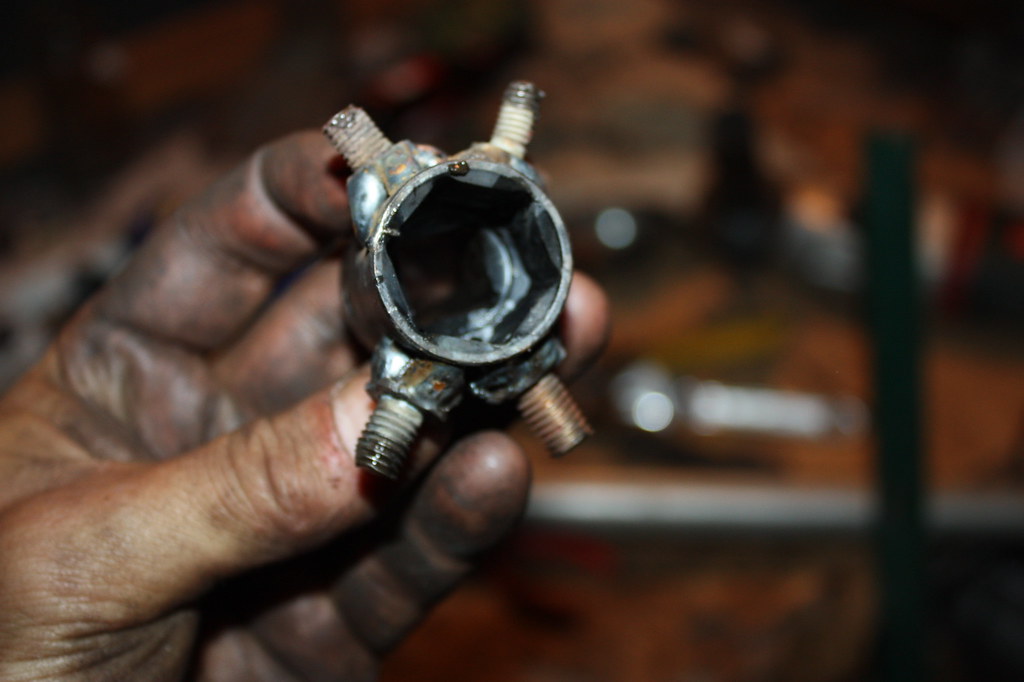 IMG_2820 IMG_2820 by frederikleyers, on Flickr 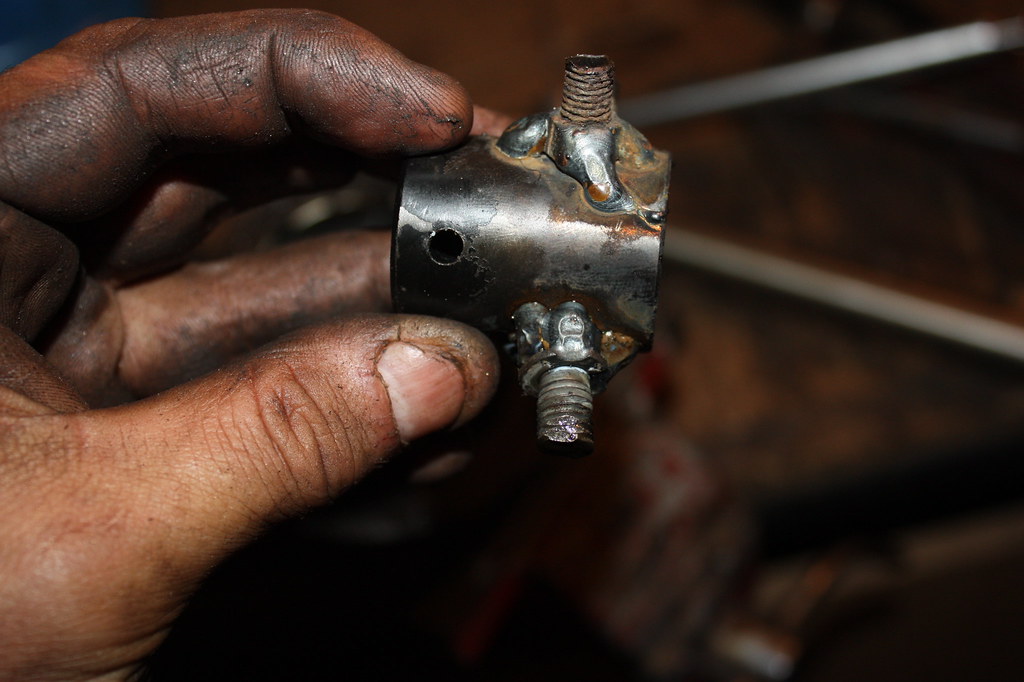 IMG_2821 IMG_2821 by frederikleyers, on Flickr 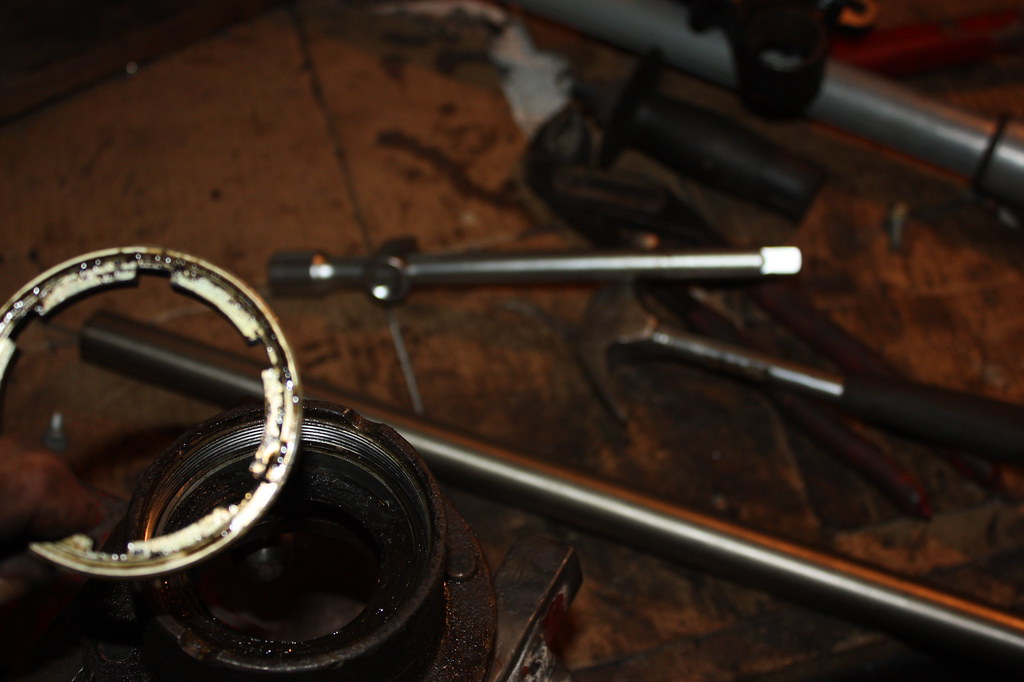 IMG_2822 IMG_2822 by frederikleyers, on Flickr 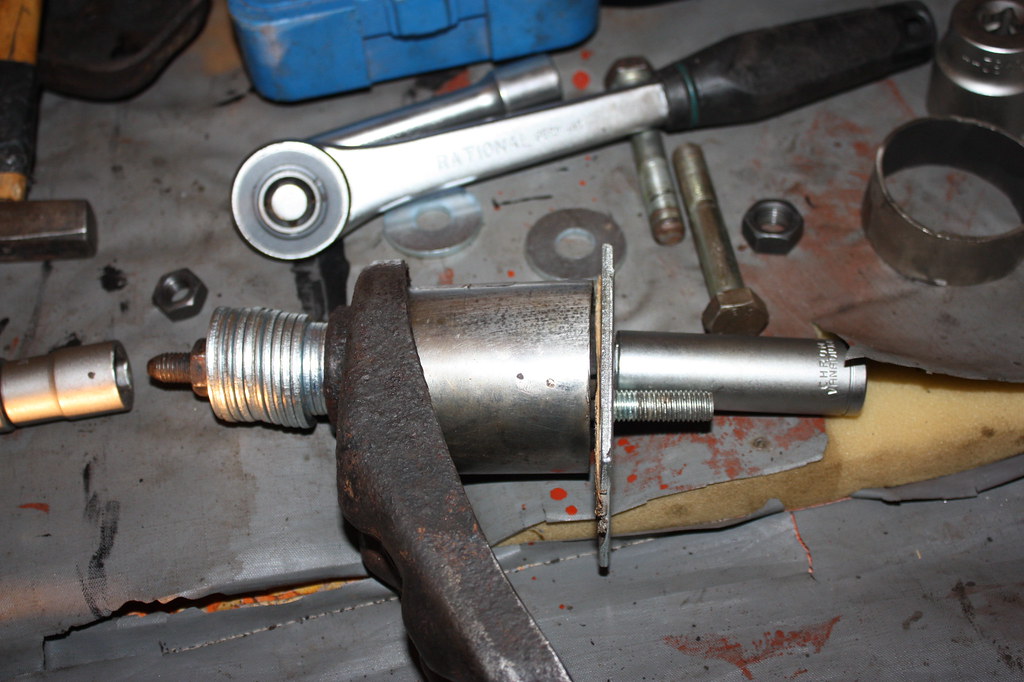 IMG_2824 IMG_2824 by frederikleyers, on Flickr 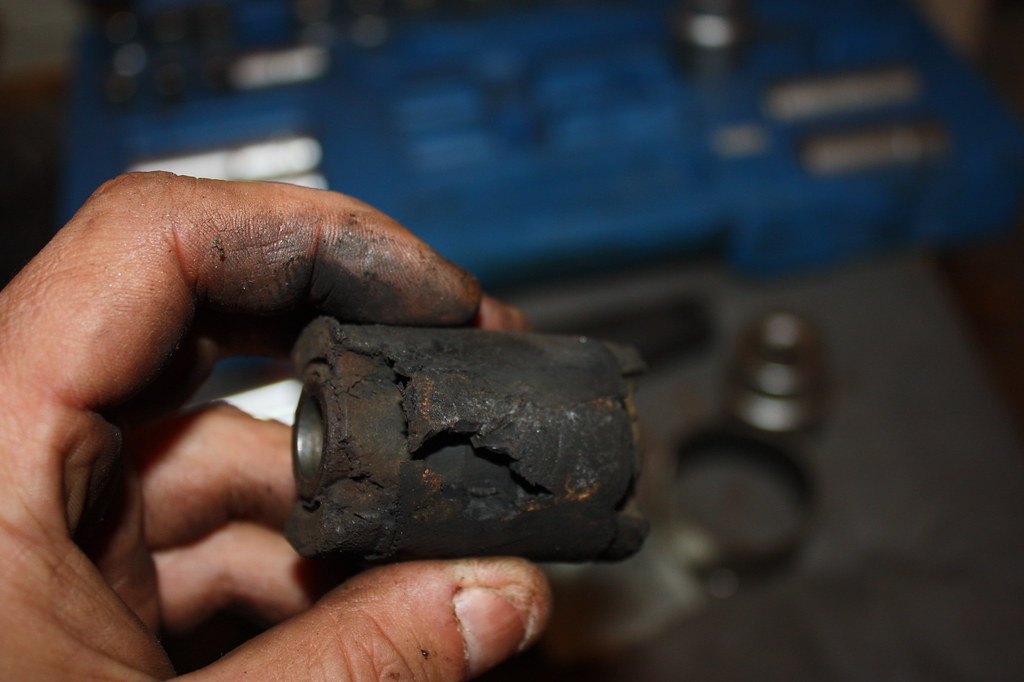 IMG_2826 IMG_2826 by frederikleyers, on Flickr 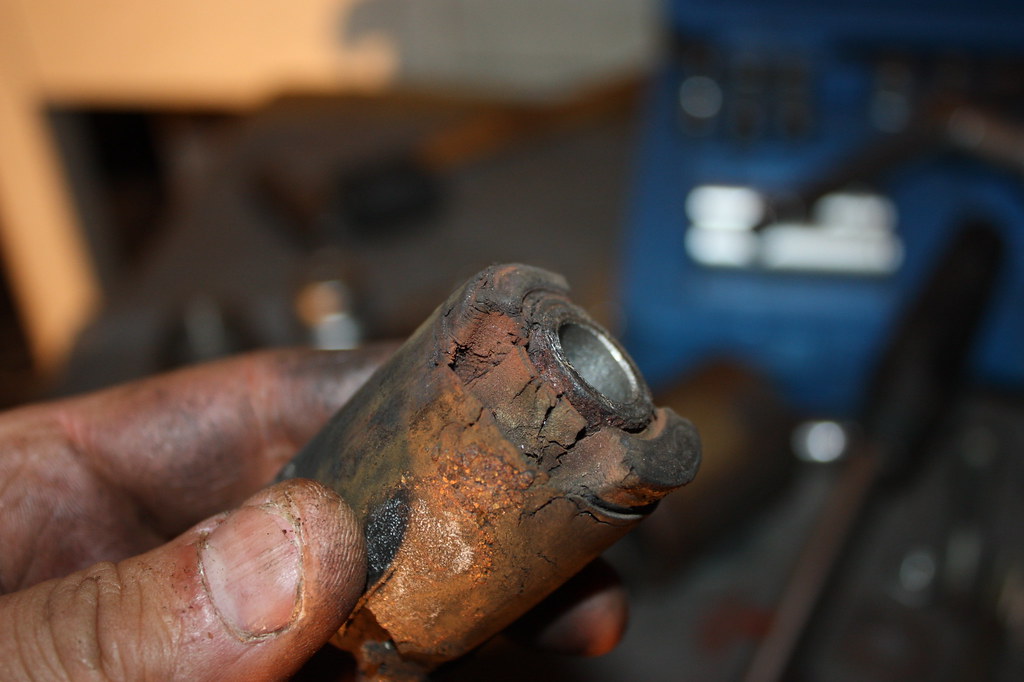 IMG_2829 IMG_2829 by frederikleyers, on Flickr 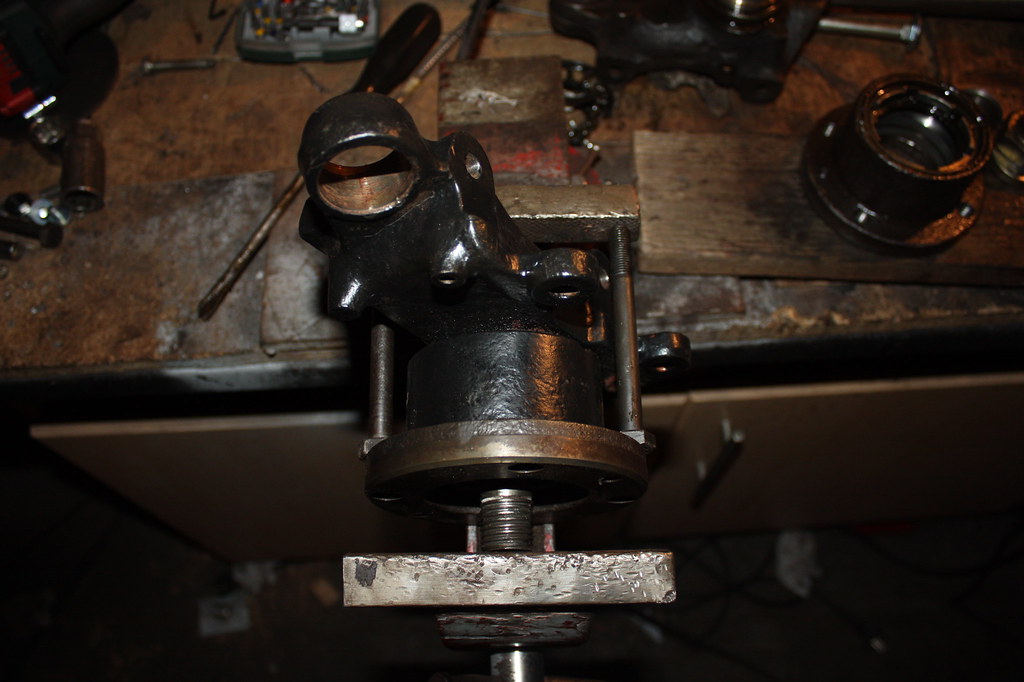 IMG_2817 IMG_2817 by frederikleyers, on Flickr |
|
|
|
« Last Edit: August 09, 2017, 10:39:02 AM by fred2660 »
|
 Logged
|
|
|
|
|
fred2660
|
 |
« Reply #39 on: August 11, 2017, 01:25:10 PM » |
|
after a couple of days strugling with the vice and hammers and a lot of frustration i decided to buy a cheap hydraulic press. in a couple of minutes the hub was released from the axle and the bearing was out of the hub.  It looks like the former owner has 'worked' on this hub already also bought new wheel bearings of QH, relatively cheap 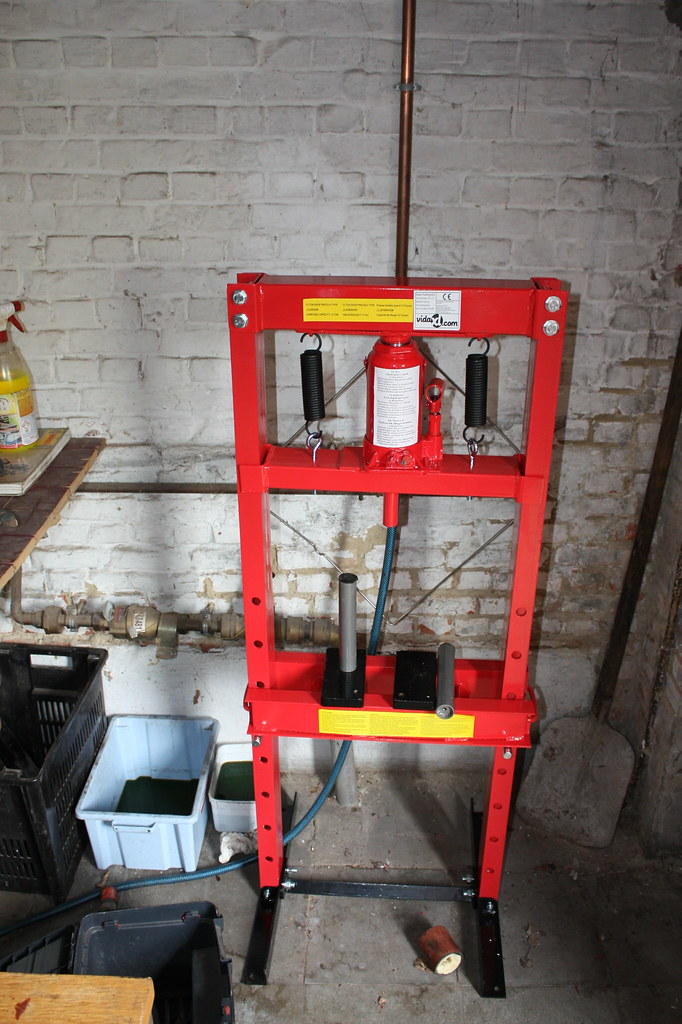 IMG_2830 IMG_2830 by frederikleyers, on Flickr 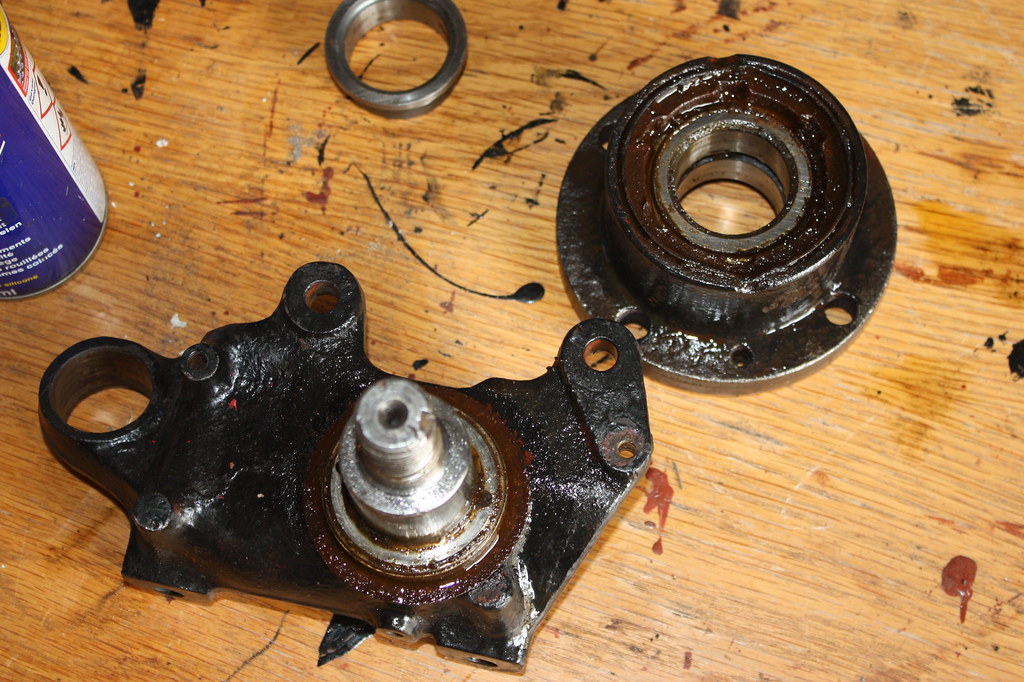 IMG_2831 IMG_2831 by frederikleyers, on Flickr 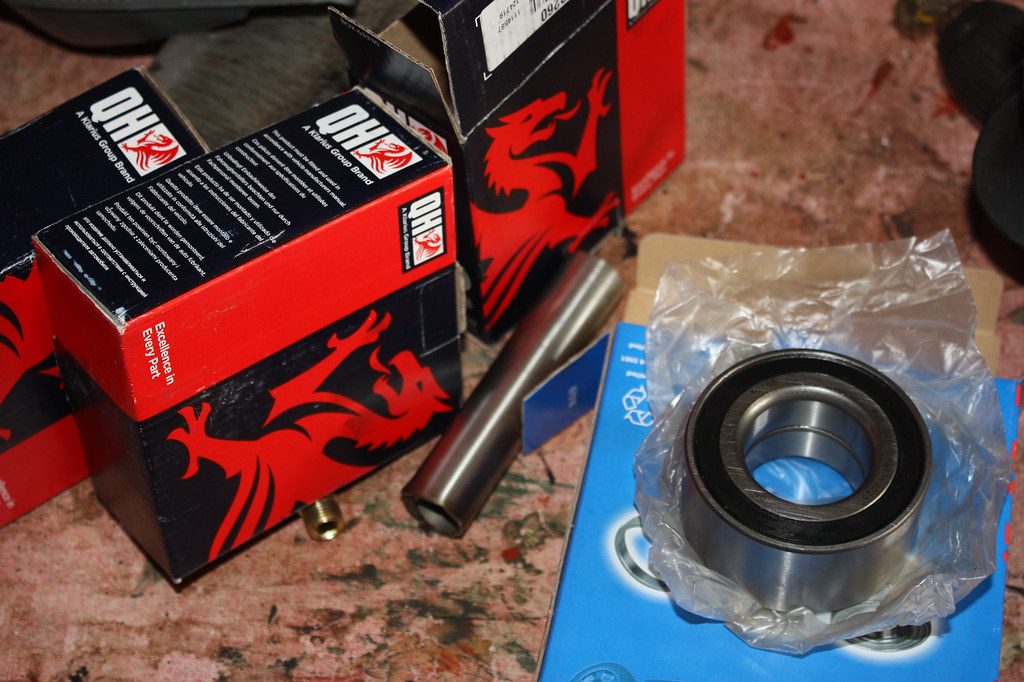 IMG_2832 IMG_2832 by frederikleyers, on Flickr |
|
|
|
|
 Logged
|
|
|
|
|


